Film and Digital
Info
This Website provides a
thorough comparison between Film and Digital Photography /
Cinematography
For the new Kodachrome Mail Delivery Service check
below
During the
past decade many Hundreds of Millions of people around
the World have been duped into parting with a fair sum of their
money to purchase a Digital Camera they don't need. These people spent
this money because they erroneously believe that Digital Photography is
superior to Film Photography. If they had not believed this,
these consumers would not have likely expended their money on a Digital
Camera they couldn't really afford. The HTML Links below (just CLICK
the Link to download) provide Articles on Film Photography and Cinematography as
compared to Digital. The Articles explain in detail all of the specific
problems with the Digital Photographic process. The
Articles explain how Film directly captures a Light image which
provides the highest quality Photography / Cinematography possible.
Film simply captures real Light. The Articles address the basic
factual differences between Film and Digital -- in particular as regards
Resolution and Colour. I have expended a great amount of my time to
produce these Articles because of the urgent need to combat the unacceptable
deceptions being perpetrated upon consumers around the
World regarding Digital Photography. The facts of the problems
with the Digital process need to be known. While Digital Prints may look
good unto themselves, Digital Prints cannot achieve the quality of Film
Photographs because of the higher Resolution and Colour content of Film.
The greatest proof of the super-high Resolution of Film is the Movie
Presentation which uses a Frame of only 22mm by 16mm, and it fills up a Screen
20 or 30 feet wide by 10 or 15 feet high. Then there is the highly
important concern of preserving family memories. People everywhere
need to be informed of the fleeting life span of Digital Picture
Files before they would end up losing their family memories. I
would urge you to take every opportunity that comes available to explain to
people how Digital fails to measure up to Film.
Mr. Terry
Mester
PHOTOGRAPHY
ARTICLE CINEMATOGRAPHY
ARTICLE
NOTE. If there is an
Advertising Tab Window at the Right side, and you would like an Original
Version of the Article (without the Window), then just CLICK the
Link below, and Save it to Disk without the
".txt" at the end of the Filename. When
you subsequently Open the saved File it will automatically become
a regular HTML File.
N. B. I would like to translate my Photography Article
into other languages including French, Spanish, Portuguese, German and
Japanese. If you can translate the Article for me, please contact me
at:
[email protected].
Kodachrome Mail
Delivery Service
I'm
offering a
low cost mail delivery service for Kodachrome
users. You can also use this for Ektachrome / Fujichrome including Super8
E64T. Kodachrome users can mail their Film Cartridges to me in Canada, and
then I'll mail them to Dwayne's Photo Service in a big bulk order of about 40
Films. This service is about saving money, and not fast service.
I'll offer this service for the following rates (for the 1st
Roll):
135 Photographic Cartridges -- $1.92 or $1.46 CDN
plus the Canadian Dollar equivalent of 65 US Cents plus any Developing Fee of
Dwayne's.
Super 8mm Cartridges -- $1.92 or $1.46 CDN plus
the Canadian Dollar equivalent of 65 US Cents plus any Developing Fee of
Dwayne's.
16mm Reels -- $2.08 or $1.46 CDN plus the Canadian
Dollar equivalent of 65 US Cents plus any Developing Fee of
Dwayne's.
For the 2nd and
additional Rolls, the rate per Roll is 84 Cents CDN plus the Canadian Dollar
equivalent of 65 US Cents plus the Developing Fee. You will note that I
give two prices at the beginning ($1.92 or $1.46). The lower price is if
you would like me to risk sending the developed Film back to you with a 54 Cent
Stamp instead of 98 Cents. If Canada Post should demand more postage, then
you will have to pay the extra postage. You will need to mail the Film
Cartridge to me using a 6-1/2 by 9-1/2 Inch Envelope which I will then re-use to
send the developed Film package envelope back to you. To arrange to send
me a Film for processing, or to enquire further about this delivery service, you
can E-Mail me at
[email protected] .
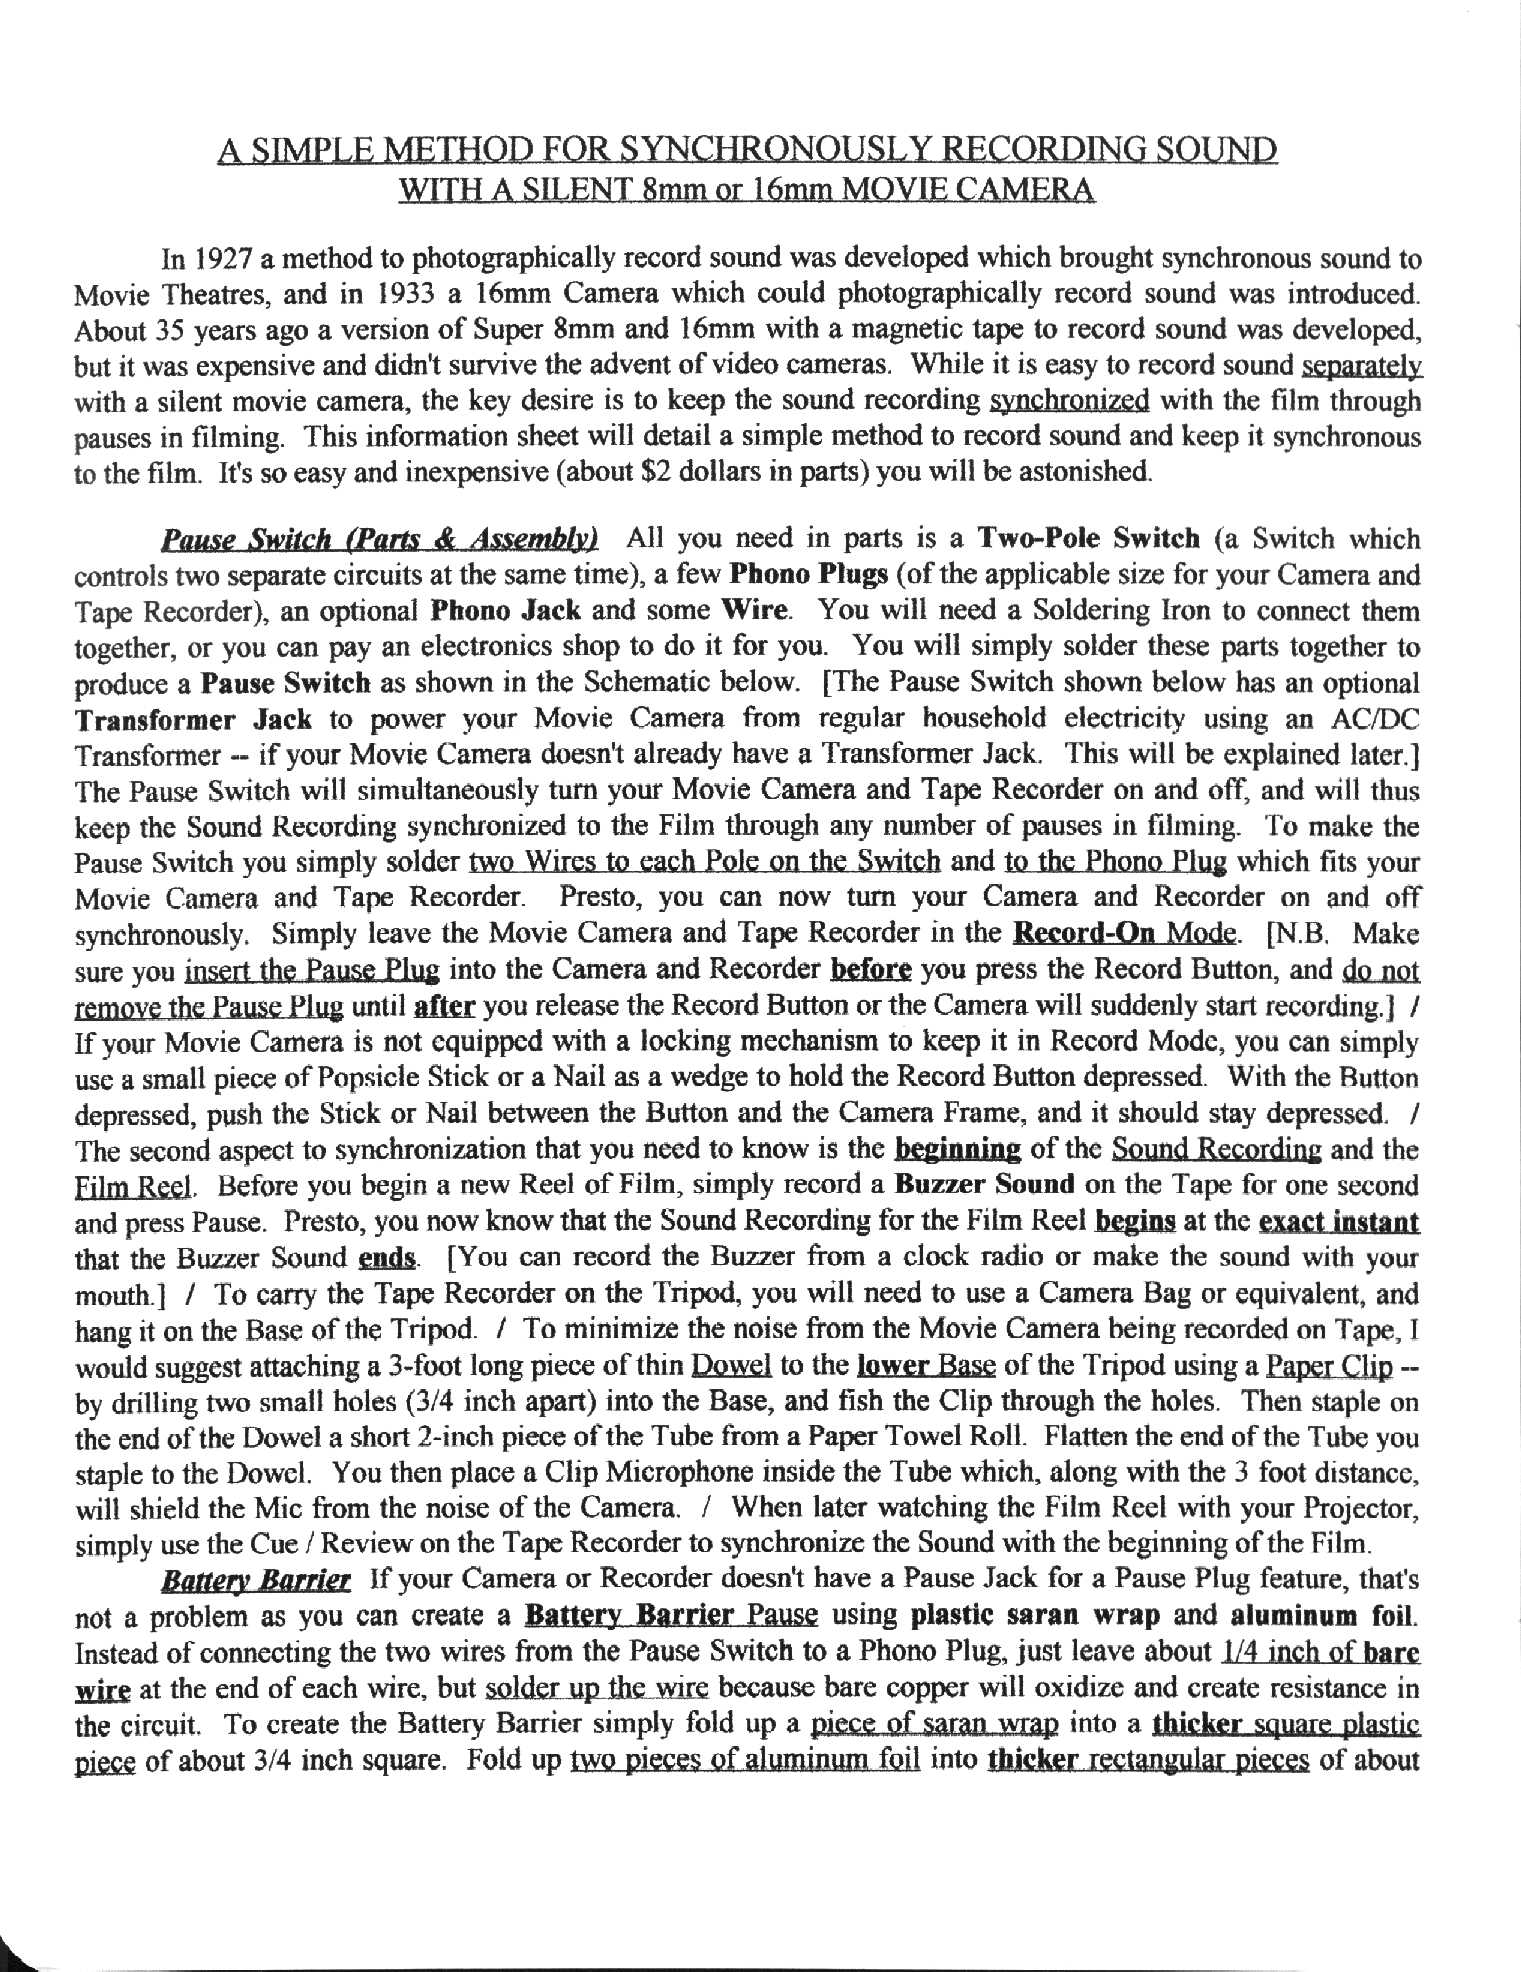
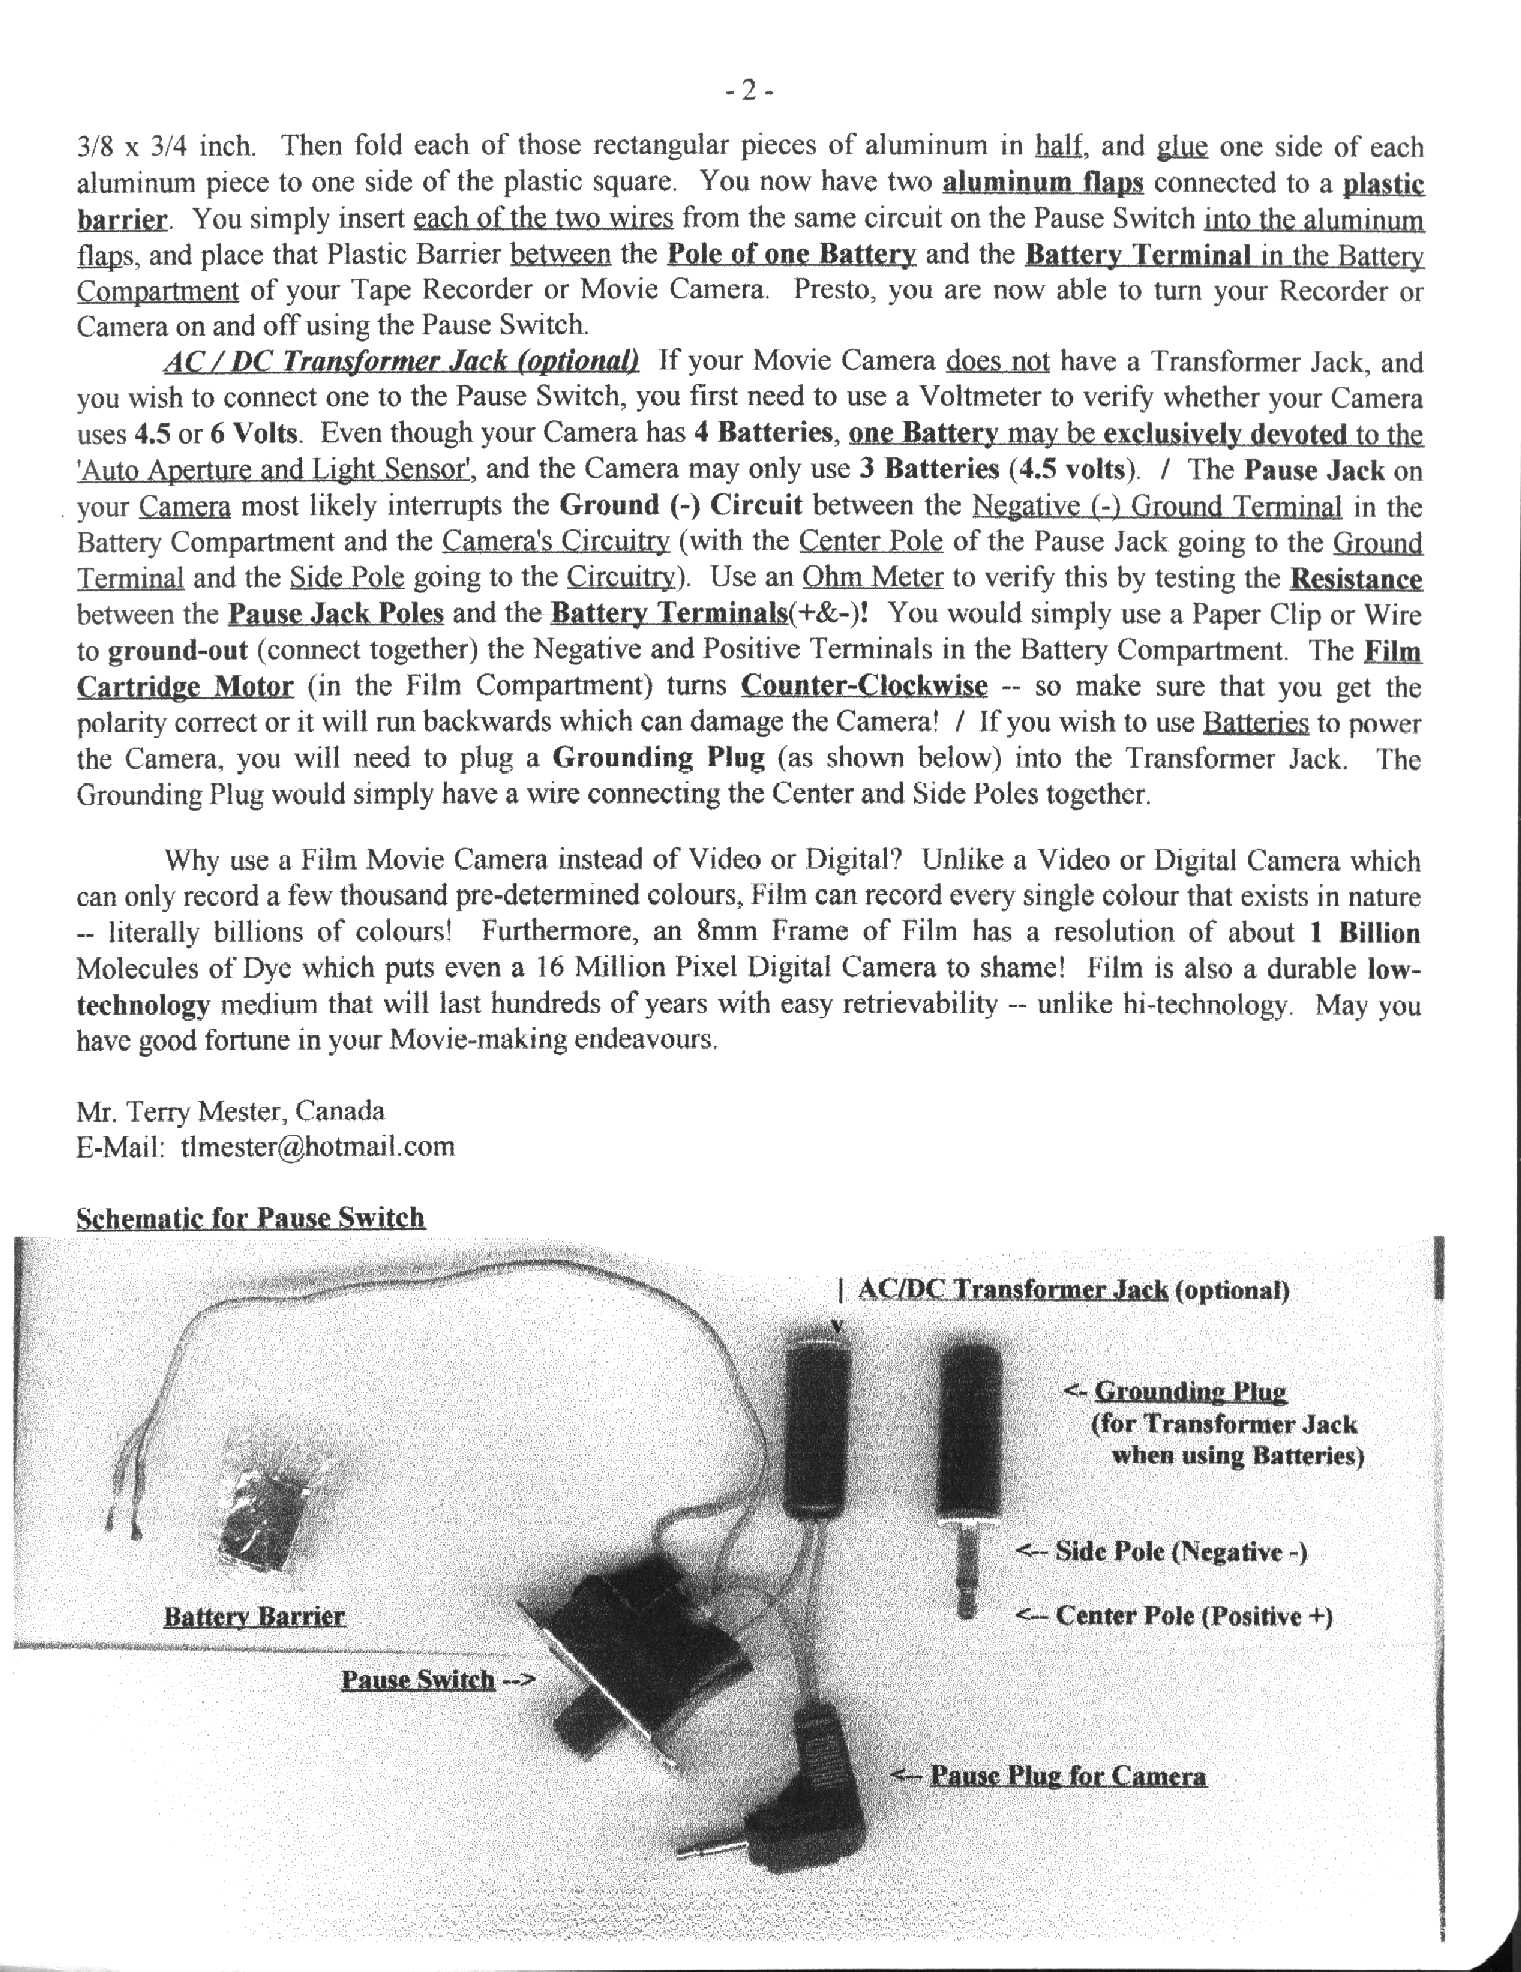
Recording Synchronous Sound with a
Silent Movie Camera
I developed a simple technique to record Synchronized Sound with silent Film
Movie Cameras. I initially developed the technique for 8mm amateurs, but
it applies to all Movie Camera formats. You can Click the Link below to
download the single HTML Version or the two JPEG
Pages which are preformatted. For the HTML Version, as noted
above, Save it to Disk without the ".txt" at the end of
the Filename. If you would like a high quality version for
printing out on your Printer, E-Mail me at the Address above, and I'll send
you two high quality Bitmap Files (which are 3 Megabytes each).
This
new method keeps the starts and stops of the Sound Recording
synchronized to the Reel of Film through any number of pauses in
filming. This method simply uses one Pause Switch to turn both the Tape
Recorder and the Movie Camera on and off at the same time. It doesn't
replace "frame by frame" timing provided by a Quartz Clock in professional use,
but it makes the process of professional editing and viewing dailies a whole lot
easier. For Super 8mm Home Movies it's fantastic to be able to record
synchronous sound. It is important to ensure that you have fresh Batteries
in both your Camera and Tape Recorder. (If you're indoors you can use
a Transformer as I suggested, and avoid power drain problems. Use a
Voltmeter to test the Transformer to verify it is outputting the correct
Voltage!) Your Projector should allow for altering the Speed of the
Film during projection which would enable you to keep the Film Reel (which
is 3 Minutes and 20 Seconds) synchronized to the Sound during playback. If
the Film goes ahead of the Sound Recording (or vice-versa), you can quickly push
the Pause Button on the Projector (or the Recorder) to get the Film and Sound
re-aligned.
If
you download the Sound Recording into your Computer -- which is easy to do with
Microsoft Windows 'Sound Recorder' and 'Media Player', you can edit the
digitized Sound Recording in the Computer to expand or shrink its length, add
silence or remove part of the Sound Recording as needed (1/2 Second, 1 Second,
whatever is needed) to make sure it is 3:20 Minutes in length and
synchronized through to the end. With the Film running at normal
speed (24 or 18 Frames/Second) you can use a Stopwatch to verify how far
off the Film and Sound might be at any given point, and then add or
delete in the Computer as needed. / A better
technique to use is to make a Digital (Timing) Recording while watching the
Film being projected. You just use your Voice to make a blurting
sound every time there is a pause/start in filming --
beginning with the initial start. There will be about a 1/10th of a Second
delay from when you see the pause and then blurt the sound with your
mouth. Thus, you would subtract 1/10th Second from where the blurting
sound shows up on the Timing Recording to determine the proper time of the pause
on the Film. You would then take note of these times on this
Timing Recording to compare to the times of the pause/starts on the main Sound
Recording for the Film Reel. You can thus correct the timing of the Sound
Recording accordingly. / You can also use your Computer to play the
Sound Recording while watching the Film on the Projector, and thus you can be
certain that the Digital Sound Track will remain 3:20 Minutes.
/ There is a free Computer Digital Sound Recorder &
Player called "Audacity" which is superb for editing sound. It's
available for download from the following Website: http://audacity.sourceforge.net.
When using Super 8mm Cameras I would recommend not using
the Electric Zoom feature because this drains power away from the Cartridge
Motor causing it to temporarily slow down. This would affect
synchronization. Instead you can just manually move the external Zoom Lens
Dial. If the Dial has a smooth and slippery surface, you can
just glue Drops of Glue (I suggest "Goop") on it which will enable you to
get a good grip with your finger. Manually moving the Zoom Lens also
provides a smoother more controlled zoom than the roughness of an electric
motor.
Although, in synchronizing for professional use, this method
would reduce the need for the Clapper to just once at the beginning of each
Film Reel, the Clapper should still be used for subsequent scenes as backup
and also to record the Technical Scene Information onto the Film Reel.
Since the Sound Recording would be synchronized to only one
Camera, and if filming a Scene with more than one Camera, you need
to synchronize all the Cameras together. The best idea is to glue two
'two-pole' Pause Switches together which would enable you to keep three
Cameras synchronized to the Sound. This would also end the nuisance of
having one Camera run out of Film before the other Cameras. Another method
you could also use is to briefly flash a Red Light on the Set
for just a split second each time the Cameras are turned
on after a pause in filming. You would then simply
use the Last Frame of Red Light on each Reel of Film to
synchronize all the Film Reels together. You could use both methods for
extra safety. In either case, your job has just been made easier for both
editing and reviewing the whole Reel of Film.
Super 8mm Tips and
Information
For additional tips and
information on the Super8mm Movie Camera format, just Click the Links
below.
Environmental
Responsibility
I want to quickly address some
environmental concerns brought to my attention by another
Photographer. The concern regarded
used developing chemicals being poured down the drain. As far as the
left-over bath Water, this should just be boiled
away on a Stove which will leave behind a very small amount of
solid residue for disposal -- almost all of which would be minerals from the
water. Where you have other solutions that are almost entirely Water, you
can boil them away outdoors using a portable Electric Stove
Burner. It would probably take a few years to produce enough solid residue
to necessitate a trip to a depot for disposal. As for the other chemicals,
if your Local or Regional Government doesn't have a programme for recycling old
chemicals, there are companies that take chemicals for recycling and
disposal. The reclaimed Silver makes it worthwhile for them. Check
the Yellow Pages or the Internet.
Light in the
Darkroom
It may not be well known, but regular photographic Film (both Colour and Black
& White) is unaffected by "Infrared" Light.
Infrared (IR) Light is produced by a regular Incandescent Light Bulb. An
"IR Filter" is simply used to cover the Light Bulb, and filter out the
regular Light -- leaving only Infrared. "IR Goggles" are then used to
enable you to see the Infrared Light. You can purchase a simple hand-held
IR Monocular or Binoculars, or IR Goggles which strap on your
head. Just search for Infrared Filters and Goggles on the
Internet to find out where you can purchase them. They should sell
for as little as $50.
[Note: You cannot use an IR Video
Camera and Monitor in the Darkroom because the Monitor Screen emits regular
Light which would corrupt the undeveloped Film.]
Breathing Fresh Air in the
Darkroom
If you cannot afford the cost of a ventilation system, I want to offer you
a simple and inexpensive method to provide yourself enough fresh air to
breathe in the Darkroom -- for a cost of about $20. All you need is a
basic Breathing Mask and a Hose (about 3/4" or
1" Inch in Diameter). In selecting a Breathing Mask, you would want one
with a Vent opening on the bottom for the excess Air and your Breath to
expel. The Hose would then lead to an Air Supply outside of the
Darkroom. You'll need to drill a hole in the wall to the neighbouring room
for the Hose to pass through. The other end of the Hose would be attached
to a hole in a small Box, and a small table Fan would be used to blow Air into
the Box and through the Hose. In the Darkroom you can hang the Hose from
the ceiling so that the Mask is at the level of your mouth, and you can take
breaths from it whenever you feel the need for fresh air. This should
provide adequate fresh air for you to breathe in the Darkroom, and if necessary
a Hose with a Diameter larger than 1 Inch could be used. As for Glue to
connect it together, I would suggest a Glue named
"Goop" which is the best I've ever seen.