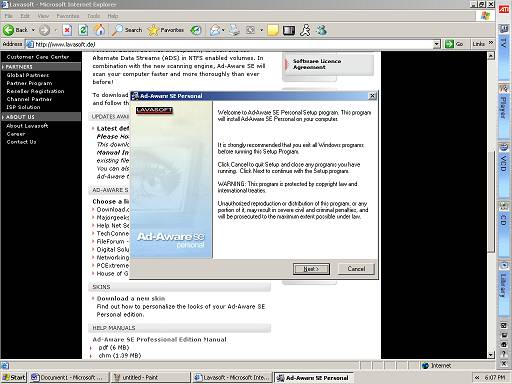
Click on “Next” when the first screen appears.
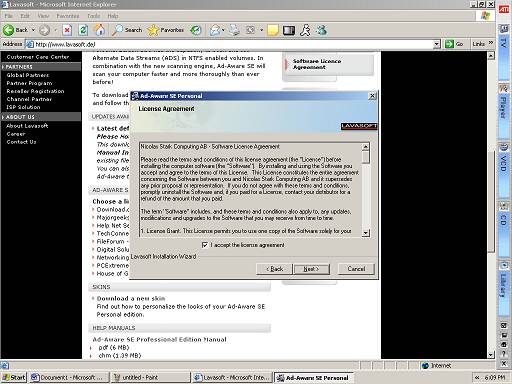
Read the license agreement on the next screen. This tells you what you can and
cannot do with the software, informs you of copyrights, and other legal
matters. Most of it doesn’t apply to the home user, but read it anyway if you
have any doubts. Click the checkbox that says you agree to the terms, and then
click “Next.” If you don’t agree to the terms, you can’t install the software.
This is fairly common and practically universal in modern software.
Next, the program will ask you what directory to install to. The default path should be fine, unless you have a reason for installing it to a different hard drive. If you must change the path, you can click the “Browse” button and change it. Otherwise, just click “Next” to continue. The next screen asks who may use the program. All users should be okay unless you have a specific reason to keep other users from running it. After making this selection, click “Next.” The program will then tell you it is ready to install. Click “Next” to begin copying files. After a few minutes or seconds, the program will finish installing and the following screen will appear:

Click the “Open Help File Now” box to clear it, since you don’t need the help file right now, but leave the other two checked. When you click “Finish” the program will start up and update its scanning files. Be sure you are still connected to the Internet.