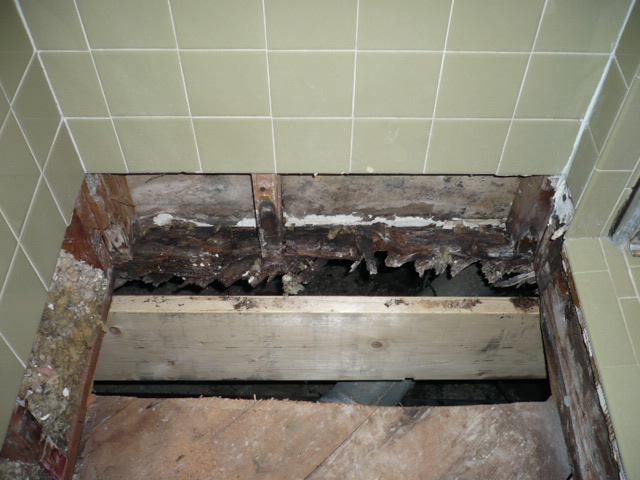
Next, the issue of the sinking wall was addressed. I jacked up the wall and installed framing brackets on all boxing in the framing. Framing brackets should be used more than they are, even on new construction this step is sometimes skipped.
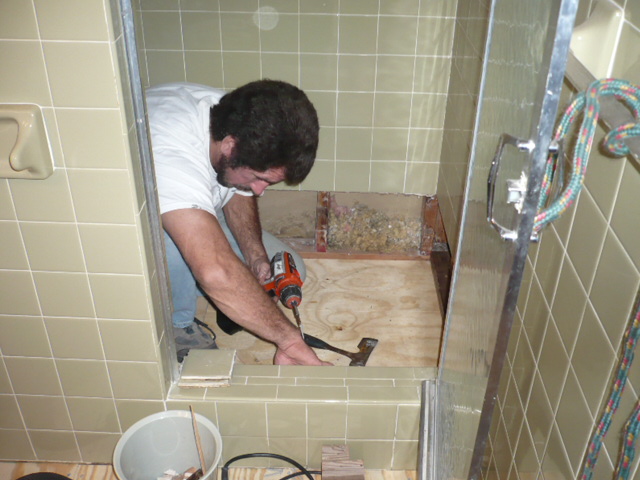
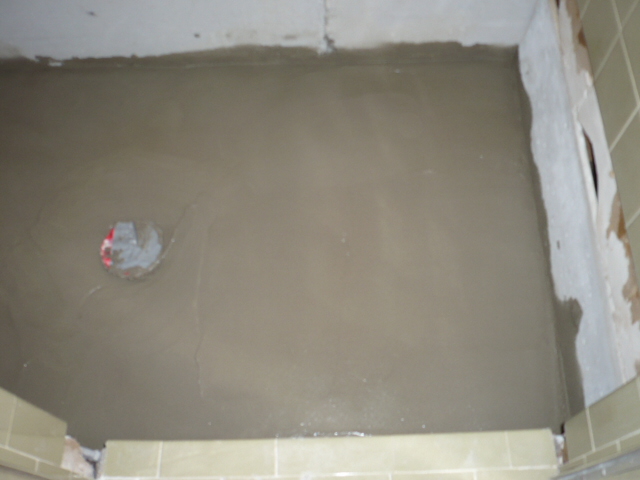
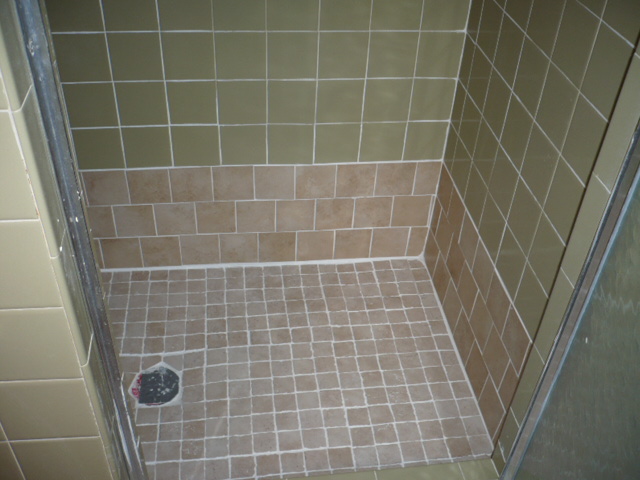
Now that the subfloor is repaired with 3/4 plywood on top and the framing can now hold the weight the pan is replaced. This is accomplished by using a vinyl pan liner which lies under all and attaches directly into a two part drain. This drain sits directly on the floor and rises up through the mortar to sit flush with the tile. Than concrete board is installed on all sides and the mortar is poured and graded.
Finally, the tile was installed and sealed. Sealing is a very important step for the longevity of your tile.
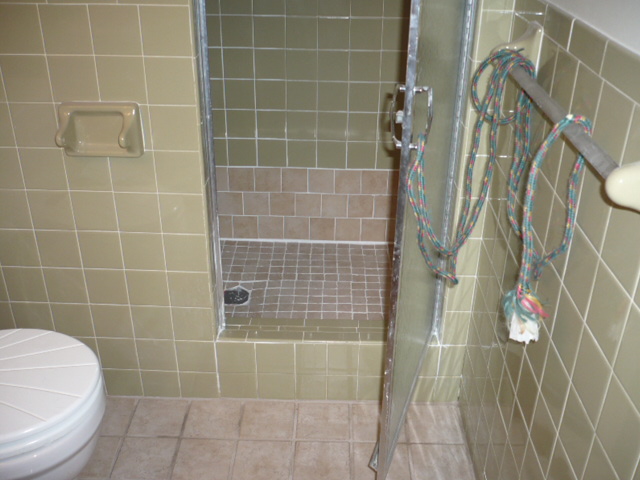
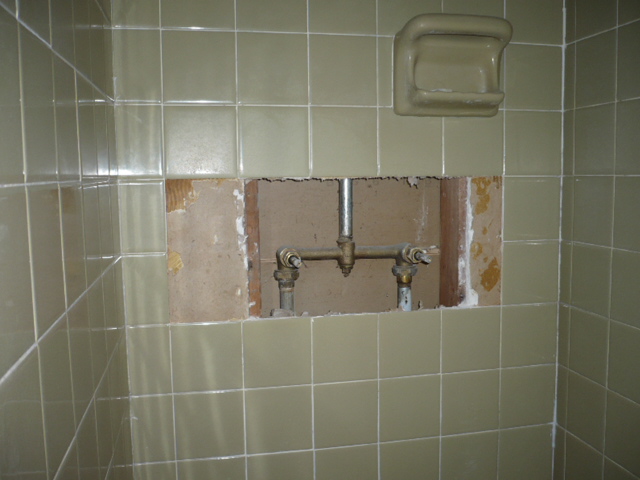
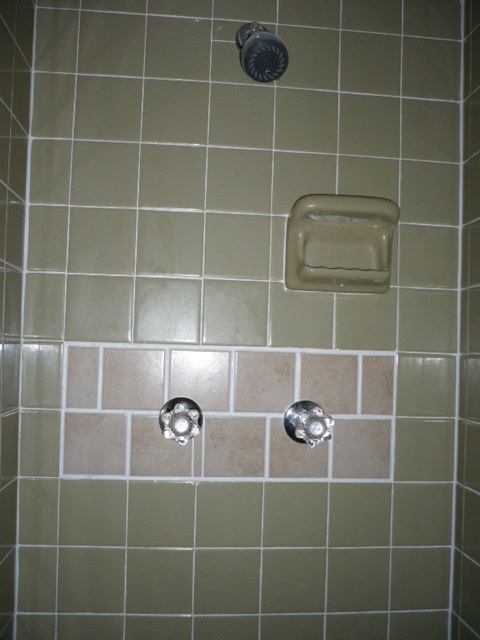
I also replaced the shower fixture and tiled the bathroom floor along with re-grout and seal the shower.