| Project 64 Page 7 |
 |
| Fiberglass baby! |
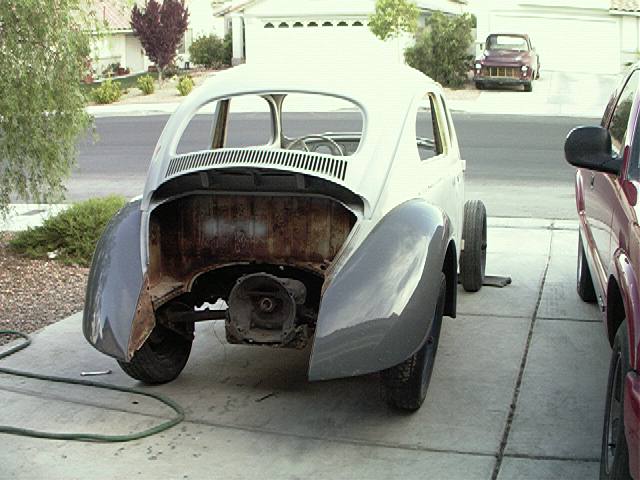
| Well, my fiberglass fenders and hood came in, and boy am I happy! I had to drill the holes for the fender bolts, which afterwards, my arms were very itchy! I found that a 15/32" bit was the exact same size as the stock fenders used, so since the holes to be drilled were marked, I figured, heck, this should be easy!. I should mention, not all fiberglass should be treated equa. I got this fiberglass from Aircooled.Net, which is a dealer for Creative Car Craft. All the fiberglass is hand-laid, and not the cheaper 'chopper gun' fiberglass, which is a lot weaker. The quality is unreal, with all the fender edges being rolled over just like a stock fender. Being completley honest, you cant tell these from a stock fender from the outside! |
 |
| On the rear of the front fenders, you can see they are shaped just like stock for the running boards. |
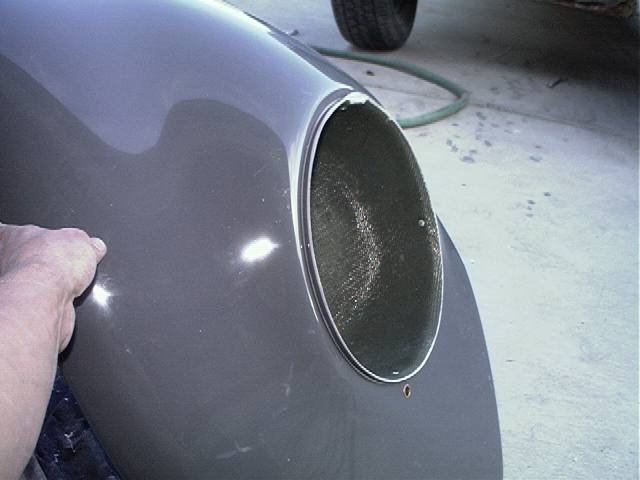 |
| And here's the best part about the front fenders. check out these headlight buckets! The bucket part itself is a seperate piece from the fender, which aids in the quality of the fender. The upper lip that the healight bucket hooks on, is actually a tab of metal, which is laid in with the fiberglass, as well as rivited in, it ain't goin nowhere! |
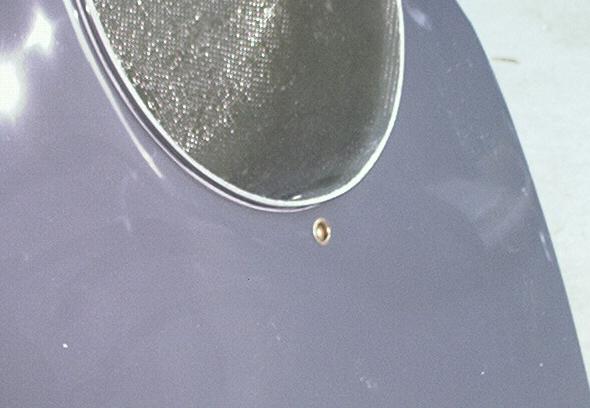 |
| And how does the bottom of the headlight attach? Screwed into the fiberglass? No way! That would just strip out after a short while. With the fiberglass form Aircooled.Net, all bolt holes have a brass insert in the fiberglass, so you can have years of useful life out of these fenders! |
 |
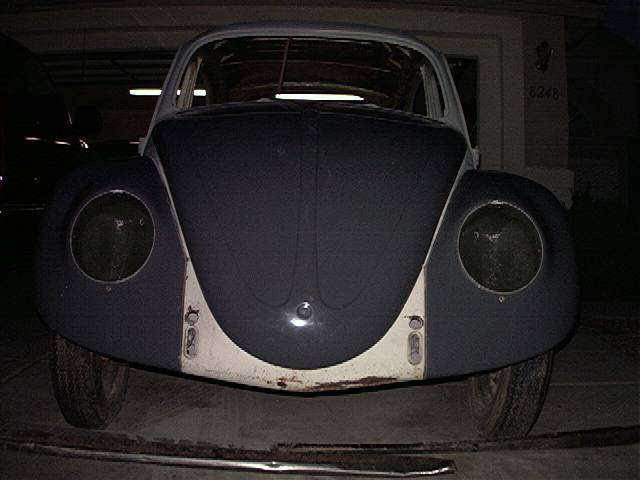 |
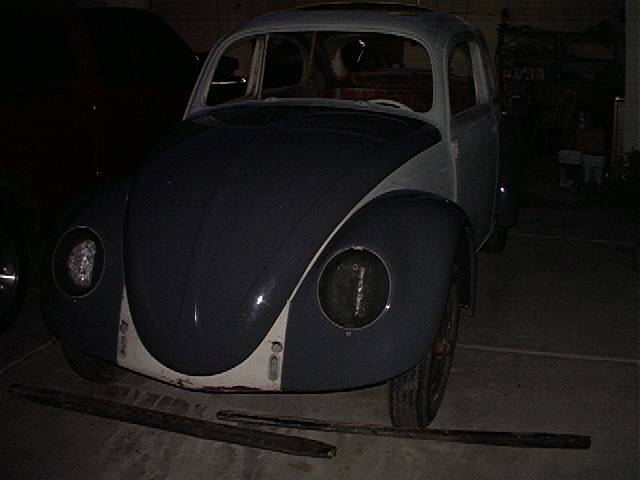
| And with the front hood bolted on, I can see that the hood is going to sit flush on the body all the way around, and the front fenders match the front apron great! Also, now that the rear fenders are on, I can finish up the rear apron with it's attatchements. Getting closer to paint! |
| . |