| Project 64 Page 9 |
| Rear Apron Continued |
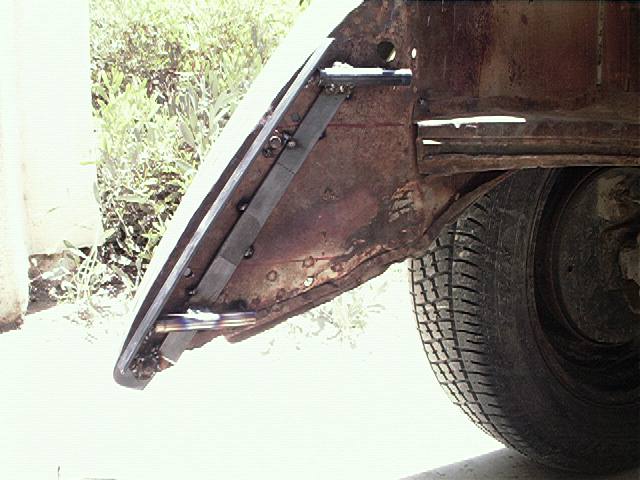 |
| It's a little tough to see here, but the bracket that I made is slid into the bracket on the car. It's starting to take shape now. Now to build the same thing for the other side of the car so there's one on each side. |
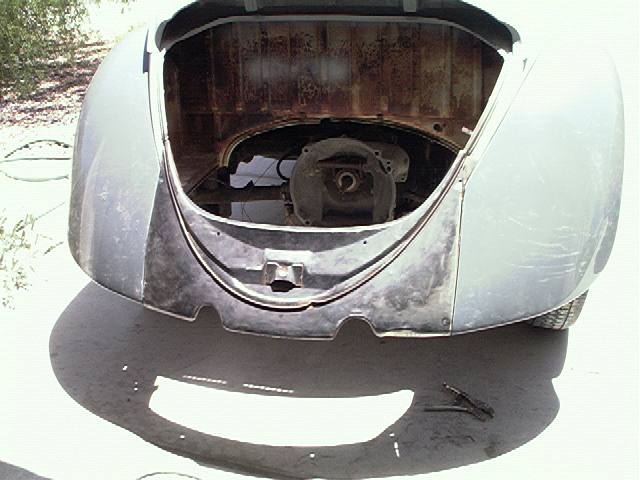 |
| This part is would have been a lot easier if I had a second hand for help. But it was still possible to do solo. I put the rear apron on the car, and positioned it. I then reached under the car and tacked the brackets to the apron. I then carefully pulled the apron off (The brackets came with it) and finished welding it up. |
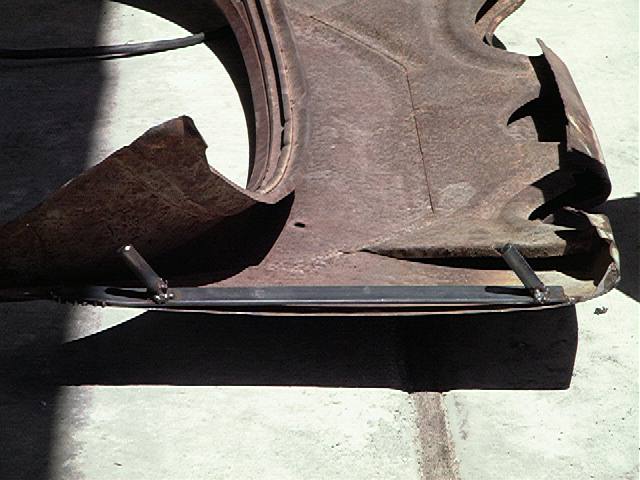 |
| And here's what the back of the apron looks like. Simple brackets, for a simple job. One thing I guess I should mention, is that the pins are angled so that the apron goes straight on, and straight off. That way the rear engine seal will go on the rear engine tin without a hitch. |
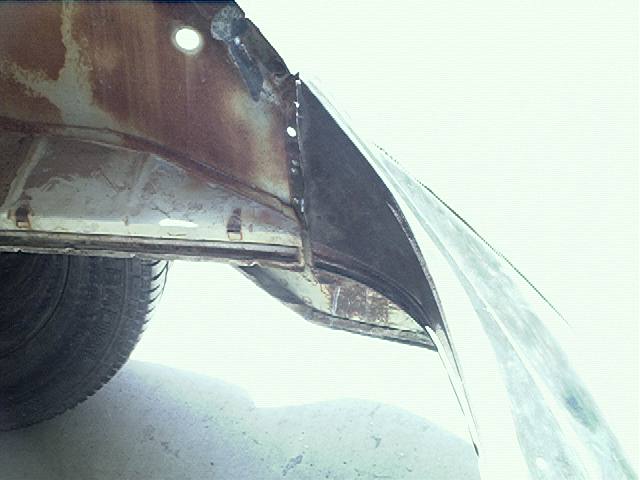 |
| And on the inside, it still looks normal. The channel that the engine seal fits in matches up, so the cooling system should not be affected by it. |
 |
| With the apron on, you cant see any visible fasteners. With the angle of the pins, when the engine lid is closed (and latched), the apron will be held securely in place. Score one for the stealth factor! I am thinking of having a pair of springs pulling the apron into the body, but as it is right now, the fit is snug, and don't feel it is going to be going anywhere. |
| . |