| Project 64 Page 4 |
| To make it easier to install and remove my 2-liter in the future, I have decided to go for the removable rear apron. Current plans are to run a 1 7/8" exhaust, so this will make things a LOT easier for me in the future. |
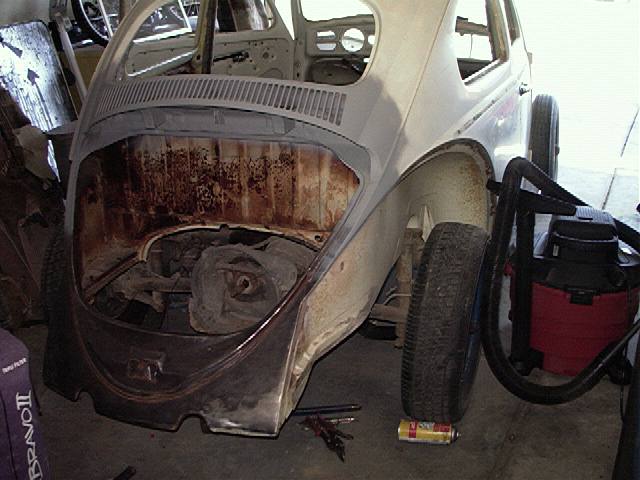 |
| Obviously the first thing you would have to do to start doing it, would be to remove the rear fenders, and the engine so you can get to everything you need to. Lucky for me, this was already done a long time ago. You can see the spot welds if you look for them, they usually look like little dimples. There's a lot of them, and there's no particular patern to them, so look closely, to make sure you get them all. |
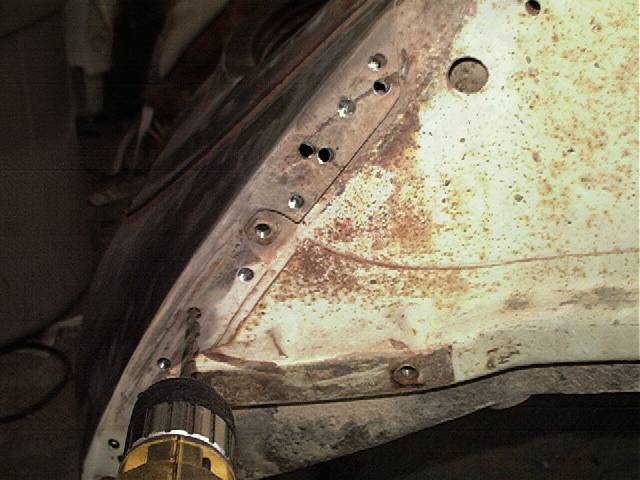 |
| Yep, no particular patern to the spot welds. Some of them are a little tough to see too. I used a dinky technique of rotating the drill around to ream the spot weld out. With a lot of them, this allowed me to get the spot weld loose, without going through the next piece of steel. Placing something under the lip of the metal to add some pulling pressure to it helped 'pop' it loose when it got close enough. |
 |
| Don't forget the few more spot welds on the inside! It's tough to see in this picture, but there is also a spotweld higher up, on a 'leg' that goes up along the body (Up by the goopy stuff). |
 |
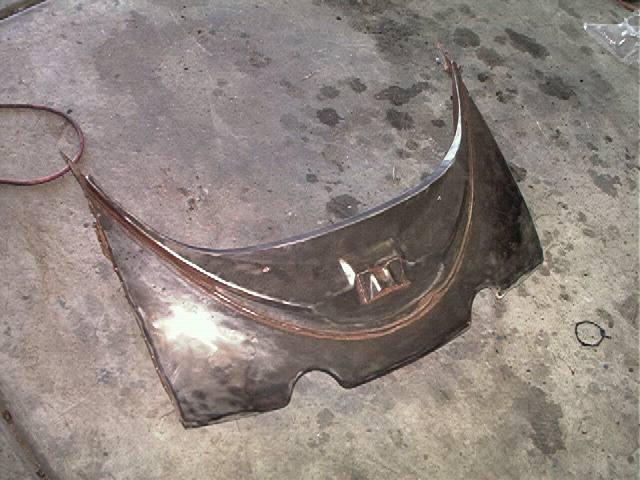 |
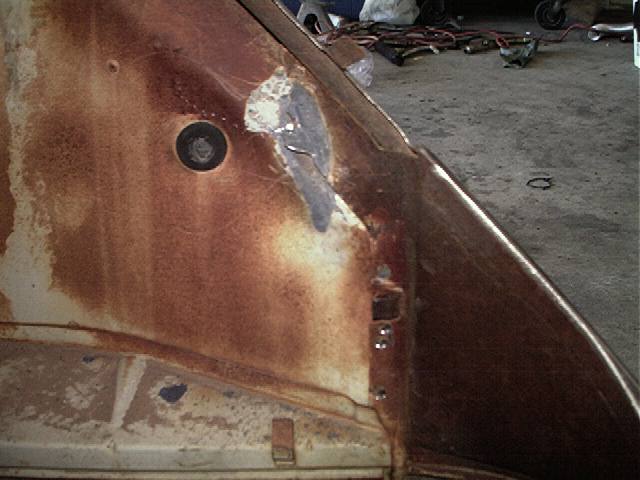
| With the spot welds drilled out, the apron seperates from the body with no problems. If you get all the spot welds drilled, you can remove your old apron without any damage to it, in fact, I could have welded it back in, and no one would know. |
 |
 |
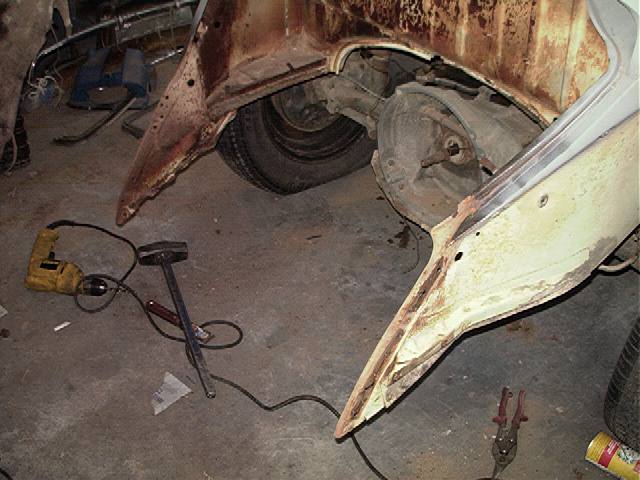
| With a little modification to the sheetmetal, the apron will now go on and off the body without any hangups. A couple Dzus fasteners and it'll be all set! The engine seal still fits like it should (Just in 3 pieces instead of 1) so the cooling system will still work like it should. |
| . |