| Project 64 Page 11 |
 |
| Finishing rear fenders |
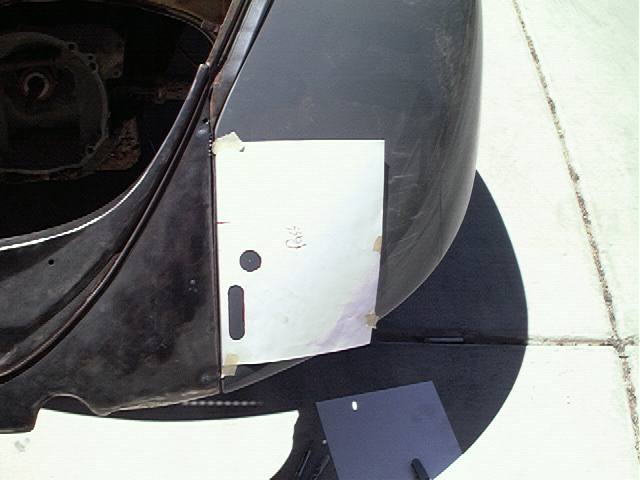
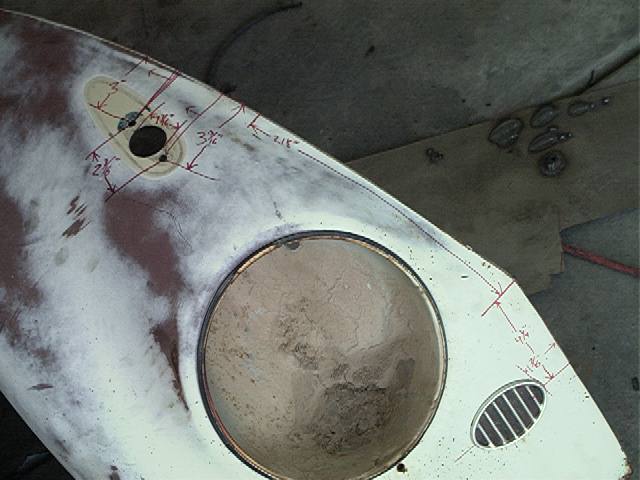
| Using the same method as the front fenders, I traced an original fender for the required holes, and laid them out on the fiberglass fender. Since these holes are more than just drilling a hole, I cut out the hole with a sharp knife, so I could go over it with a marker to mark the holes. The red mark on the left side of the paper is lining up with a fender bolt. This is how I marked it's location to be the same as stock. |
 |
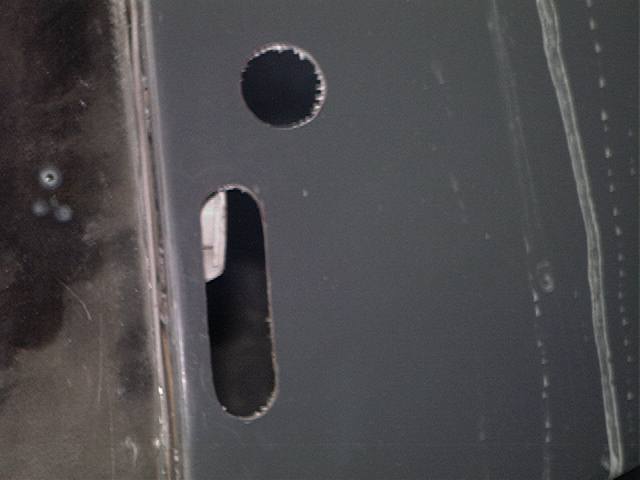 |
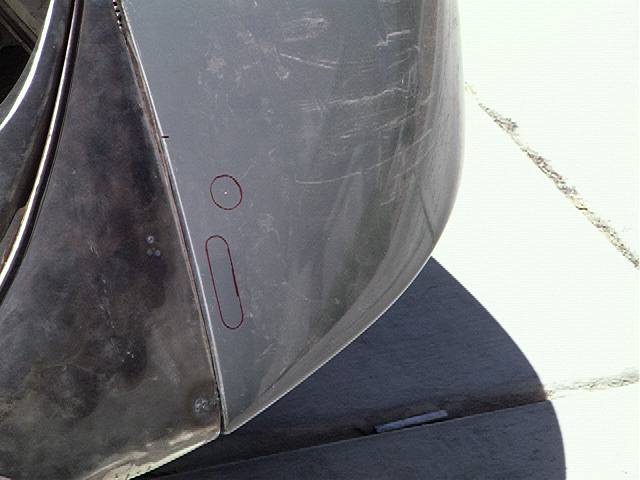
| After I marked the holes, I used a small drill bit just like I did on the front fenders, and played connect the dot with the drill. To get the finished edge, I used my dremel with a small sand paper barrel on it and VERY carefully zinged away any of the original marker from the fender. The dremel wants to go through the fiberglass like a hot knife through butter, so I had to make sure I used a steady hand, and go really slow. The finished result looks really good I think. |
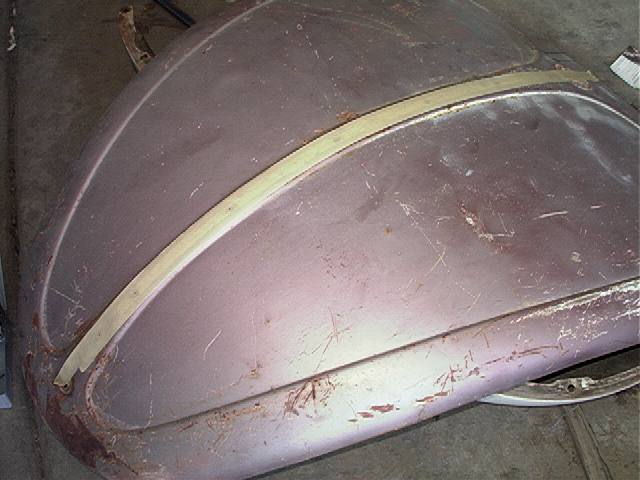 |
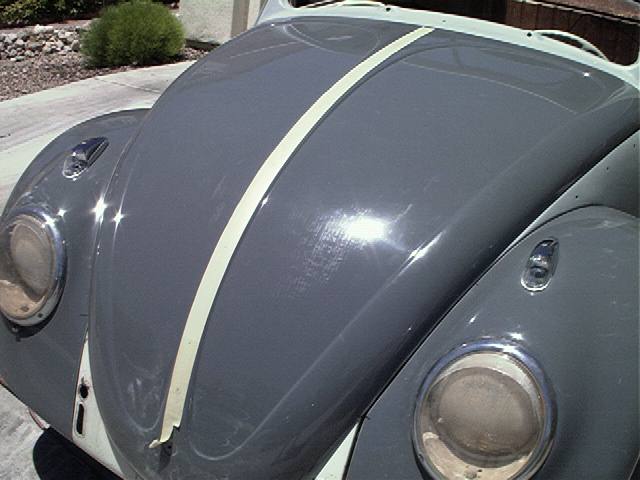
| Now, to mark where the holes go in the hood, I used a wide piece of masking tape, and stuck it right down the center of the hood. After getting it perfectly centered, I marked each hole going up the hood, starting with the hood handle holes. Since the hood handle holes are already pre-marked in the fiberglass hood, I know where the tape needs to start on the fiberglass hood. |
 |
| Now that all the fiberglass is done being 'modified' for my car, I will say this. Using paper to make templates made things a whole lot easier, especially being how you can turn over the paper, and have it work on the other side of the car. It's especially easy when you think of this alternative of plotting and measuring where each hole is. Hehehe. |
 |