Home

Workshop

Frames

Planking 1

Planking 2

Interior

Power

Misc

Suppliers  & Supporters

On the lake

 Mahogani Planking

The mahogani I used is 2.5 mm strong.

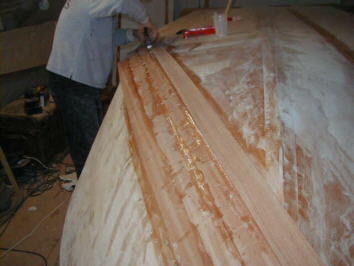
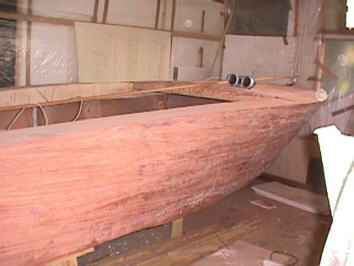
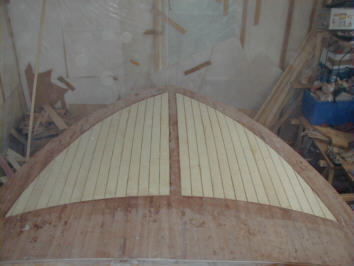
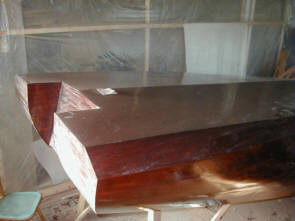
The planks are 3 m long and 6 cm wide. The plankes have been applyed without shaping.

With a little bending they did fit together without gaps bigger than 0.5 mm.

To plank the mahogani I used a lot of medium thicked epoxy to fill the spaces under the planks.The microspheres are taking over the color from the stain, so the gaps get nearly invisible.

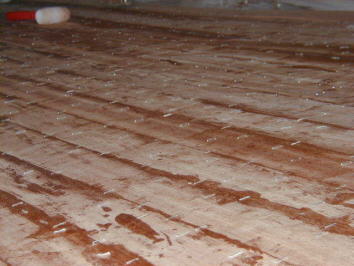
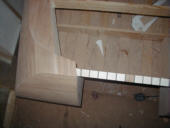
The butts are not scarfed. I know, it is not professional but it looks better than haveing messed butts becaus of  haveing not the right tools. In fact, I like to see, that the hull is planked and notsticked with a wallpaper.
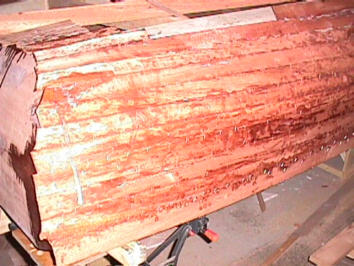
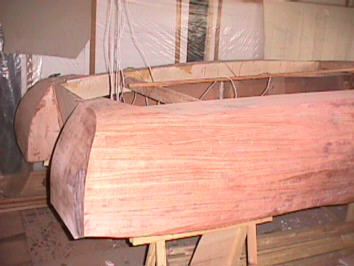
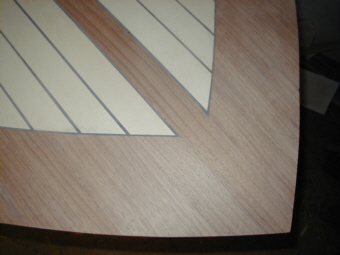
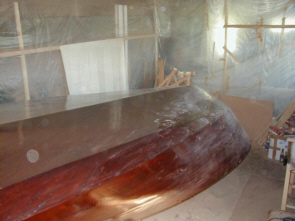
First I planked the bottom and made the edges fitting to the sides. This was very easy and is looking good.

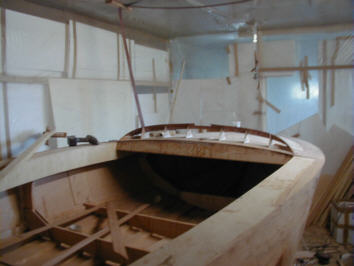
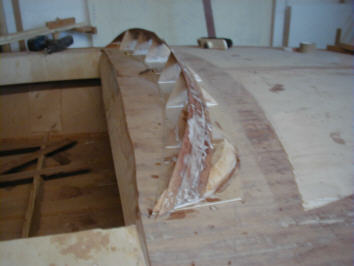
The dificult area was the bow section, where the bottom and the side is melting to on surface.
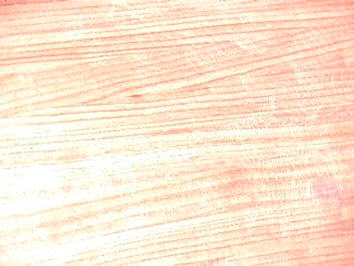
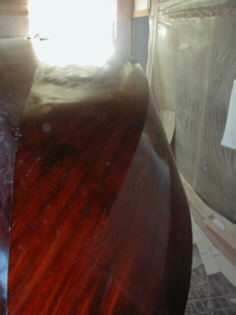
I started to sand a smooth ramp to the bottom layer approx 50 cm from the bow.

Meens the side layer is laying over the bottom layer in the bow-section.

To hold the planks down I used staples. The mall was adjusted to stop the staples 1 mm over the planks.

It was very helpfull to destroy a front cutter.

I whet him to dive under the staples and lift them up without cutting the legs or damaging the planks.

To remove the biggest epoxy dropps I used a rotation-sander.

Be very carefull with this tool, it removes a lot of material and it needs a strong hand. The scar in my knee will ever remind me to the sanding of my boat...

Medium fairing done by belt-sander and finaly with a vibration-sander and 150 grit.

Itīs impotrtant to sand in the wood dirction, otherwise the scratches wonīt go away.

Be patient with the sanding proces. If you plan to stain the hull, you will see every scratch.

In a view days the engine will be delivered, itīs time to think about the dashboard.

To create a contrast to the very straight steeringboard, I designed a additional Instrumentboard.                                                     Letīs see how it looks if finished.

The deck is planked.                                                     

Itīs veneer as well, but this time  maple. Teak wasd not available.                                                      The first step was to tape the area where the maple wood will be placed. Then I planked the outer mahogani planking.                                              The next day, when the epoxy was cured, I sandet the overlapping mahog fitting to the sides.             I build a jig with a simple peace of wood and a cutter knife to follow the outer edge.The big circle in front of the dashboard was cuttet with a long knifed batten, fixed at the stern.                                        Because of having everything taped whatwas not planed to be glued, it was easy to remove the surplus material in the inner area.

The same procedure iI did with the maple wood.

The space between is filled with black colored epoxy.

[Home] [Home deutsch] [Home englisch]
Hosted by www.Geocities.ws

1