My Selections just click the folder:

Make a folder for these selections so you don't get them mixed up with your other selections. *S*
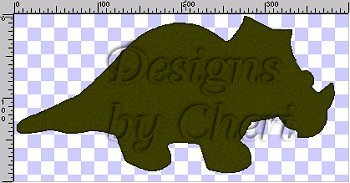
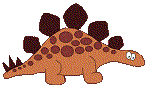
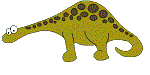
1. Open a 400x200 new transparent image. Add a new layer and rename Body.
2. Load the tricerabody.sel and flood fill with #272705(or color of your choice). Modify contract by 1 and flood fill with #404000 (or color of your choice).
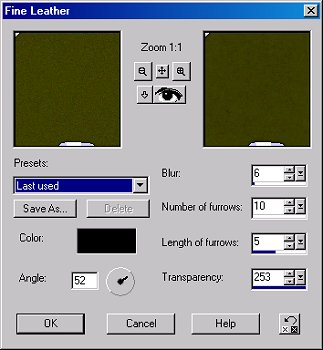
While still selected, go to Effects-Texture Effects-Fine Leather and apply the following settings. Keep selected and add a 7% uniform noise. Deselect and save.
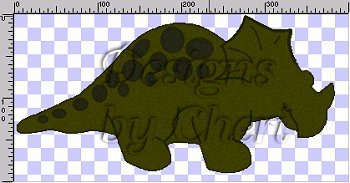
3. Add a new layer and rename Body Lines. Load the tricerabodylines.sel and flood fill with#272705. Deselect and save.
4. Add a new layer and rename Spots. Load the triceraspots.sel and flood fill with #272705. Modify contract and flood fill with #2A2A1A.
While still selected, go to Effects-Texture Effects-Fine Leather and apply the same Fine Leather settings as in step 2. Keep selected and add a 7% uniform noise. Deselect and save.
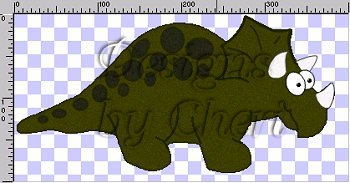
5. Load the tricerahorn1.sel and flood fill with #404040. Modify contract and flood fill with #F6F4F4. Add a 7% uniform noise. Deselect and move the layer below the body layer. Save
6. Activate the spots layer and add a new layer. Rename layer Horn 2. Load the tricerahorn2.sel and flood fill with #404040. Modify contract by 1 and flood fill with #F6F4F4. Add a 7% uniform noise, deselect and save.
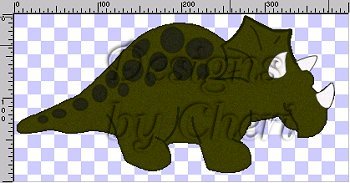
7. Add a new layer and rename Right Eye. Load the tricerarighteye.sel and flood fill with Black (#000000). Modifiy contract by 1 and flood fill with White (#FFFFFF). Deselect and save.
8. Add a new layer and rename Left Eye. Load the triceralefteye.sel and flood fill with Black. (#000000). Modify contract by 1 and flood fill with White (#FFFFFF). Deselect and save.
9. Add a new layer and rename Pupils. Load the tricerapupils.sel and flood fill with Black. Add the Round Inner Bevel. Deselect and save.