My Selections just click the folder:

Make a folder for these selections so you don't get them mixed up with your other selections. *S*
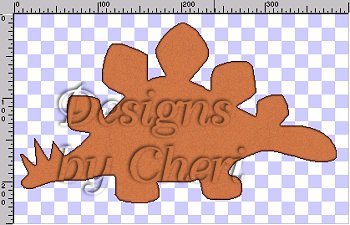
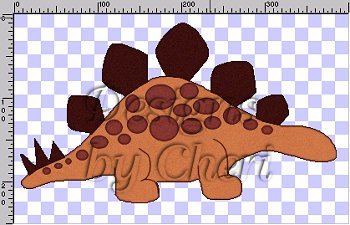
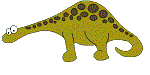
1. Open a 400x250 new transparent image. Add a new layer and rename Body 1.
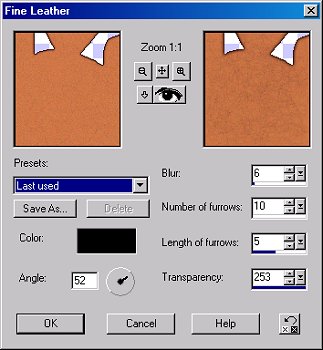
2. Load the stegobodyshape.sel and flood fill with #3F1313 (or color of your choice). Modify contract by 1 and flood fill with #CE7849. While still selected, go to Effects-Texture Effects-Fine Leather and apply the following settings.
Keep selected and add a 7% uniform noise. Deselect and save.
3. Add a new layer and rename Body 2. Load the stegobodyshape2.sel and flood fill with #3F1313. Keep selected and add the same Fine Leather and noise. Deselect and save.
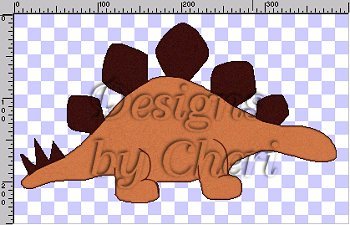
4. Add a new layer and rename Body Lines. Load stegobodylines.sel and flood fill with #3F1313. Deselect and save.
5. Add a new layer and rename Spots. Load the stegospots.sel and flood fill with #3F1313. Modify contract by 1 and flood fill with #883935. Keep selected and add the same Fine Leather and noise. Deselect and save.
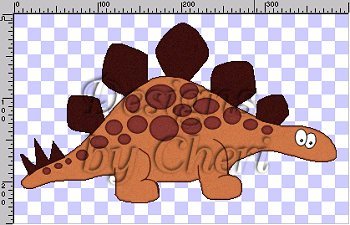
6. Add a new layer and rename Right Eye. Load the stegorighteye.sel and flood fill with Black(#000000). Modify contract by 1 and flood fill with White (#FFFFFF). Deselect and save.
7. Add a new layer and rename Left Eye. Load the stegolefteye.sel and repeat the same steps as with the right eye. Deselect and save.
8. Add a new layer and rename Pupils. Load the stegopupils.sel and flood fill with Black. (#000000). Apply the Round Inner Bevel. Deselect and save.
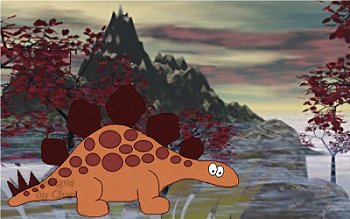
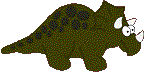
If you want to make the Triceratops just click on him.
If you want to make the Brontosaurus just click on him.
HOME
BACK
NEXT
 Copyright
� June 18, 2003
Designs by Cheri All Rights
Reserved.
Copyright
� June 18, 2003
Designs by Cheri All Rights
Reserved.