How Russian Icons Were Made
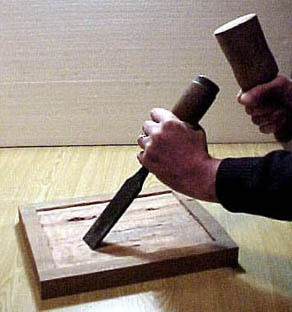
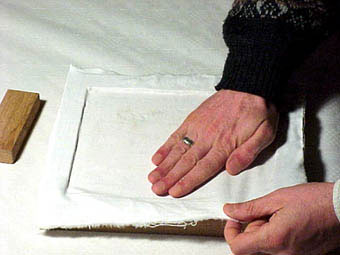
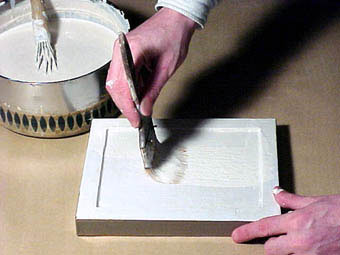
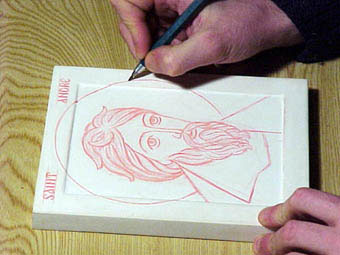
The earliest icons were painted with tempera paint on wood. The artist began by finding a large enough piece of wood to hold the entire painting or by fastening two or more wooden panels together. The boards usually had a slightly raised edge at the edges of the picture. Then the artist smoothed the wod and glues canvas or linen over it. Next, the canvas was coated with levkas (several layers of chalk and glue). As soon as this dried, the artist began painting. Once the artist had finished painting, he protected his work by covering it with olive oil and resins. As soon as this dried, the artist drew an outline of the picture and cut the lines into the surface.
Once the artist began painting, he worked in stages.
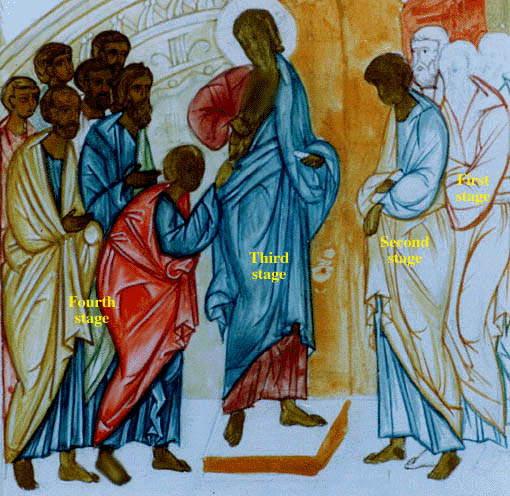
At first, gold paint was applied over the regular paint in icons of Jesus to show his godhood. Eventually, gold paint was applied to many icons to show the presence of God and his power.
Even icons that had been painted in bright
colors eventually became darker because the coatings got dirty. Later artists got used to seeing icons with
dark colors and so used darker colors themselves.
Icons could be joined in groups of two
(diptych), three (triptych) or four (quaditych) to create themes or to
show a large scene.
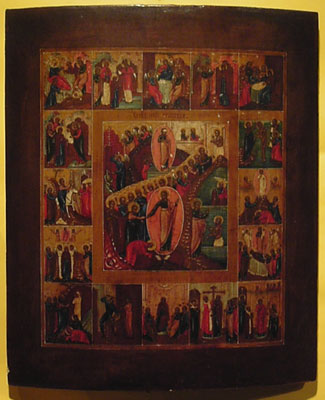
A 19th century Icon of the Resurrection surrounded by the Cardinal Feasts and Festivals of the Orthodox Calender. 17.5 inches x 15 inches.
.
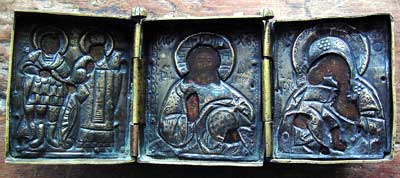
A late 17th Century triptych in a brass case, the images covered by silver rizas. 3 inches x 7.5 inches when open
Click here for information on how
a modern community of artists creates icons.
(You'll have
to click on the British flag once you're there to get the English
version of the site.)
 This is what the British flag looks like.