|
|
|
|
|
|
|
|
|
|
|
|
|
|
|
|
|
|
|
|
|
|
|
|
|
|
|
|
|
|
|
|
|
|
|
|
|
|
|
|
|
|
|
|
|
|
|
|
|
|
|
|
|
|
|
|
|
Body Lift |
|
|
|
Feroza Page |
|
|
|
Page 1 |
|
Page 2 |
|
|
|
|
|
|
|
|
|
|
Mods Page |
|
|
|
|
|
|
|
|
|
|
|
|
When performing a body lift there a few things that have to be done to make the job trouble free. I hope this write up will help people if they are going to attemp a body lift themselves. |
|
|
|
The Parts Needed |
|
|
|
-10 body blocks, 50mm - 60mm, Engineer grade nylon.
-6 high tensile 10mm, 140 mm long bolts with nuts and washers.
-4 high tensile 10mm, 130mm long, fine metric thread, 1.25mm thread pitch bolts with washers
-1 10mm, 1.25mm thread pitch, joiner nut (or the biggest nut you can get).
-Aluminium flat bar or some thing else to make small brackets out of.
I got all of the nuts and bolts from Lee Brothers in North Parramatta. |
|
|
|
Preperation |
|
|
|
When you do the lift, the body will go up, and the chassi stays where it is. This means that anything that is connected from the body to the chassi has to be looked at. |
|
|
|
Engine Bay |
|
|
|
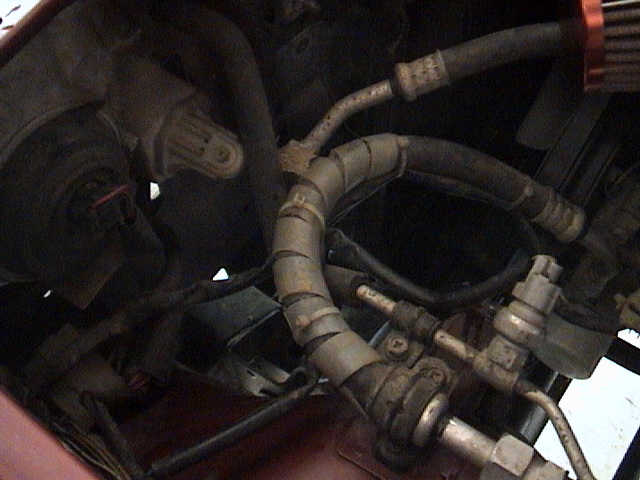
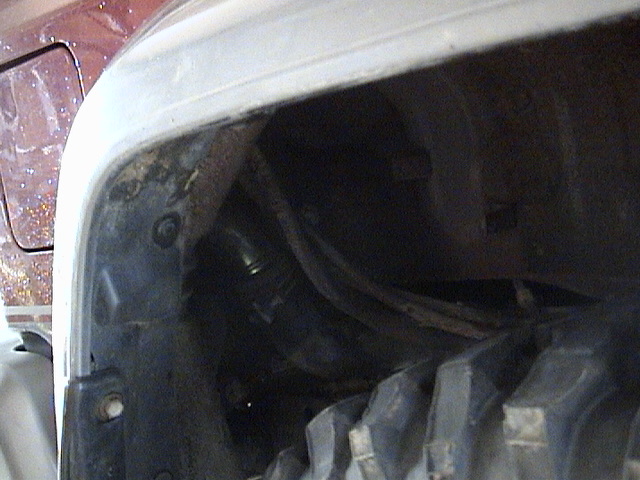
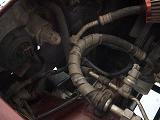
The vacuum lines on the fire wall need to be dropped the same amount that you are going to lift the body and the fuel filter needs to be dropped. These can be done before the lift. The radiator and the power steering fluid reservior also have to be dropped, but after the lift is done because there is not enough room before hand. They do have to be disconnected before the lift! Other things to watch out for include the clutch cable where it is hooked onto the battery, and the air con lines on the exhaust side of the engine near the radiator. The radiator has to be dropped or the fan will hit the bottom hose. When I did my lift I loosened the steering spline, but it didn't move, so I wouldn't worry about it. You will have to take the grill off to disconnect the radiator. |
|
|
|
 |
|
 |
|
 |
|
 |
|
 |
|
 |
|
|
|
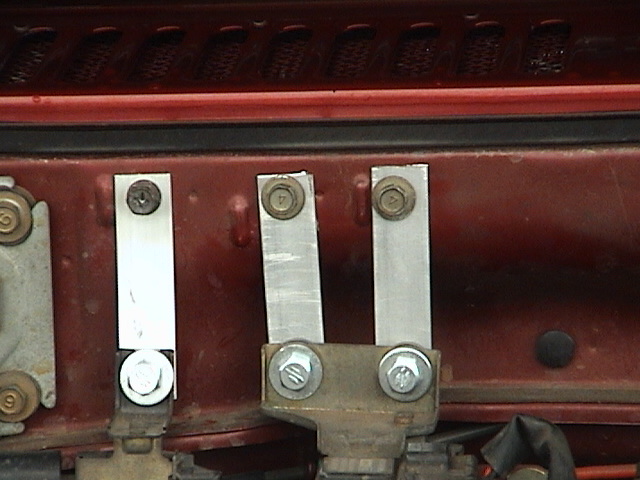
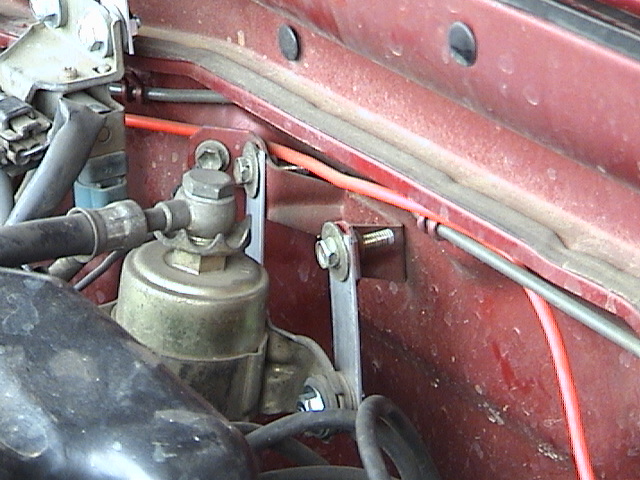
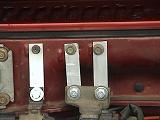
brackets that were made to drop vacuum lines, fuel filter and power steering fluid |
|
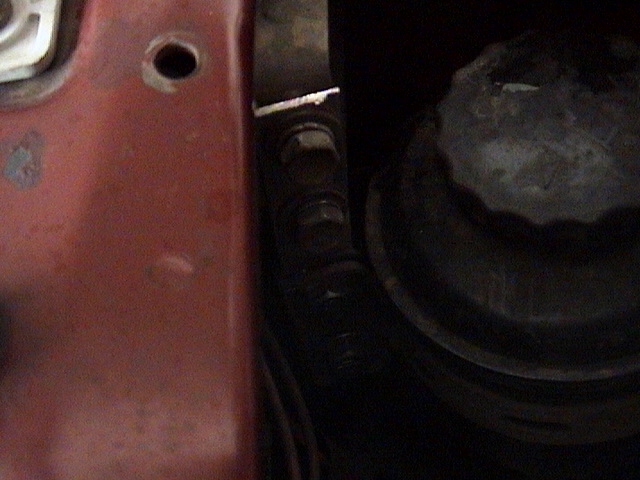
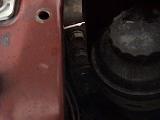
have to drop the radiator |
|
watch these aircon lines |
|
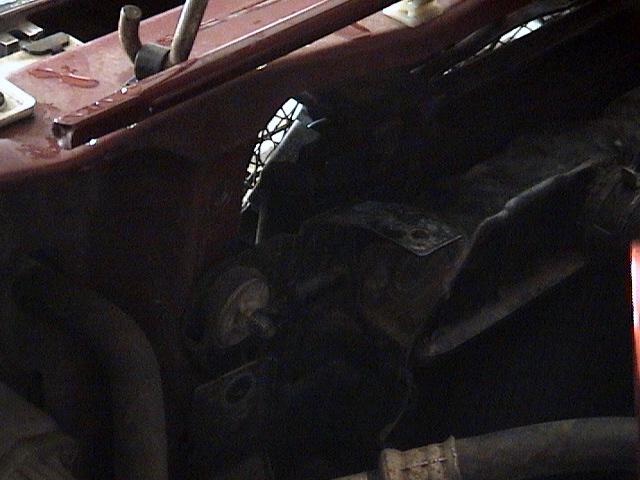
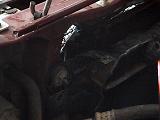
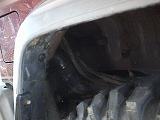
fuel filler hose |
|
|
|
The Rest of The Car |
|
|
|
Take the transfer case shifter knob off. Loosen the fuel filler hose clamp, make sure you don't let it pop off. It can drop about an inch, then tighten it back up. To get to the fuel filler take off the black plastic gaurd under the rear drivers side wheel arch. You might want to take off the brackets that hold the brake lines onto your axel to get a bit more length out of them. Also undo to clip that holds the wires for the fuel pump to the body. Only the clip closest to the fuel pump needs to be removed. You will probably have to remove your rear bumper so you can get a long enough spanner in to undo the rear two body mounts. You will have to take off the front stone gaurd to get to the front two body mounts. |
|
|
|
 |
|
 |
|
 |
|
|
|
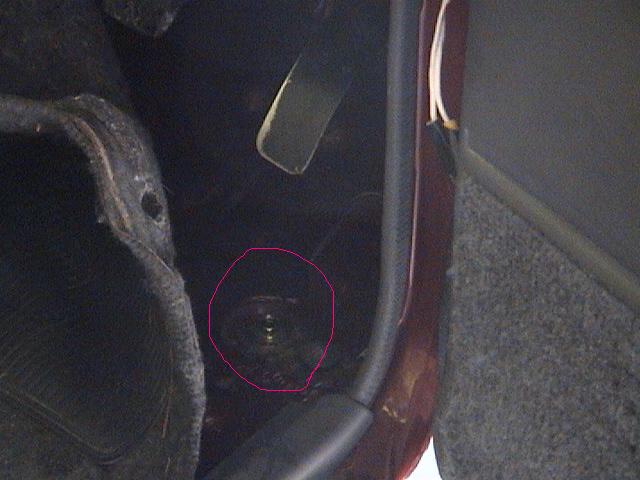
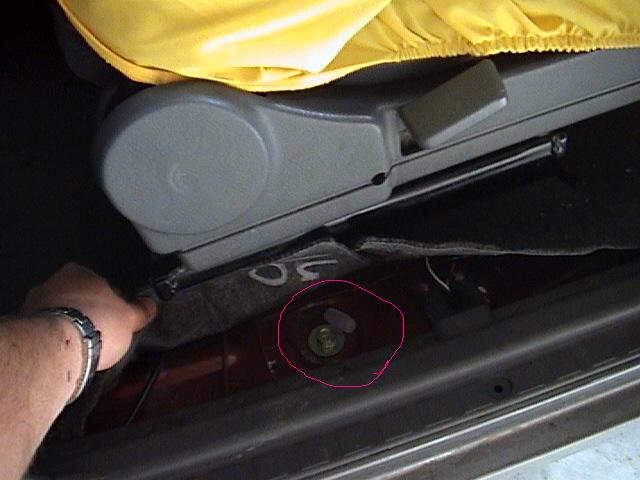
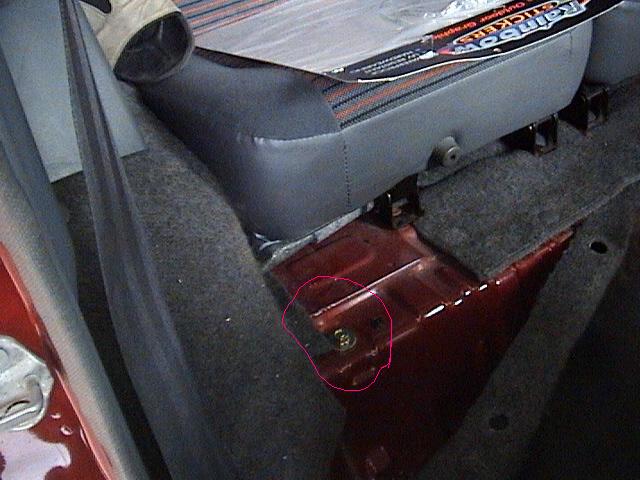
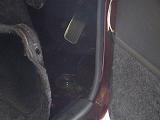
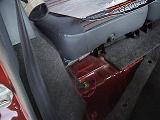
the location of the body bolts within the cabin |
|
|
The Procedure |
|
|
|
|
|
|
The Feroza has ten body mounts. Two at the front near the front bumper, two near the peddels at the front, two near the tilt lever on the front seats, two just infront of the rear seats and two right at the back under the rear door sill. All of the bolts will have to be ten millimeter diameter. The six bolts in the middle section of the car have a bolt with a seperate nut on the bottom. This means that you can use any type of bolt as long as it is the right diameter and length. If you are doing a 50mm body lift you need 140mm bolts.
The front two bolts thread up into nuts which are welded onto the top of the body. You can either break these nuts off with a chissel and use what ever bolts you want, or you can go to a bolt shop and buy the correct bolts. The bolts have to be fine metric thread, 10mm, 130-140mm long, with a 1.25mm thread pitch. If you can get these bolts it is much easier.
The back two body mounts are a little trickier. There is also a welded nut on the body, but you cannot access it, unless you drill holes. These nuts have the same thread pitch as the front two. These mounts do not have bolts, they have threaded studs with a nut at each end. To get these out you need to get a nut with the 1.25 mm thread pitch and tighten it up to the bottom of the original nut and undo it like a bolt and the stud will come out. I had to take there back bumper off to make enough room to get a decent size spanner in there. When you do the lift, you can use the same size bolts that you would use for the front two mounts.
I think the best way to do the body lift is by lifting the car one side at a time. After you have prepared the car for the lift, you need to loosen all of the body bolts on one side so they are held on by a few turns of the nut. Take out the bolts completely on the other side. Jack the car up from the body. You might want to distrubute the weigh evenly with some timber. It is a good idea to have some body else there to watch in the engine bay as you lift the body, to make sure nothing gets broken. When the car is high enough you can puts the blocks between the mounts and the body, slip the bolts in and put the nuts on a couple of turns. Lower the body and do the same on the other side. When all the bolts are in, make sure nothing is streched and do them up nice and tight.
Now you have to mount your radiator lower. Sit it inline with the engine how it was before the lift and drill new holes to support it. You can also remount your power steering fluid reservior now too. When the car is together again, bumpers on, radiator mounted etc, take the car some where that will twist up the chassi a bit then get back under the car and make sure the bolts are all still tight. |
|
|
|
Page 2 |
|