Updated
| .As the evolution continues, the small add-ons have already been taken care of, so the more costly and more dramatic changes have been added...
For more ideas and info on modding your Monster as well as the cameraderie of other Monster owners, please visit the DML website! |
 |
|||||||||||||||||||||||||||||||
|
||||||||||||||||||||||||||||||||
![]()
01/2003
![]()
![]()
![]()
![]()
![]()
01/2003
filter
![]()
![]()
![]()
![]()
![]()
![]()
![]()

02/2003
![]()
![]()
![]()
![]()
![]()
![]()
Functionally, these lights are great! I may switch to some HID bulbs later, as the stock bulbs are a little dim at the low-beam setting.
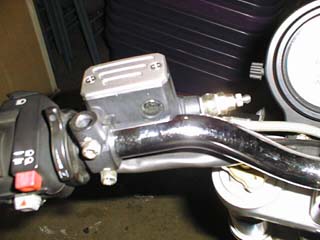
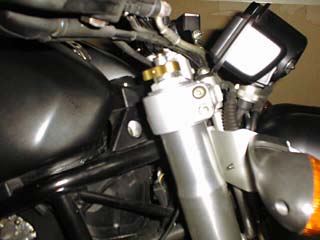
This kit from Spareshack also includes white nylon spacers. Use these to raise the instrument cluster height especially if you're installing the lights on a 2000 M750 console (i.e. no tachometer). The height of the speedo-only cluster is different compared to a speedo-tach console. The attachment of the speedo cable to the speedometer housing is noted with the red arrow.
IMPORTANT: The spacers raise the cluster height enough to prevent excessive bend in the speedo cable. The cable inside the tubing spins around its axis when it's in operation. Excessive bend will cause extreme stress on the cable and may break it! The bike was taken out for a spin after the dual light installation and after about 1 mile of riding, the speedo cable broke. A replacement speedo cable from the dealer is $30.
![]()


02/2003
![]()
![]()
![]()
![]()
![]()
![]()
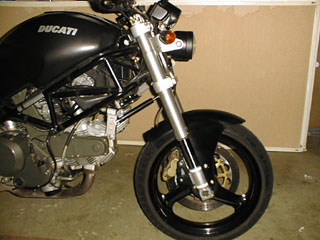
You'll have to figure out a way to suspend the monster for front fork removal. The best way I've found so far is to straddle a sturdy ladder over the front end of your monster. Use motorcycle ties or something substantial to suspend the bike from the ladder. Remove the front wheel and all attached parts. Slide the forks out, and put the new ones in. It will take you a few hrs to do this.
![]()
02/2003
![]()
![]()
![]()
![]()
![]()
![]()
![]()
![]()
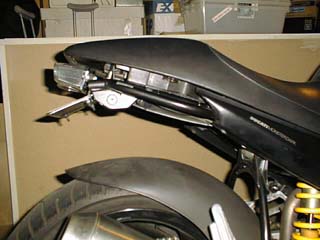
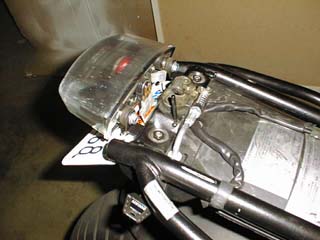
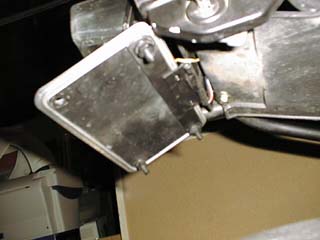
The license-plate bracket was created using a door-hinge. We are planning on setting it on a spring so that if the bike bottoms out and the plate hits the rear tire, it will spring back. We used an arc-welder, TIG-welder, sander and buffer for the steel bracket.
I have yet to install the rear turn signals.
Temporary "shift-light" bulbs cannibalized from an aftermarket shift-light unit for a car were wired to the frame tubes. I will be looking for an alternative for these, as the smallish units aren't really visible unless viewed directly straight-on. Thought of using LED lights in the frame tubes but may run clear flush-mounts with orange LED bulbs on the sides of the rear lens.
![]()

01/2003
![]()
![]()
![]()
![]()
![]()
![]()
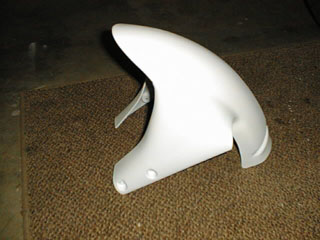
SUGGESTION: If you have a dark or a black Monster, I suggest using black primer. I used about 30 coats of Color-Rite #7575 paint on the white primer. If you have a red or yellow monster, a white primer will brighten the over-color that you will be applying.
![]()