![]()
![]()
![]()
![]()
|
|
|
|
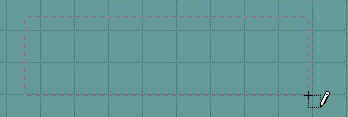
Now that you have your theme, shared borders and a page banner set up, lets learn how to create a table. Tables are your best friend for aligning text and graphics on your pages and FrontPage makes adding and editing tables a snap. From the toolbar click on "TABLE" and then "DRAW TABLE".
Your mouse pointer will then turn into a pencil. Simply put your mouse pointer in the upper most left hand corner of your page where you want your table to be, hold down the left mouse button and a small box will appear and drag the box down and across the page to the right hand side making the table roughly the size you want it to be then release the mouse button.
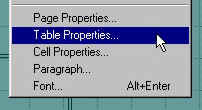
After the table is drawn, you can edit it to fit your needs. The way I do this, and this is my opinion only, is to draw a single square table like the one above, then right click inside the new table and choose "TABLE PROPERTIES" from the dropdown box.
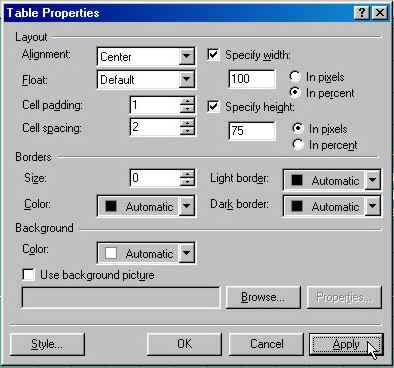
You will then get the table properties box. The only thing I do in this box is to "SPECIFY WIDTH", which I set to "IN PERCENT" and make it 100%, then change "ALIGNMENT" to "CENTER" and I usually change "BORDER SIZE" to 0. This is a setting you need to play with to get your desired look and layout.
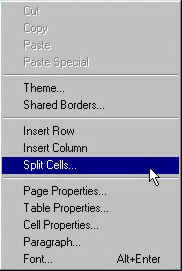
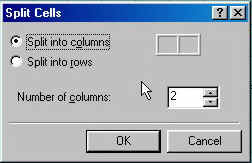
I then right click in the table and select "CELL PROPERTIES". This box is almost the same as table properties. Mainly I change "WIDTH" to 100% again and "HORIZONTAL ALIGNMENT" to "CENTER". These two steps will get you a nice stable main table to build in. Once you have created you main table, you can split it into many "Cells." To do this, simply right click inside the table and pick "SPLIT CELLS" from the dropdown box.
A new box will appear and give you the choice to "SPLIT INTO COLUMNS" or "SPLIT INTO ROWS" and how many times to do so. You can also pick "TABLE" and then "DRAW TABLE" from the tool bar and use the pencil to split smaller or individual cells.
After you split your table into the cells you need, you can hold down the "ALT" key and left click in an individual cell. This will highlight that cell only. Once the cell is highlighted you can right click in that cell and set its properties. Each individual cell can be formatted in its own way as you see fit. Play with these properties for a while to get use to building tables to suit your needs. After a few tries it will be like old hat and you will be the master of your table. Now lets learn to format text to add to your tables
|
| ||||||||