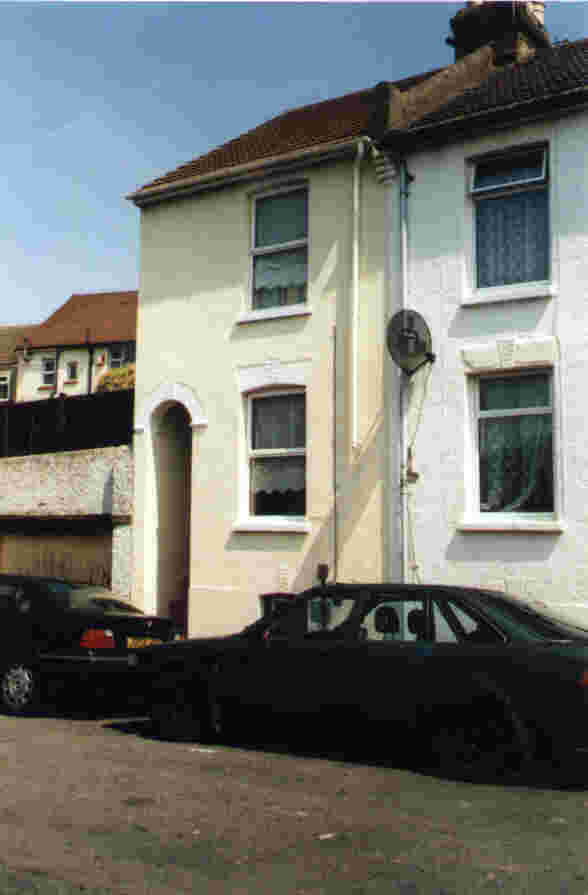
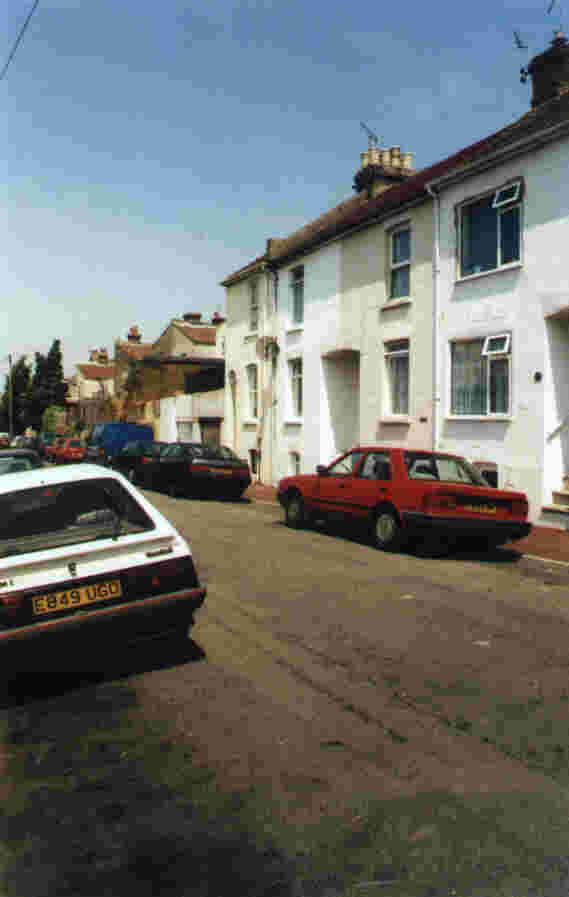
Left - No.1 Seymour Road is the end house in this terrace. When Fred was born, the house next door (No.3) was occupied by his paternal uncle, William Wood; his grandmother, Sarah Wood; his aunts, Lelia Wood and Sarah Jermyn; and his great-grandmother, Maria Barnham.
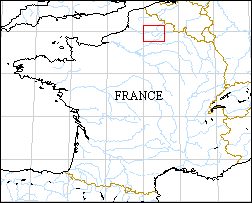
The Somme was not an obvious place to mount an offensive: Allied positions there were generally overlooked by the German frontline, which was heavily defended with fortified dug-outs and copious depths of barbed wire. Nor was there any target of strategic importance in the area. Nevertheless, this area was chosen because the British and French Commanders-in-Chief had agreed on a joint offensive the previous December at the Chantilly Conference of the Allied commanders, and the River Somme happened to mark the point in the Allied frontline where British and French forces met.
But as preparations proceeded for the Somme offensive, events further south at the French fortress town of Verdun ensured that the Allied attack would not proceed as planned. On 21 February 1916, the German Fifth Army began a ferocious assault on the French fortress city of Verdun, and France was forced to divert seventy-eight divisions to the city's defence. This huge expenditure of French divisions around Verdun significantly changed the nature of the proposed attack on the Somme. The planned French participation was reduced from the original forty divisions down to parity with the British (ie twenty-five divisions each), then again down to nine divisions, of which only five would actually participate on the opening day. This meant that the main burden of the Allied offensive of 1916 passed to the new British infantrymen of Kitchener's armies: recent recruits like Fred Wood, who had been civilians until a few short months before, and who were now - after hasty and rudimentary training - faced with carrying out the attack on the Somme.
To compensate as far as possible for the lack of experience among his troops, Fourth Army's Commander (General Sir Henry Rawlinson), prepared a detailed timetable for the assault, emphasising the role of the preparatory artillery bombardment and minimizing the importance of individual initiative among the infantry. Rawlinson's plan was that when the artillery bombardment finished, the first wave of infantry would leave their trenches, form up in close formation, and march through no-man's-land with bayonets fixed, at a rate of 100 yards per minute. Successive waves would follow at one-minute intervals. They would pass through the gaps which the artillery bombardment had made in the German wire, and occupy the German trenches whose defenders had been decimated by the same bombardment.
In reality, when the British began their attack on 1 July 1916, they discovered that much of the German frontline remained unbroken by the preliminary artillery bombardment which was meant to have destroyed it, and the barbed wire defending it. When the bombardment ceased and the Fourth Army's advance began, the German defenders emerged unscathed from their deep shelters to re-man their machine guns. They found themselves confronted by British infantry battalions advancing - as stipulated in Rawlinson's detailed orders - slowly, exposed and in close formation across No-Man's-Land. The attacking troops were cut down in their thousands: many did not get beyond their own wire, most did not see the enemy that cut them down. By nightfall on 1 July 1916, the British had lost 60,000 men on the Somme battlefield's twenty-mile front. This represents the greatest loss suffered in a single day in the history of the British Army.
Despite the unprecedented scale of losses on the first day, the British Commander-in-Chief, General Sir Douglas Haig, was confident that German losses had also been considerable, and was determined that the offensive should continue into a second phase. He no longer spoke, however, of a decisive breakthrough on the Somme, but of a grinding war of attrition that would wear down the German Army beyond its capacity to replenish itself. He wrote: "In another six weeks, the enemy should be hard put to find men. The maintenance of a steady offensive pressure will result eventually in his complete overthrow".
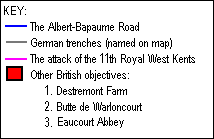
The advance on Flers was an historic offensive, in that it represented the first involvement in warfare of a new innovation - the tank. The British Army had developed and tested 150 tanks, and fifty of them were earmarked for action on 15 September. Ten were assigned to support the 41st Division's advance on Flers, and seven of these made it to the Division's starting point (the other three broke down.)
At 06.20am, the 11th RWKs advanced with their seven supporting tanks, under the cover of a heavy British barrage. Their advance was
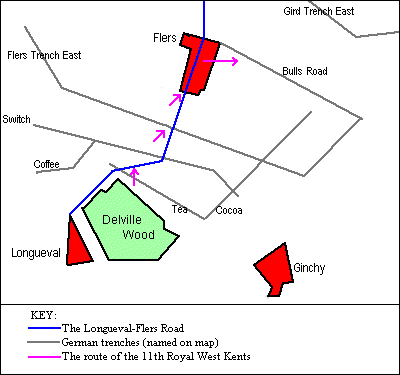
The infantry advanced to the next line of defence - the Switch trench - which was crossed with little difficulty. From this point, enemy shelling intensified, and progress was again slowed by heavy machine-gun fire and by uncut wire in front of Flers Trench East. However, the approach of the five tanks which had survived the assault so far, had a decisive effect on the German defenders, and by 08.15am the 11th Royal West Kents and the 15th Hampshires had reached the outskirts of Flers and were in position to attack the village itself.
These two battalions were in no proper formation and had few leaders -- many of their commanding officers and company commanders had been left behind among the dead and wounded earlier in the advance. As the few surviving junior officers stopped to discuss how best to proceed, the infantry came under fire from Flers village, and the attack threatened to lose momentum.
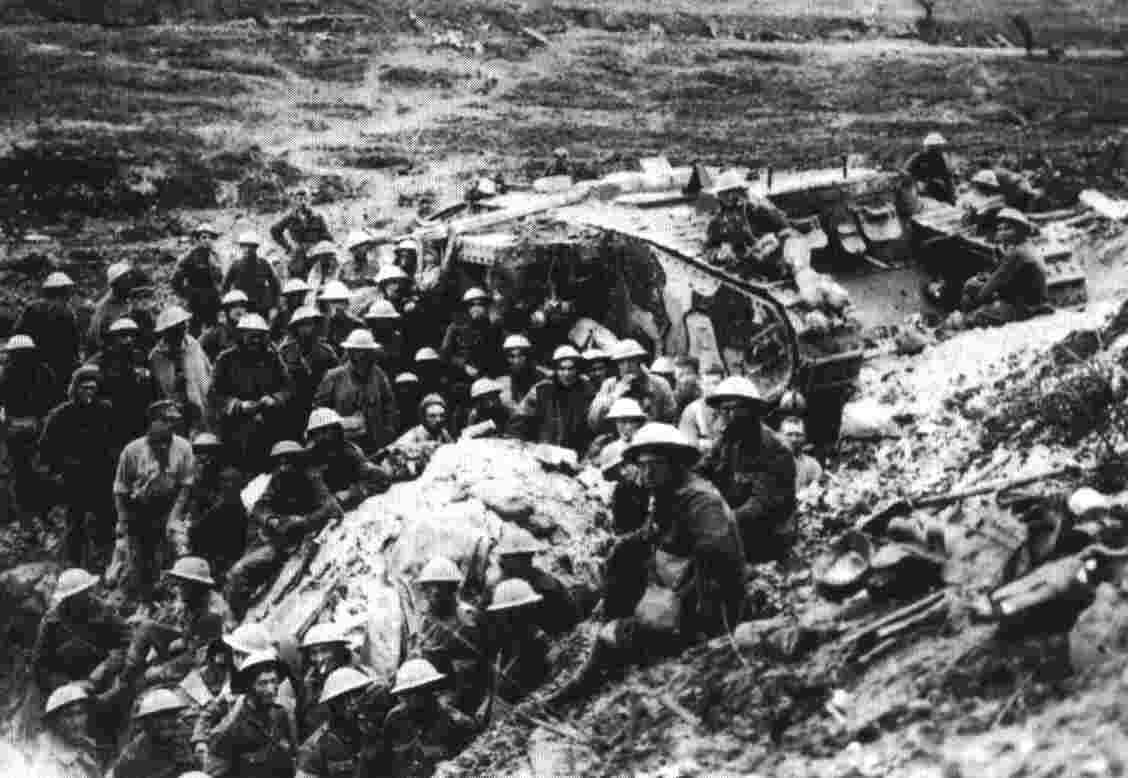
and one of the tanks that made it possible.
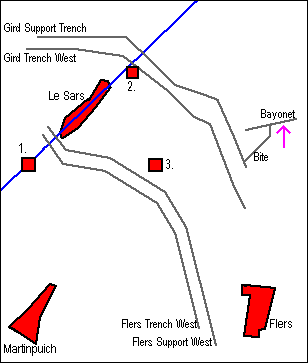
Battle For Le Sars
The 122nd Brigade (which included Fred Wood's 11th Royal West Kents) was assigned to the far-right of the British line at Le Sars, with responsibility for taking Bayonet Trench West. Their offensive was postponed on successive days, due to rain, and was finally scheduled for 7 October.
At 01.45pm on the 7th, the 11th Royal West Kents and the battalion with which they had taken Flers - the 15th Hampshires - led the attack on Bayonet trench. Almost immediately, the two battalions were raked by concentrated machine-gun fire from both flanks, and their advance was stopped in its tracks. Of the 16 officers and 465 men who went into action with the Royal West Kents in the attack, only four officers and fewer than 100 men survived. The surviving 20 per cent of the battalion were unable to take Bayonet Trench, but held their position in the line until relieved on 8 October.
Sadly, Private Fred Wood was one of the many casualties sustained by the 11th Battalion in its attack on Bayonet Trench. Frederick Francis Wood was killed on 7 October 1916, near Le Sars in the Picardy province of northern France. He had been on the Western Front less than five months when he became one of the 32,200 casualties suffered by the 41st British Division during the Great War. Fred's body was never recovered, and he is commemorated among the 72,085 names inscribed on the Thiepval Memorial to the Missing of the Somme.
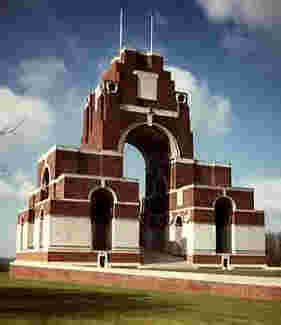
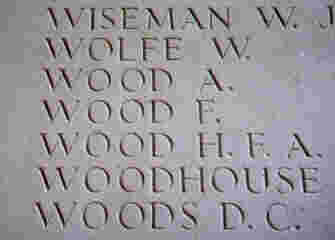
Frederick Wood's name can be found on Face 11 C of the Memorial (above, right).
