<<BACKxxxxxxxxxxxxx

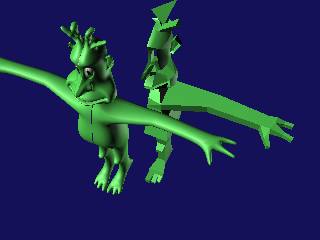
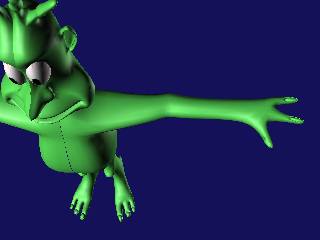
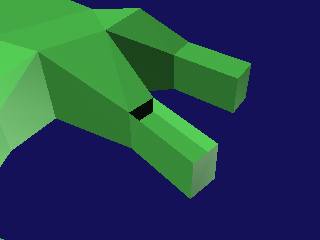
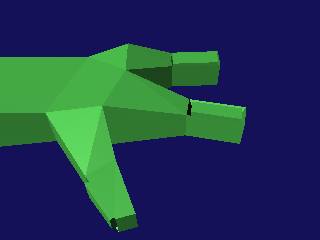
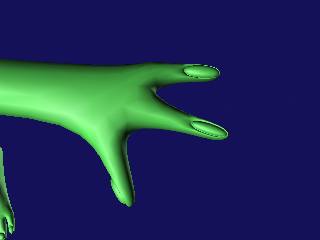
Another important aspect of modelling in this way is to always be turning the model in the viewport to see where the polys are in relation to eachother and where they are in space. A model can look fabulous from the front or the side but may be utter crap from a different angle. Look at my arms here. The proportions are waaay out and will need to be corrected. I fixed this by selecting the rear facing polygons and dragging them towards the front. I have also added the fingers here, using the same method as the toes. I have moved the control object too because it was intersecting with the reference object, very confusing.......

The arms are improving and I"ve jumped ahead and put in the fingernails and toenails. This is a really good look and I'll show you how to do it. I have put a texture map on the eyes to liven the little dude up a bit too.
Select the poly at the end of the finger and BEVEL it down and then shrink the poly a little bit. It's tricky so be ready to do it over a few times.


The next part is to select the new face that we made with the bevel and extrude it up until its just proud of the original height of the finger. Sorry if the image doesn't make it too clear.
Voila!!! Here is the completed fingernail. The same method is used on the toes. In the control mesh you can select the fingernail polys and give them a separate Material ID so that they can have an individual texture later on. Just remember the number!!
NEXT


Hosted by www.Geocities.ws

1