INTERCOOLER:
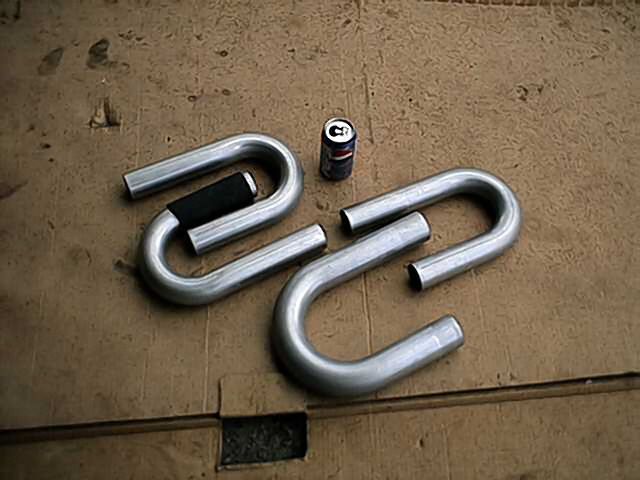
I used a mix of custom and mk3 intercooler piping. Here's a pic of the mandrel bent pieces I used. They consist of 2" and 2.25" U bends. The inlet/outlet pipes on the mk3 intercooler are 2" in outer diameter. I could not find a use for the Pepsi can, so I discarded.....er....um....recycled it. Bop ba bop baa baa, the joy of COLA! Why can't they use Britney Spears in Toyota commercials? I'm sick of watching her videos with the television muted.
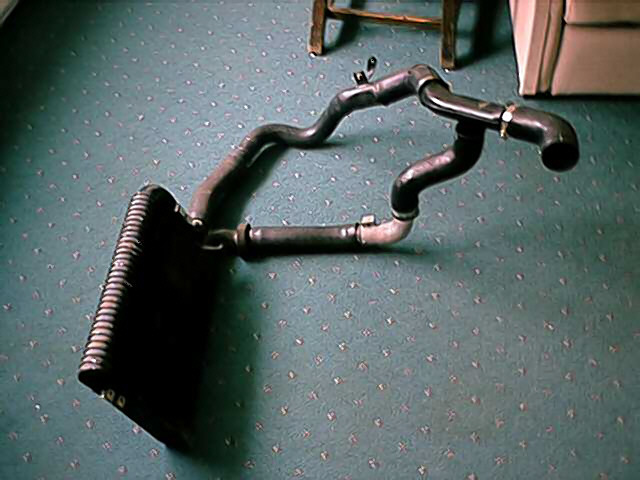
Ever wonder what the mk3 intercooler piping (attached to the IC) looked like outside of the car? Well, in case you did, or didn't, here's a pic or two.
You'll want to work on your intercooler piping with the turbo installed. For the first intercooler piece, get your hands on the factory S shaped rubber hose from toyota. It can be seen in the previous pics. This piece is connected directly to the compressor outlet on the turbo, and clears the alternator and oil filter just fine. Some people who have turbocharged their mk2 have used an oil filter relocation kit. Its helpful and convenient, but not necessary. However, I will purchase one eventually. If you need to change your oil filter, you only have to remove the S shaped hose to access the filter. The S shaped hose has an inner diameter of approximately 2.25". I used a section of 2.249999999999999999 inch mandrel bent tubing, and slid it into the S shaped hose. Its a nice fit. After this section, I slid it into a stock mk3 IC hose, which starts at 2.25" (inner diameter), and tapers down to the 2" (outer diameter) size you'll need to mate it to the mk3 intercooler inlet. Here's another pic.
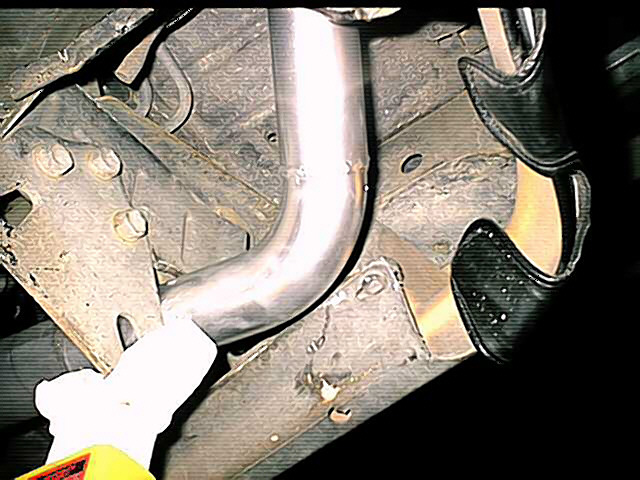
From there, I used 2" O.D. piping all the way to the wheel well.
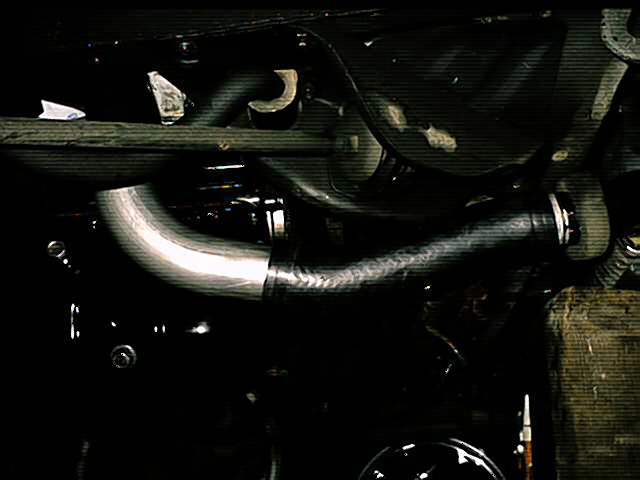
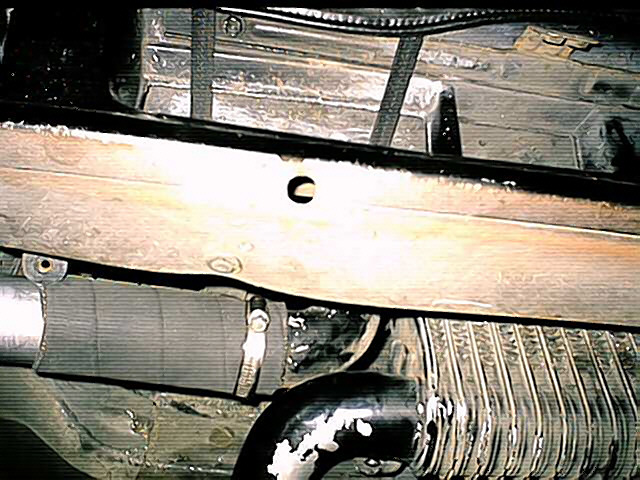
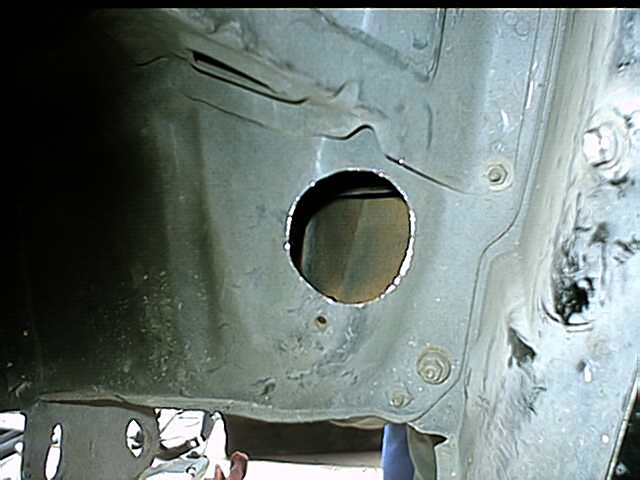
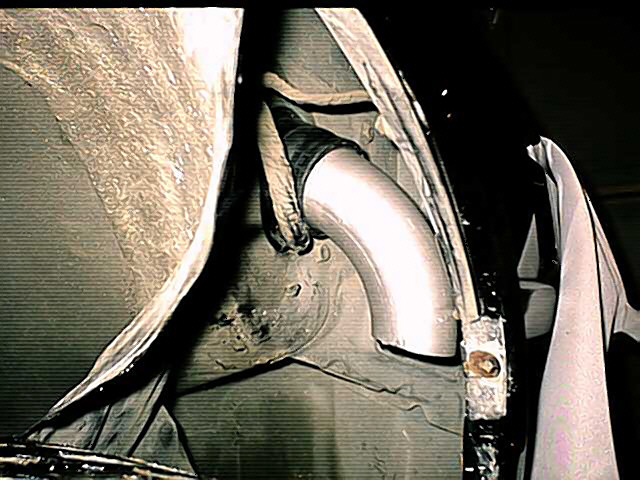
In order to have the least amount of bends possible, I chose to route the 2" O.D. piping through a hole I drilled through the inner fender support.
In the previous pic, you can see how I mated the 2" O.D. piping to the 2.25" O.D. piping. Lotsa welding. There is a very short mandrel bent section of this 2.25 O.D. piping before it slips into a 2.25" I.D. rubber mk3 hose section. This same section enters the engine bay through the hole that is found in the inner fender.
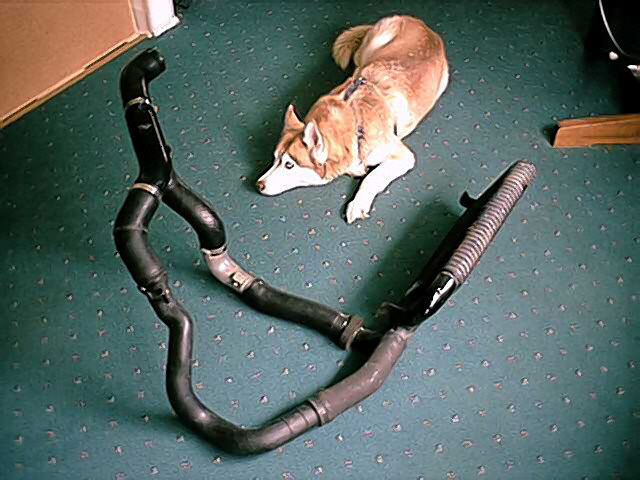
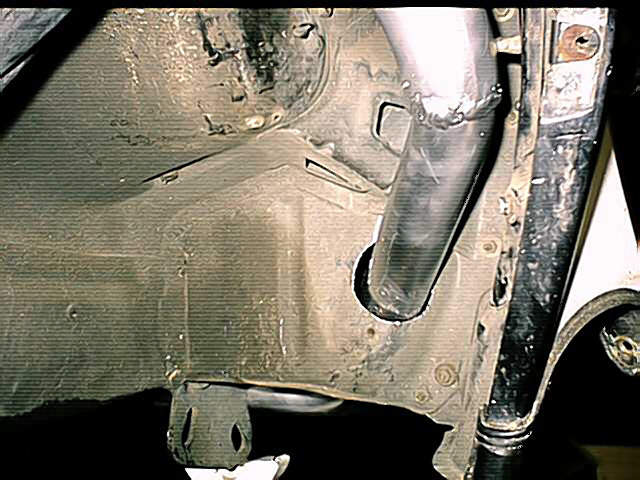
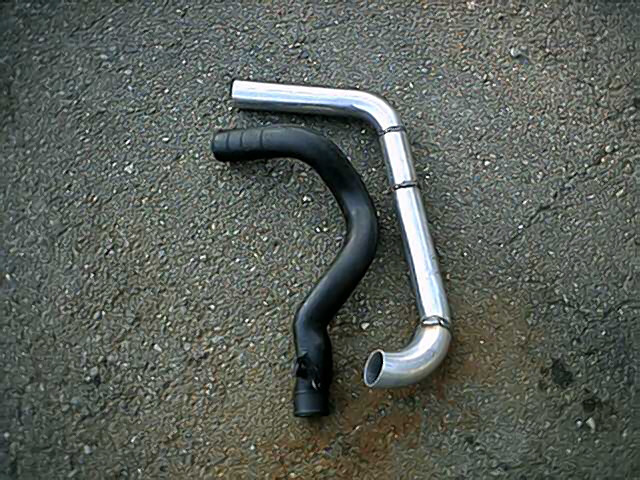
I'm sure you've noticed the great sequence of pictures, right? Night, day, Night, day, unfinished sections, finished sections..... get the picture? In a moment, we'll re-enter the engine bay, and finish up the intercooler piping. For now, take a look at my hardpipes vs the stock mk3 inner-fender piece.
Again, the stock mk3 rubber IC hose enters the engine bay. Attached to it is a mk3 factory toyota hardpipe, attached to a 2.25" O.D. hard pipe, which slides into another mk3 rubber IC piece. I cut small sections from this stock Toyota IC hose and used them as couplings for the aluminized 2.25" pieces.
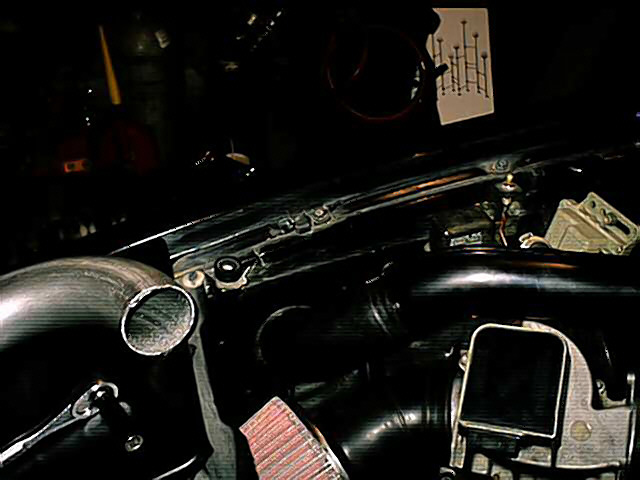
Some mk2 modders use the factory 5mge upper intake pipe in their turbo conversions. Obviously, I used the mk3 3000 pipe instead. This allowed me to use the stock mk3 blow off valve (also properly referred to as compressor bypass valve). It fits perfecty. The small side of this pipe is 2.25" O.D. The large side of the pipe has the same diameter as the 5mge throttle body. I used a cut-up section of the stock 5mge intake tract to mate the 3000 pipe to the throttle body. What about the plastic nipples on the stock, plastic piece? Since I used the stock mk3 accordian, afm-to-turbo hose, I was able to re-route the vacuum lines. On the bottom of the accordian hose is a nipple which happens to be the same size as the nipple that is found on the stock top-of-motor plastic intake pipe. I connected the power steering vacuum line to this location, which serves as a pcv connection on the mk3 turbo. I also routed the air valve line into this accordian hose. Note the fat hose that runs over the top of the valve covers.