|
Photographs - Gallery 16
All photos on this page were supplied by the Imperial War Museum.
These photographs have been used with permission and can't be further used without consent.
 |
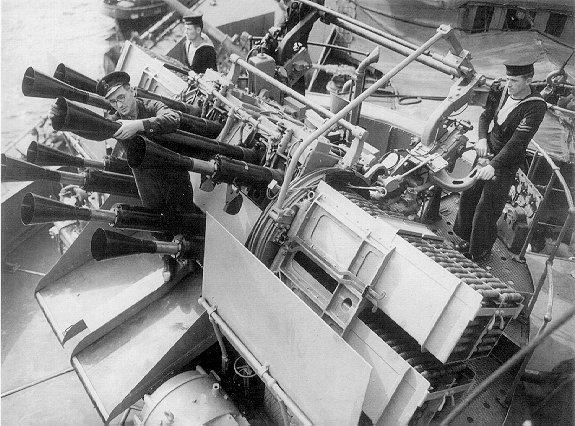
| A 832 |
|
View of the multiple pom-pom. (September 1940)
| |
|
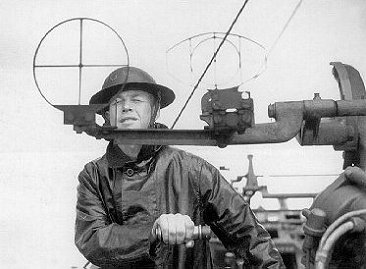 |
| A 834 |
One of the crew of a .5 at the sights.
(September 1940)
| |
|
 |
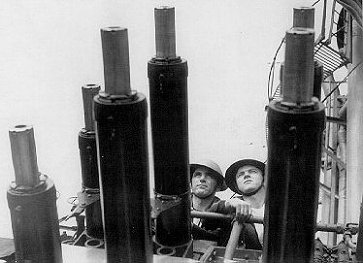
| A 1189 |
|
Close up of an 8 barrel multiple pom-pom. (September 1940)
| |
|
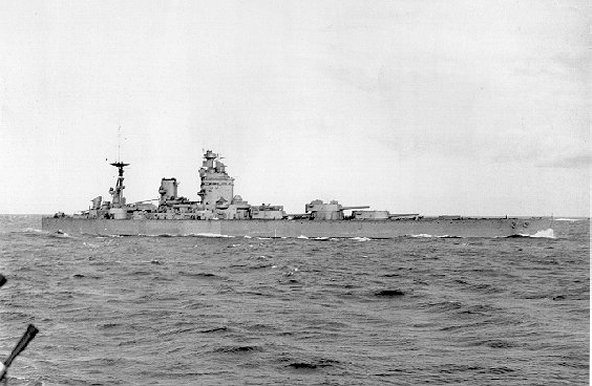 |
| A 455 |
|
One of HM Battleships at sea with destroyer escort. (August 1940)
| |
|
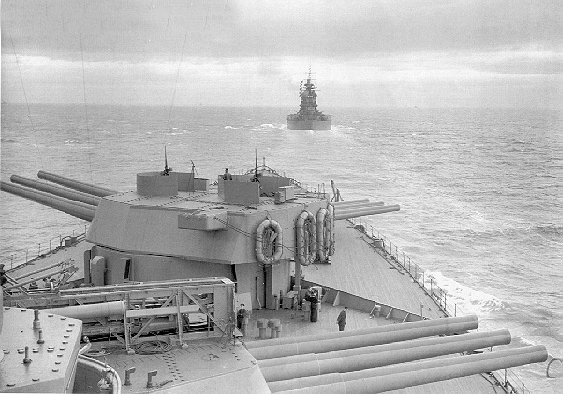 |
| A 1179 |
Battle squadron in line ahead. Showing destroyer screen.
(September 1940)
| |
|
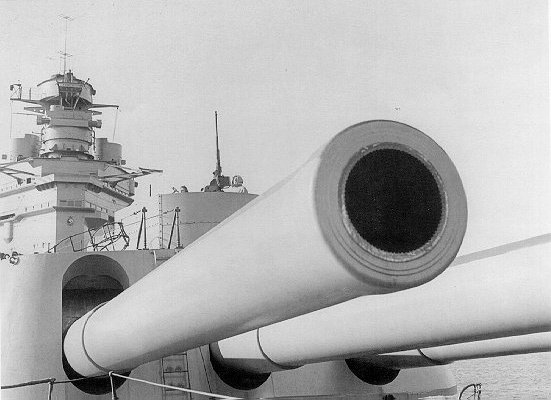 |
| A 1136 |
The biggest and the smallest gun on the RODNEY. The .8 inch gun
mounted on a turret. (September 1940)
| |
|
 |
| A 2396 |
HMS SOUTHAMPTON firing, showing the flash of the guns.
Splashes of the enemy shells seen falling short and astern.
(Nov 27, 1940)
Photograph of HMS Rodney as taken from HMS Sheffield.
| |
|
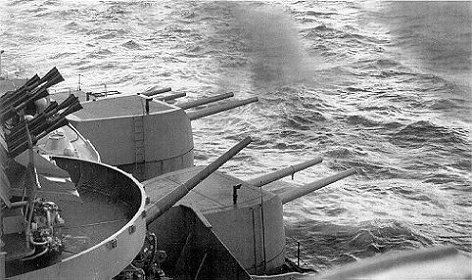 |
| A 203 |
|
The secondary armament of the battleship. (September 1940)
| |
|
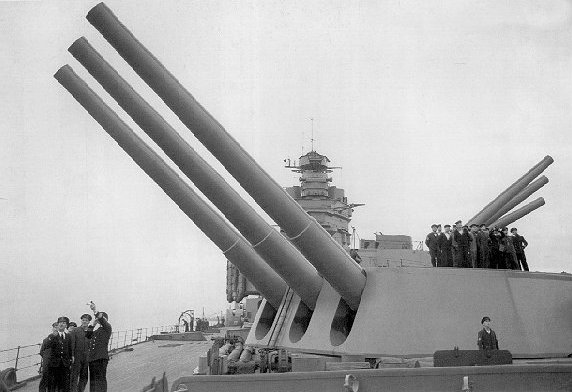 |
| A 1135 |
A group of officers and men standing on a 16" turret watching a
"Fashion Parade". Aircraft of all types fly past at a considerable
height to give the Navy practise in identifying the machines.
(September 1940)
| |
|
|