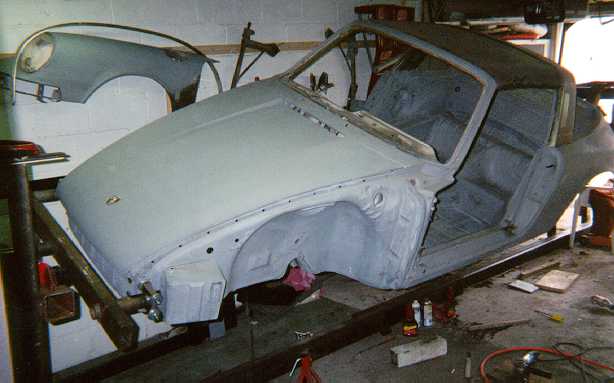
This phase will display the new rotisserie that I borrowed from a fellow PCA/ UCR member, that visited my site after reading an article I wrote for a local car magazine. This rotisserie is an amazing tool, it allows me to completely spin the car on its' axis to accommodate floor pan repairs and also hard to get at spots under the rear seats...This also makes welding much safer and accurate!
I'd like to thank Paul for the use of his rotisserie, very much appreciated!
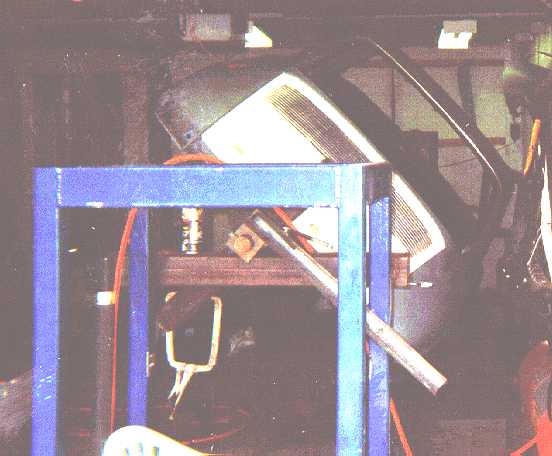
This picture shows the rear tower of the rotisserie...the diagonal bar has a machined clamp that holds the car in position.
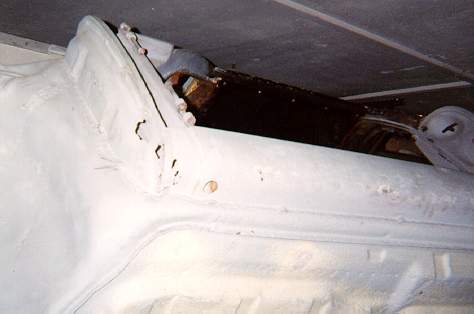
This is the car after locking it in a position to more easily work on the drivers side rocker panel...(It takes very little effort to spin the car, as the balance is spot on!)
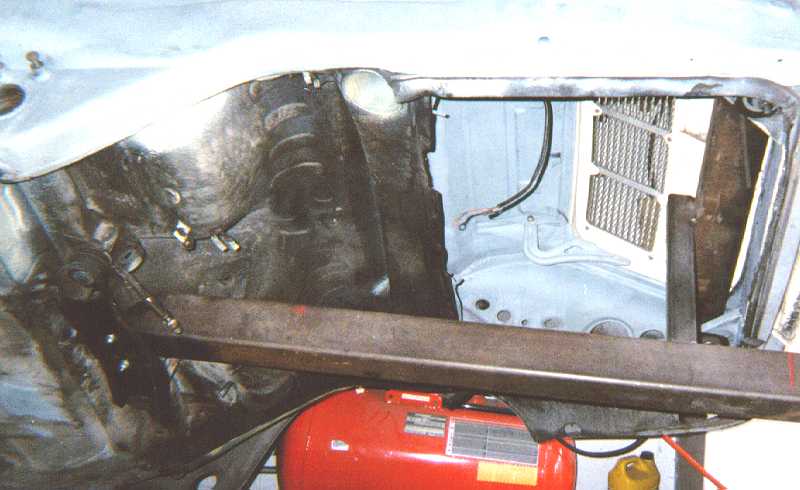
Here you can get a good look at the rear rotisserie brace, it supports the whole back of the car using the transmission and engine mounts...
I had to alter the original front support bracket, as Paul was restoring a 77 tub that has no battery boxes. I had the bumper bracket machined to tighten around the bracket and fit into the factory original bumper bracket mounting holes...
After comparing the new passenger rocker panel with the old drivers' rocker panel, I decided that I would not be happy with the end result if I didn't replace it as well, so these shots are outlining the preliminary steps for removing it, and once the new rocker panel arrives from Doc N Cys, I'll add some more pictures of the final product....
At first, I thought the DR rocker panel would be ok, but then I found some little dings and didn't think patching it would result in a satisfactory end product, besides the fender mounting panel has to be removed anyway...
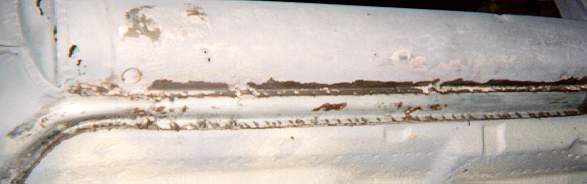
I had to strip all the paint to expose all the spot welds...
There was some surface rust on spots that where exposed sometime previously...
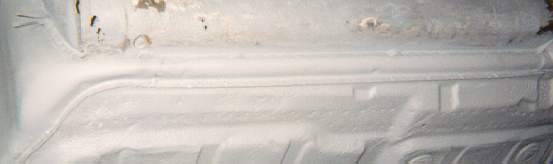
Here the surface rust spots have been sand blasted and treated to remove the surface rust...( nice and shiny! ) I'm sure once I remove the outer rocker I'll find some more work, but that will have to wait for the new rocker panel..
To save flash rust I primed the surface...
more on this later...
Flash forward several weeks once the new rocker panel arrives. I start to remove the old rocker panel by cutting out all the spot welds trying to be very carefull not to cut into the inner rocker panel sheet metal. I decided to leave the old fender mounting panel in place until I "offered" up the new rocker panel in the hopes that I could ensure proper alignment. I couldn't do this on the passenger side, as the bulkhead needed to be repaired before the rocker panel could be "offered-up".
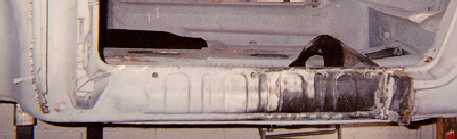
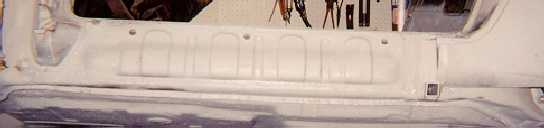
Here is what it looks like when you remove an outer rocker to expose the inner rocker. All you can hope for is that the condition of the metal on the outside of the inner rocker is in good shape. Here you can see Porsche used a flat black primer, that has held up very well. In future updates I will show some pictures of inner rockers of a different 1970 911 targa that I picked up for parts. The condition of that car is dramatically different...
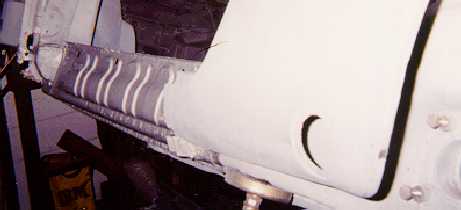
Here you can see that I have stripped half of the primer off the inner rocker and immediately primed the surface to save against flash rust. The plan is to coat this whole area with POR 15 to match the treatment I did on the passenger side.
Here the inner rocker has been completely stripped, metal prepped and primed.
Once I got some more POR 15, I stripped the primer off and coated the inner rocker, inner rear fender between the jack support and the rear quarter with two coats of silver POR 15. I was told if colour didn't matter, that the silver POR 15 had a higher metal content than the other colours. Unfortunately, silver doesn't show very well against the other parts of the primer car.
This is the inside of the new outer rocker panel that I got from Doc N' Cys. Here it is stripped and ready for the first coat of "silver" POR 15.
As mentioned before, the silver POR 15 doesn't show up very well, but the inner panel does have two coats of POR 15 on the inside.
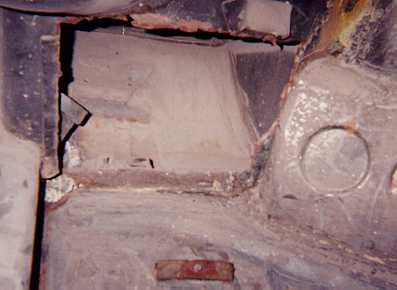
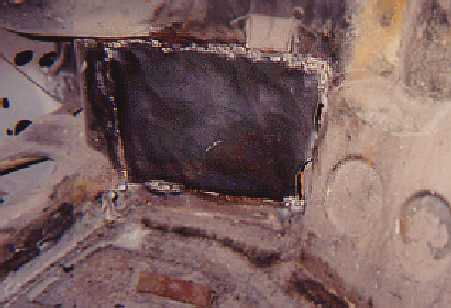
I noticed that the dealer installed air conditioning sysetm had resulted in a rather ragged hole in the passenger foot well.
This is the piece of metal that I'm offering up to patch the hole. The hole had ragged edges that needed to be smoothed out and sharp pieces needed to be cut off, before I could trace out this very unusual shape.
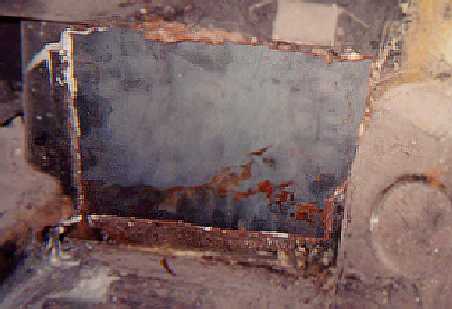
Here the new piece of metal has been cut and prepped, and has also been tacked into place to make sure the fit is tight. This is a true test of dexterity and my ability to weld a bead at very awkward positions.
Here is the view of the patch panel from inside the luggage compartment. I'm pleased with the my bead here and once this area is completed, it should be difficult to tell this hole was ever here. I did notice in the donor 911 that there's supposed to be a "pipe that goes along the back of this panel. Before I got this donor I was thinking that these two "pipes" where joined by a rubber hose affair. "Apparently NOT!" So the new challenge will be to get the "pipe" from the donor car in one piece and installed in my car in a seamless manner. More fun to come!
That's all for now, I visited Stoddards swap meet last weekend and got all the parts that I need to get the car on it's wheels!!! Whoa!!! The next phase will or "should" see the car come off the rotisserie back onto the chassis stand, for final front end sheet metal/ suspension work...