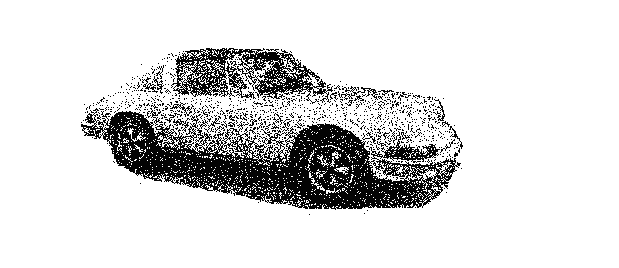
(These are pictures of sub-assemblies that are being restored at the same time as the prep work on the chassis)
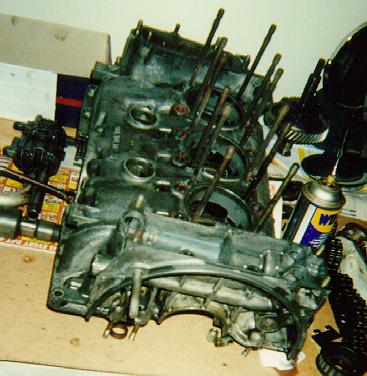
Here is the engine case, before degreasing. These pictures are the "BEFORE" shots
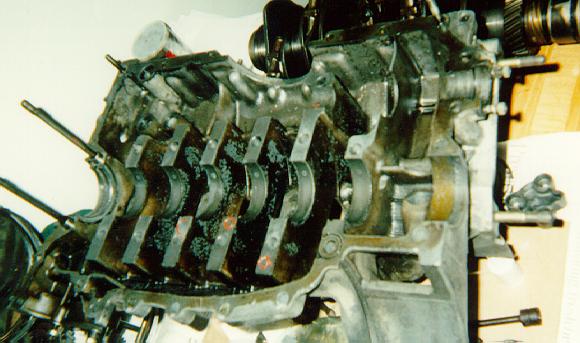
These pictures are the "AFTER" shots
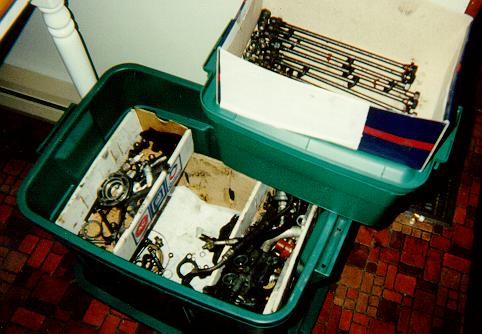
Here is my collection of internal engine components, waiting for cleaning and inspection
I also had the crankshaft prepped, polished and mic'd
I took some shots of the crank before but they didn't turn out so well, so I'm just including the final product.
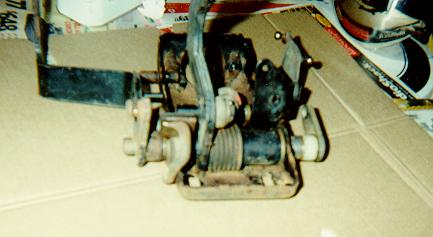
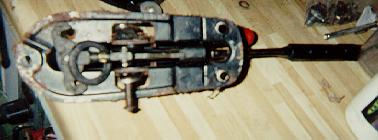
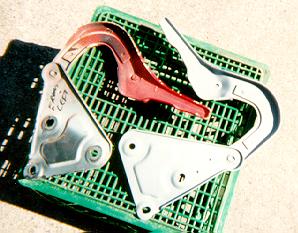
I took these shots to assist with the reassembly, of the pedal cluster.
I purchased this pedal cluster, that had a new bushing kit, however had several rusty parts.
The plan is to disassemble, clean, strip, and powder coat all the parts to get things back to spec.
I should really locate a MACRO lens, I'm not sure how effective these are really going to be a few months from now.
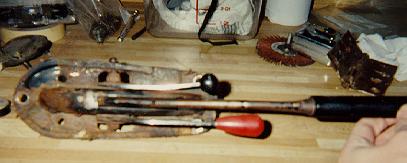
Here's an exploded view of the cluster...
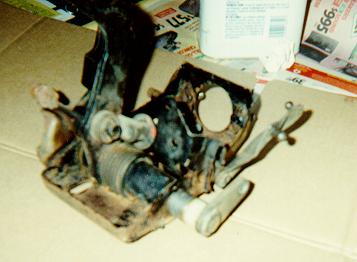
These shots are not very exciting, but I hope they'll help upon re-assembly...
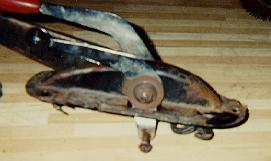
Basically, you're looking at the e-brake assembly...
All that brown 'stuff' is not rust, it's glue...
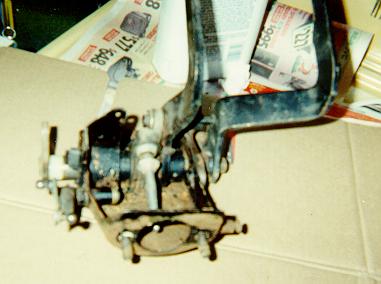
I've since taken all the parts off and plan to get the whole thing 'powder coated' (that old 'powder coating' expense is climbing by the day...)
This is obviously the brake caliper after disassembly, with the rebuild kits ready to be put back together....(The other ones don't look as good, only three more to go!!!)
By the way these are the later calipers with the 3.5 inch bolt spacing, they're the only ones that will fit my Bilstein struts, clearly the struts had been upgraded on this car at one point, as the original calipers where cast, not aluminum...
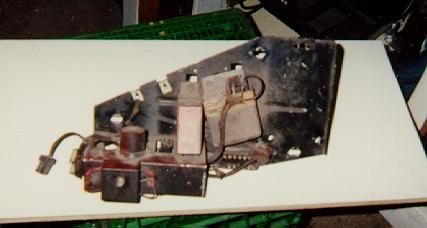
Here's the rear fuse panel before disassembly, I've already stripped this piece. (The panel is made of aluminum and I'm not sure I can get that powder coated, the finish is a flat black & I may have to go with an off the shelve paint...)
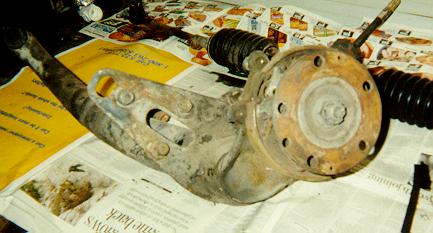
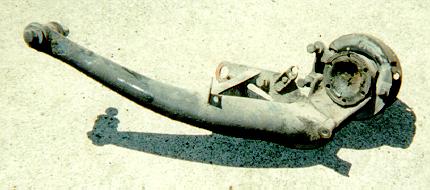
Here's a picture of the rear suspension arm, before cleaning, new bushings, and powder coating.
In the background, you can see my steering rack.
Here's a better shot of one of the rear control arms...
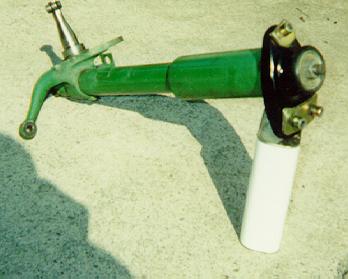
I decided to take a break from the stripping to restore and clean the struts. (This is the starting point)
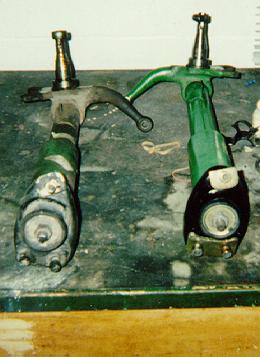
Here's a picture of the strut after cleaning, removing 'over spray' and painting some of the small parts.
Here's a side by side comparison. (What a difference a little cleaning makes...)
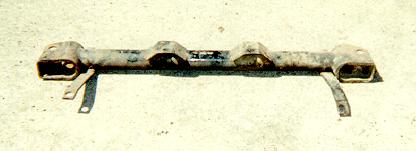
Here's a shot of the front cross member before sand blasting in my new 'blastin' cabinet...
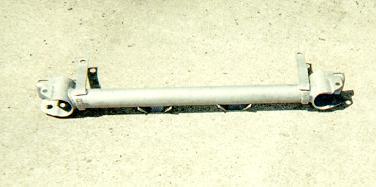
Here's a shot of the front cross member AFTER sand blasting in my new 'blastin' cabinet...
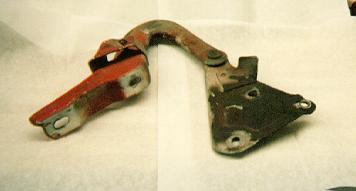
This is a before picture of one of the front hinges...
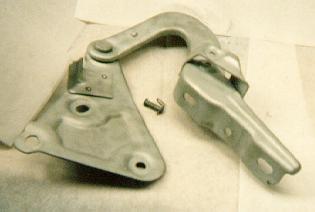
And after blasting...
And here's a comparison after a primer coat is shot...