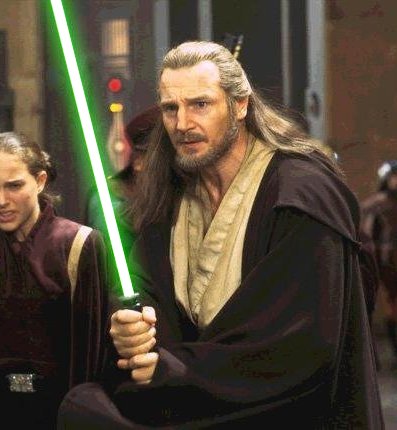
Rotoscoping with Paint Shop Pro 6 or better
By Sam
1. Making the core
First things first. Select the draw tool and open the tool options for it. Make sure that the two pull-down menus are on Single Line, and Stroked. Also make sure that the only boxes checked are Antialias and Create as Vector. Adjust the width to what you want, (too wide looks fat and unprofessional, while too thin makes it look weak and skinny.) The width of your lightsaber depends on how far away or close it is. In real life, a realistic lightsaber blade should be about as wide as a bottle cap- (I know that�s kind of confusing, but I can�t think of a better reference.) Just keep in mind that a pop can is way too fat.
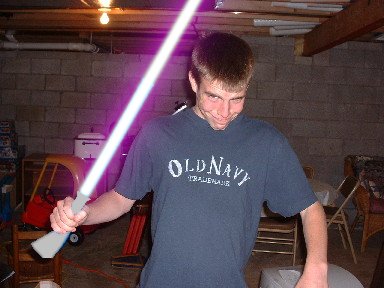
Now, to start the first fun part. Sort of. Make sure white is one of the colors on the color palette. Start at the lightsaber handle, right where the blade should be, now left-click or right-click, depending on which side of the palette the white is in, and drag the cursor to the top of your lightsaber. (Release the mouse) Now the white line should replace all of the old rod or whatever you used when filming. Ok. Now for the confusing part. Bear with me.
2. Messing with layers
Open the layers palette by right clicking anywhere on any of the other toolbars and selecting layers palette. Good job. Now, you should see layer 1 and background. Those are the first two layers that you just made. Go to the blending to the right of layer 1, and change it from normal to lighten. Next, right click on layer 1, and select duplicate. Now there should also be a layer called Copy of Layer 1. Right click on layer 1 again, (that�s the one you just clicked on) and select Convert to Raster. Now, look at Copy of Layer 1. To the left, there should be a small plus sign. Left-click on it, and watch as it magically turns to a minus sign and a thing called Line appears. Now right-click on Line and select properties.
3. Making the glowing color
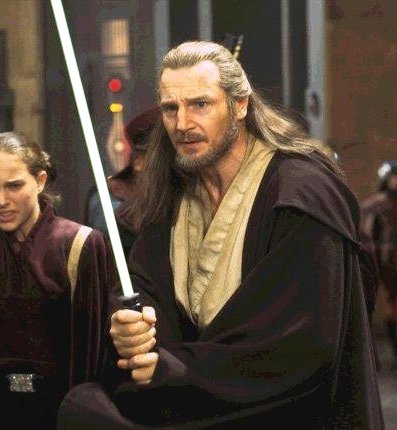
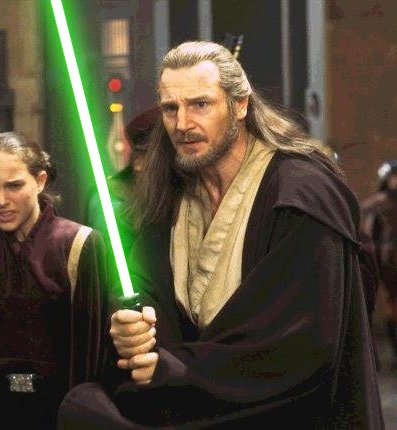
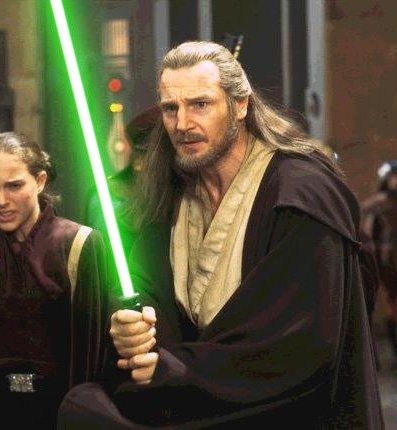
Obviously, no lightsaber looks good without color. After making the important decision of which color the blade should be, follow these steps. You should be in the properties for the Line thing. Left click the color square (the white one). Pick the color. It should be bright- cartoonish. (I know that�s not a word) Good job getting this far. Now click OK and get out of that window. (Don�t get all scared when you don�t see the color yet. I�ll explain later.)
4. More layer stuff
Go back to the layer palette and right-click on Copy of layer 1. Select Convert to raster. Good job. You�re almost done. Now right-click on it again, and select duplicate. Now you should see Copy of Copy of layer 1. Right-click on it and select duplicate again. Now you should see Copy of Copy of Copy of layer 1. Pheww. Confusing. Now for the home stretch.
5. Finishing up
Now it�s time to do the magic part. Don�t worry, once you get used to doing this, it won�t seem like magic anymore. Here we go. Go to your first copy layer. (Copy of Layer 1) Left Click on it so that it�s highlighted. Now Go to the top of the screen, and select Image, then Blur, then Gaussian Blur. A small window should pop up. Change the radius to 10. Then Click Ok and watch the color come out of hiding. You�re not finished yet. Now Left click on The next layer up. (Copy of Copy of Layer 1) Do the same thing, only this time, set the radius at 20. After that, go to the top layer. (Copy of Copy of Copy of Layer 1) This time set the radius to 30. YOU�RE ALMOST THERE! Not for the last and final step. Your core (the white part) should be kind of sharp and edgy, so go to layer 1 and do the Gaussian Blur for it. But for this one, don�t set the radius any higher than 2. It sort of depends again on how far away the lightsaber is. I usually do 1, but sometimes it isn�t enough. It�s up to you. Last but not least, get rid of all those stupid confusing layers. To do this, go to layers, on the menu bar along with Image, File, Edit, etc. Go to Layers, then Merge, then Merge All (Flatten).
Now is the happy part where you give a sigh of relief and then jump up and start cheering until you have a heart attack. If you don�t have a heart attack, try not to have one when you realize that you have to do this entire process for EVERY SINGLE FRAME of your film. (Assuming this is a movie, if not, you only have to do it with every picture you want to edit.) But once you get used to it, it doesn�t take that much time per frame. I can do it in about a minute now, but when you think about it, that�s a half-hour for thirty frames-- only about 6 or seven seconds of footage!!!!!!!!!!!!
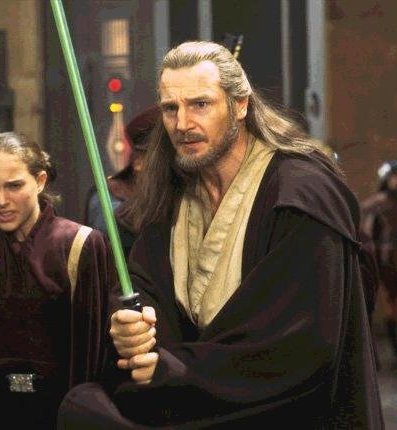
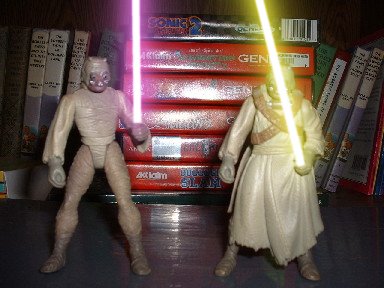
Well, I�m glad I could share this tiny knowledge with you. It�s been fun. This effect really does make your movie AWESOME. No one can argue with plastic toy versus glowing, searing jedi weapon. |