Installing The Network Drivers
After Windows 3.11 has been installed, you can set up Networking (if you have a LAN card installed). After you install a Netcard (LAN, Local Area Network) in the machine, Run Windows.
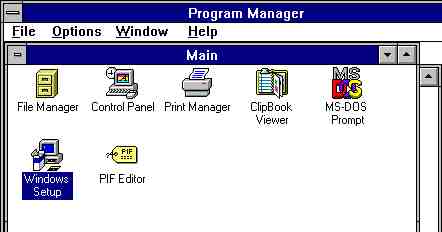 On the Main Menu, select Windows Setup.
The Setup Menu will come up.
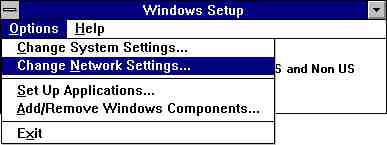 Select Options, Change Network Settings.
The Network Setup menu will come up. If this is the first time a network is being set up on this Windows, the Sharing and Drivers buttons will be grayed out.

 Click on the Networks button.
The Networks menu will come up.
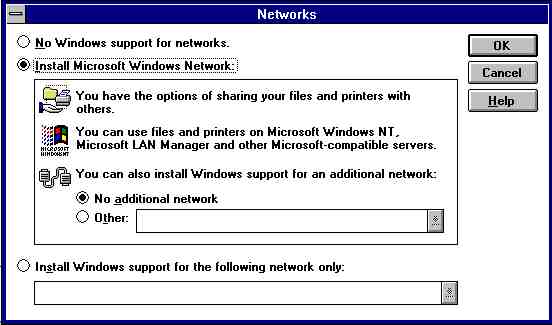 Click on Install Microsoft Windows Network: Then click The OK button
You will return to the Network Setup menu.

 This time, select Sharing.
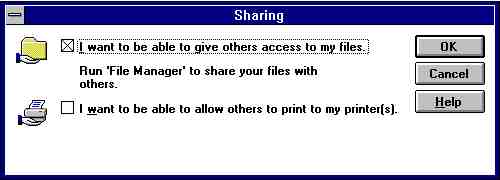
The Sharing menu comes up.
 Select I want to give other access to my files. This is only necessary if you want this computer to act as a server. If you have a printer connected to the computer you can also check I want to be able to allow other print to my printer. If neither box is checked, you will be able to access other computers on a Network. But you will not be able to allow Network access to files on your computer. Click OK.
You will return to the Network Setup menu. The items you have checked will be listed left of the Sharing button.

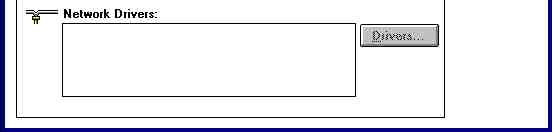
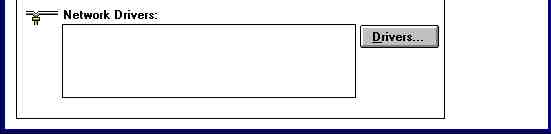
This time, select Drivers.
The Network Drivers menu will appear.
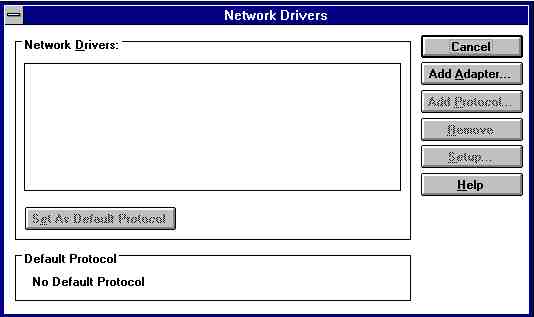 Select Add Adapter.
The Add Network Adapter menu will appear.
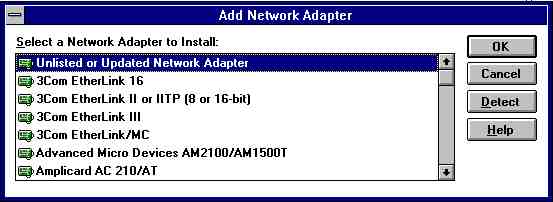 If you Netcard is listed, select it from the list. Then click OK. You will go to the Network Adapters: menu.
If you Netcard is not listed, select Unlisted or updated Network adapter. then click OK.
The Install Driver menu will appear.
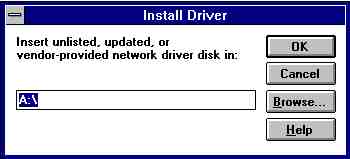 Type the path to the The OEMSETUP.INF file. You may need to find this location from the documentation that came with the Network Card or its Driver Disk. When you have the path, click OK.
The Driver should be listed on the Unlisted or updated Network adapter menu.
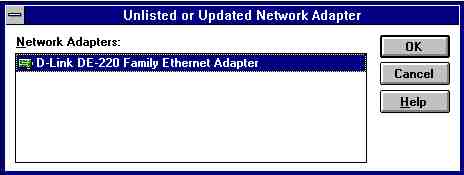 Click OK.
You should return to the Network Drivers menu, this time with the Driver and protocols listed.
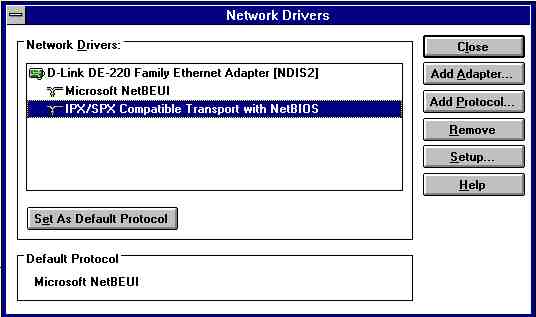 Highlight IPX/SPX Compatible Transport with NetBIOS and click on Set as Default Protocol. Unless the Nework you will be loging on to uses different Protocols, IPX/SPX should work the best. You can add other protocols or change the default by returning to this menu.
Now click the Close button.
You are back where you began, only the blanks are filled in.
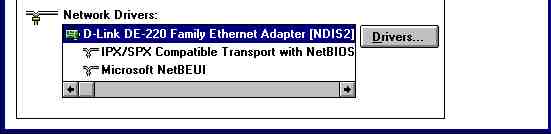 Click OK to exit the menu.
The Network Names Menu should appear.
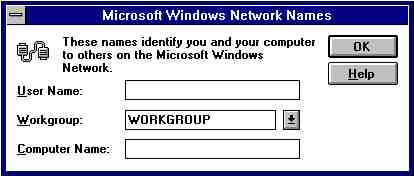 The Username: can be any name. If there are multiple users on the computer, this can control what network properties are set up for each user (the name and password for each shared drive).
The Computer Name: must be unique on the network. Each computer must have a different name.
Unless there is a different name for the Workgroup:, this should remain Workgroup.
Click OK.
The files should begin to install. You may get a window:
requesting the location of the Netcard drivers (which you already entered) Enter the path again. Although it may be part of the LAN Card's driver disk, you have the option here to install a different (later?) driver.
When the file copy finishes, you be notified that the SYSTEM.INI file has been modified and backed up. When you click OK, you will be prompted to reboot the computer. You will have to reboot your computer for the Netcard Drivers to load.
|