This tutorial introduces some of the features and controls provided by MotionSampler that can help you add special effects to animations.
| While MotionSampler cannot duplicate all of the animation functions provided by PowerAnimator, it does provide a mechanism for performing animation on a wide variety of Alias objects and channels. |
MotionSampler reads and attempts to replay most animation channels found in wire files. MotionSampler also keeps track of this initial animation so that when you select Scene  Clear Animation, you can restore the original animations (as well as deleting all newly captured data). This feature can be useful if you are inserting previously captured animation into an existing animation.
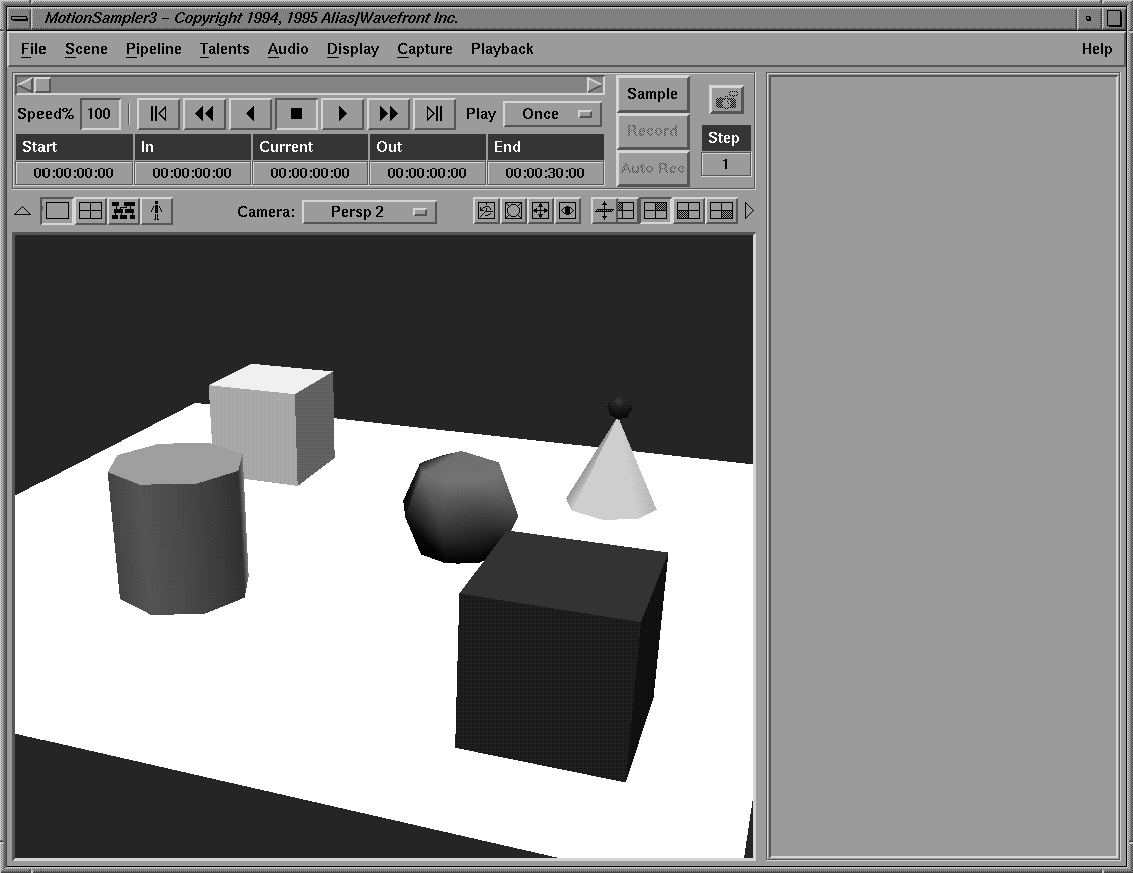
Retrieve Model to load the Tutorial4.wire model.
Use Min/Max to set the shuttle's frame range to values appropriate for this wire file.
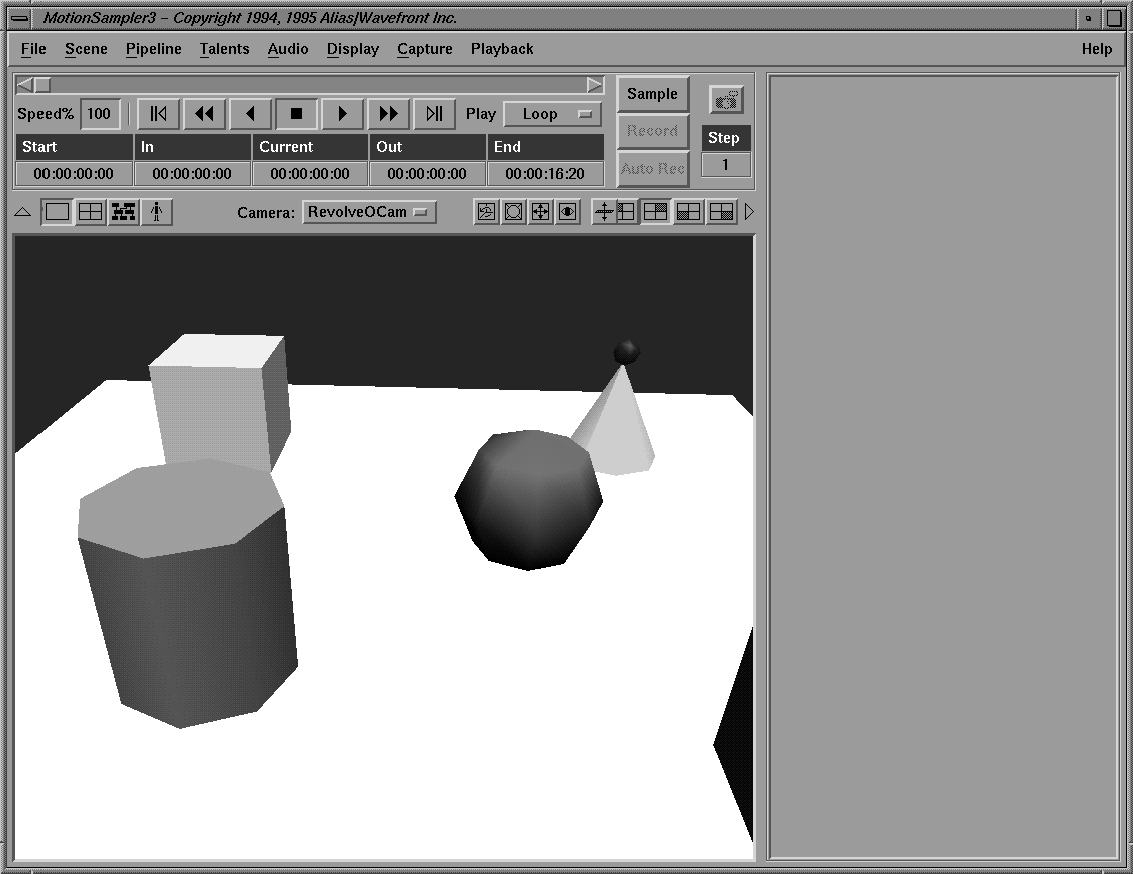
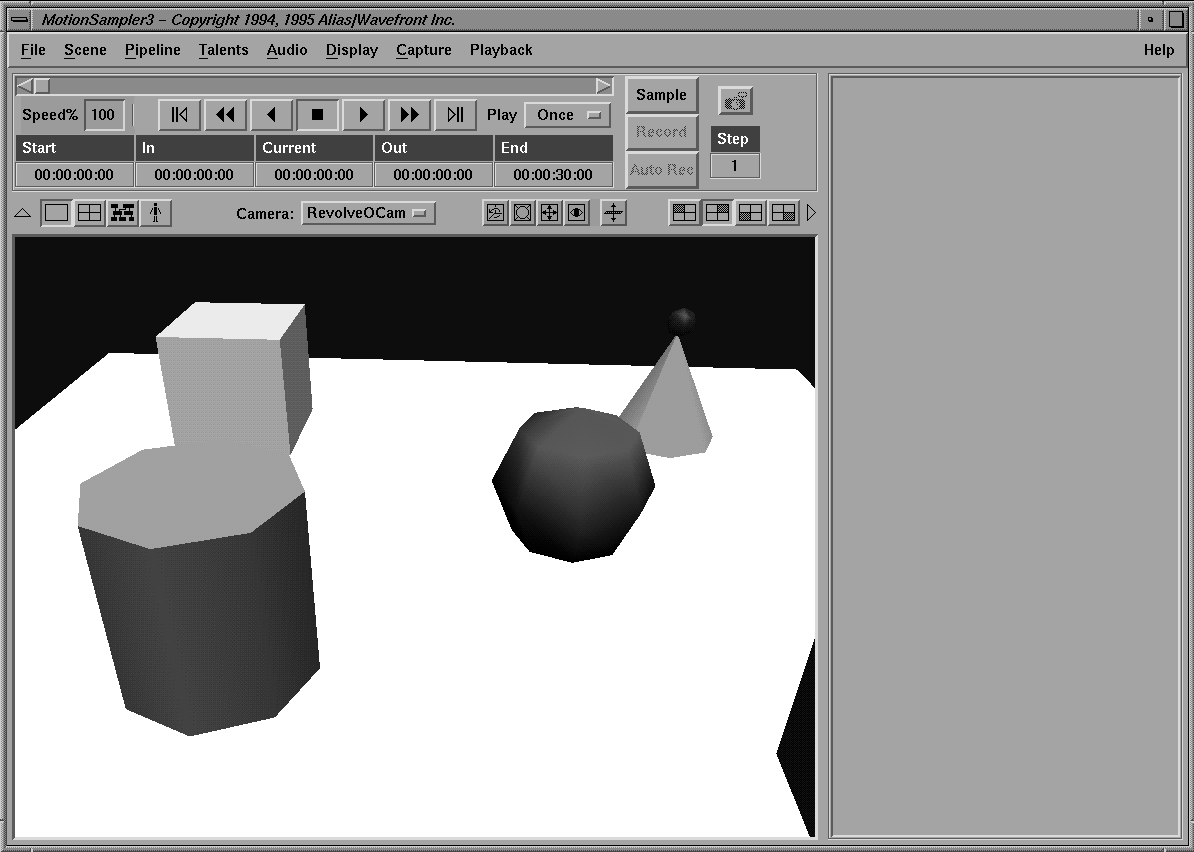
| You should see the view revolve as the camera moves, and the red bowling ball on top of the green cone has an animated shader which is turning its red color on and off. |
Retrieve Pipeline and load the Tutorial4A.pipe pipeline. This simple pipeline controls the bowling ball's shader.
In this section of the tutorial, some blue animation is recorded on top of the red animation already in the wire file.
The ball is blue until the shuttle reaches the point where you ended Record mode. After that point it returns to the red color. You have inserted six seconds of animation into the existing animation in the wire file.
Clear Animation to delete all captured animation and restore the animation from the original wire file.
|
The menu selection Scene Clear Animation IN/OUT is used to clear only the
captured animation between the shuttle's In and Out points.
|
Virtually any parameter that can be animated on a shader, camera, or light can be controlled within MotionSampler. Few of these parameters are actually previewed, but the respective sink modules for each of the listed items can access a complete list of animatable parameters.
Retrieve Model to load the Tutorial4.wire wire file.
Clear Pipeline to clear any existing pipelines.
Retrieve Pipeline to load the Tutorial4B.pipe pipeline file.
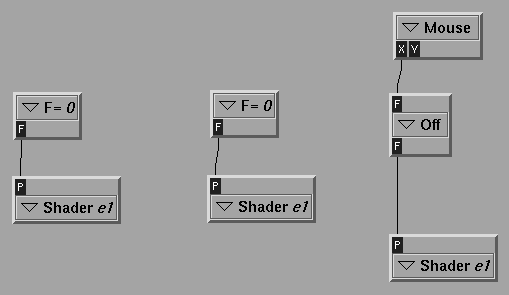
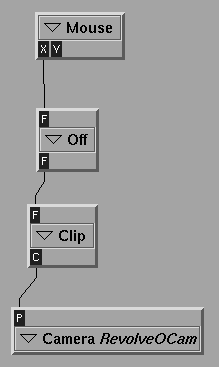
The pipeline appears as follows:
The sink camera is used to control the camera field of view on the RevolveOCam camera.
Use Min/Max to set the shuttle to play back the animation in the file.