|
|
       |
The Digital DarkroomOne of the first things you will notice when you start getting photo's back from the developers, or download them from your camera, is that they will rarely look correct. Even with ideal water conditions, proper setup and use of the flash, and otherwise perfect photographic technique, your pictures may need touching up. Luckily there is a lot of excellent computer programs out there that you can use to touchup your programs. What you will need:
* Many companies can now do high quality scans of your images for you. If you are willing to pay the extra money for the company to scan your pictures for you, you wont need a scanner and will save a lot of time. Index:
There are many software packages out there you can buy for photo editing. You will need a mid-range program for working on underwater photographs. The three most popular packages are Paint Shop Pro, Adobe Elements, and Adobe Photoshop SE. One of the best, and easiest, to use is Paint Shop Pro, and this guide is based on Paint Shop Pro. However, these instructions will work for most of the photo editing programs out there. No matter what software package you pick, you'll need the following features:
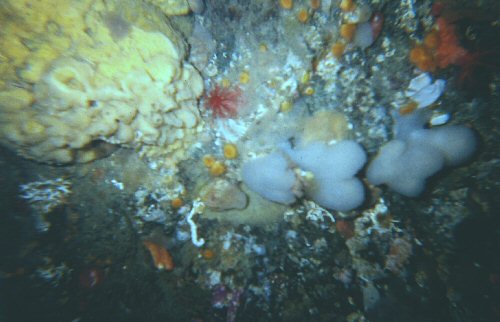
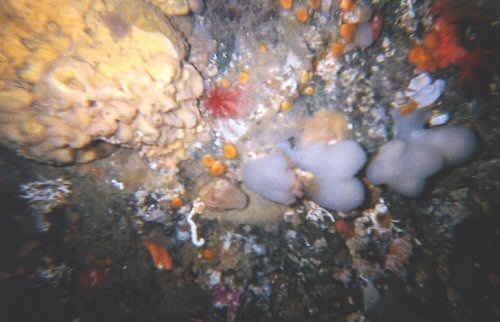
This is our starting image. There are a few problems here: It's too dark, the reds have almost been lost, and there is a lack of contrast. The image also needs cropping to remove the dark portions along the lower edge. Step 1: Adjust the colour balance.
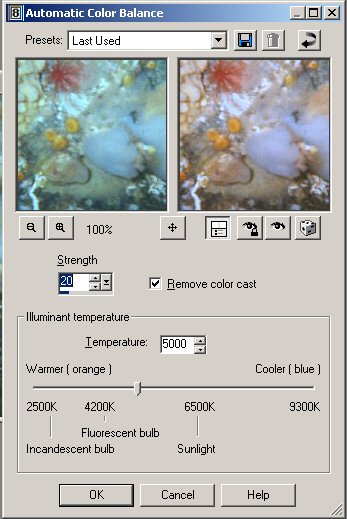
Our image after colour correction - but it still needs some contrast/brightness correction. . . Step 2: Adjust the brightness/contrast:
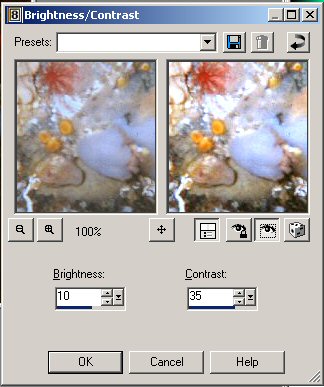
Brightness/Contrast adjustment pannel. Both values can be manipulated here.
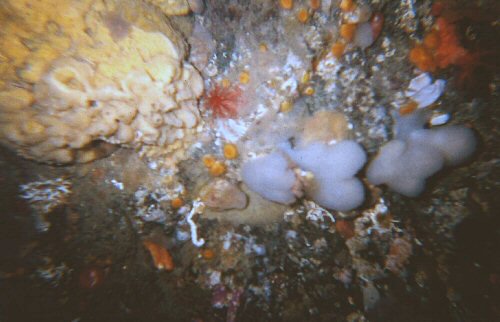
Final image. Only corrections were colour balance and brightness/contrast .
Sometimes an image is beyond your ability to correct using the above techniques. Often these can be made to look better using the histogram adjustment function. However, the use of this function is complex and is outside of the scope of this article. So what else can you do. Your best bet may be to make your image more artistic, rather then trying to get it to look realistic. There are many filters available for most graphics programs which can help with this. Two of your best bets are black and white (grey scale) images and sepia tone images. I've also included a few more extreme examples of how a poor image can be dramatically improved. Starting Image:
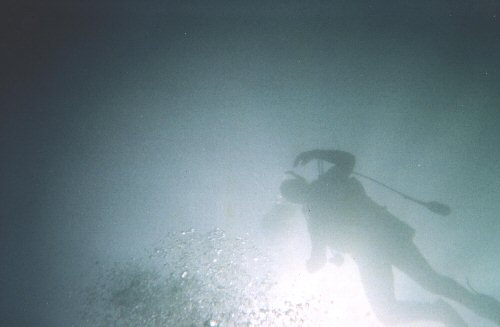
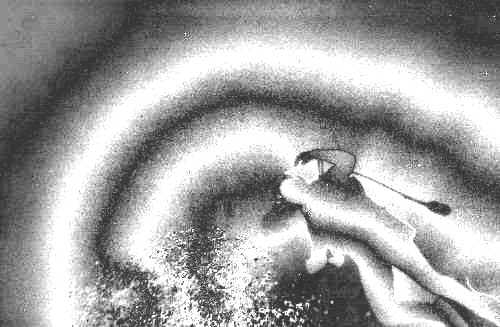
This is our starting image. There are several had to fix problems with this image. Tee most obvious is the complete lack of colour. Secondly is that the area around the sun/diver is overexposed, whereas the edges of the picture are under exposed. Looks like this image is a complete write-off . . . or is it? Black and White: Converting an image to black and white can overcome most colouration problems. This is done using your programs "Convert to grey scale" function. After converting to grey scale you'll want to adjust the brightness/contrast, and then the picture is done!
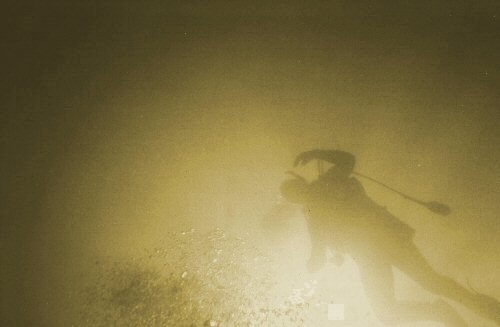
Black and white picture - very interesting. Contrast and brightness have been adjusted to accentuate the divers silhouette. Sepia: Sepia toning makes an image look aged. Basically a sepia image is a black and white image that is artificially coloured. Many programs come with a sepia filter which does this automatically.
Sepia image. Artistic Effects: Many other artistic effects are possible, each with it's own unique effects. These can include effects which make your image look like an impressionist painting, or like it is carved into wax. Your options are only limited by your imagination:
Chromed image.
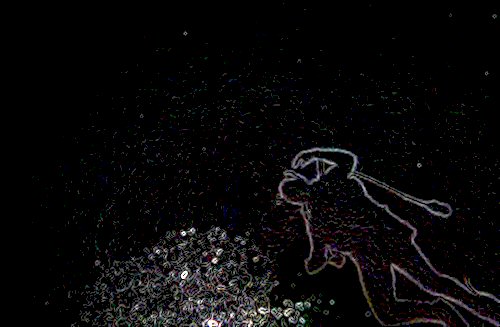
Glowing Edge filtered image A Final Word: This guide just touches on the basics of digital image editing. There are many excellent web pages and books out there which go into a lot more detail, and cover a lot more topics. Simply search for "photo editing" in any search engine and you are bound to find hundreds of pages of useful stuff.
|
This Page, and all other pages in the http://www.geocities.com/k_o_dionysus/ directory copyright (2004), Bryan Heit & the Knights of Dionysus