Step 1: Format Style Textboxes
|
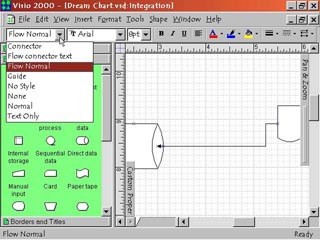
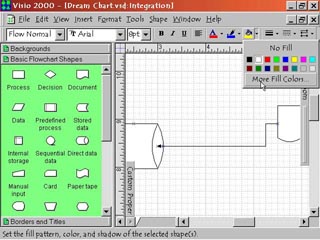
1. On the left side of the format toolbar are three text boxes with pop down menu arrows. From left to right they are: All Styles format box, which lets you choose format style of a selected object. The Font format box, which lets you choose the text font for textboxes, comments, etc. And finally the Font Size format box, which lets you choose the font size for any text you are including in the drawing. Click the pop down menu arrow on the right side of each of these boxes to access the available options. |
Step 2: Text and Alignment Commands |
2. The three buttons to the right of the Format Style Textboxes should be familiar to anyone who's used any form of word processor. These are the Bold, the Italic and the Underline buttons. Click on these to make text bold, italic or underline it. The next three buttons to the right, the Text Alignment Commands, align the text horizontally within a text box or on the page. These are Align Left, Align Center and Align Right. |
Step 3: Color Commands
|
3. A band of color at the bottom denotes the next three buttons. First, Font Color, allows you to change the color of the text on your drawing. Line Color lets you change the color of objects and connecting lines. Fill Color lets you fill shapes and textboxes with the color of your choice. Each of these buttons has a small pop down menu arrow on the right side. Click this to access the main available colors or to choose More Colors to make your own custom colors. |
Step 4: Line Format Commands |
4. The last three buttons on the right of this toolbar let you choose format options for lines. Line Weight adjusts the thickness of lines in both objects and connectors. Line Pattern changes the pattern of lines in objects and connectors, from solid line to many different broken line patterns. Line Ends affects connectors, letting you choose from arrowhead ends, ball ends or just plain lines and more. Each of these buttons has a pop down menu arrow on the right side for choosing options. |