 HISTORY HISTORY
|
 IN CARTOONS IN CARTOONS
|
 ALL AROUND ALL AROUND
|
 HOW TO HOW TO
|
How to Make a Teddy Bear
Why don't you try to make your own teddy bear by following the easy directions below? ^^
It will be an experience that you will never forget.
|
HISTORY
|
IN CARTOONS
|
ALL AROUND
|
HOW TO
|
|
First, what you need to prepare
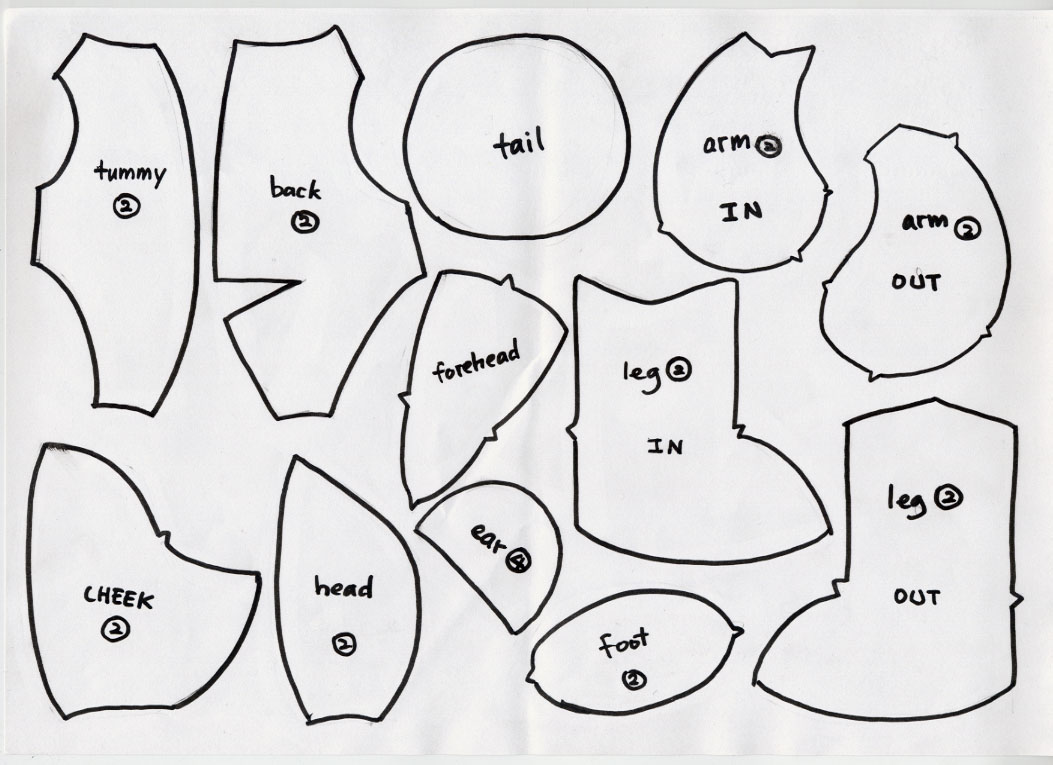
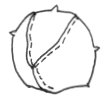
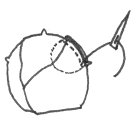
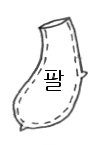
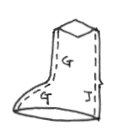
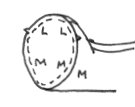
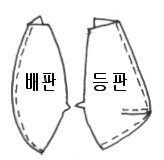
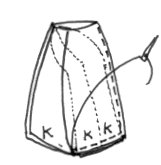
We will need a pair of pointed scissors, needles of various sizes, pins, sewing thread, solid thread and a pair of black button eyes. In the basic teddy bear kit, you will find the pattern, the stuffing (which is the cotton), and the cloth that you will have to pattern. Let's begin with by getting the patterns ready. Cut out all the shapes and trace them on the cloth. Make sure that you have the correct number of patterns. As you can see on the right, I have numbered how many of each shape you need. Then check if you have traced the pieces symmetrically. The ears will not matter because they are the same shape, front and back. However, you should watch out for the other body parts. Click here to print out the pattern. |
|
|
|
|
|
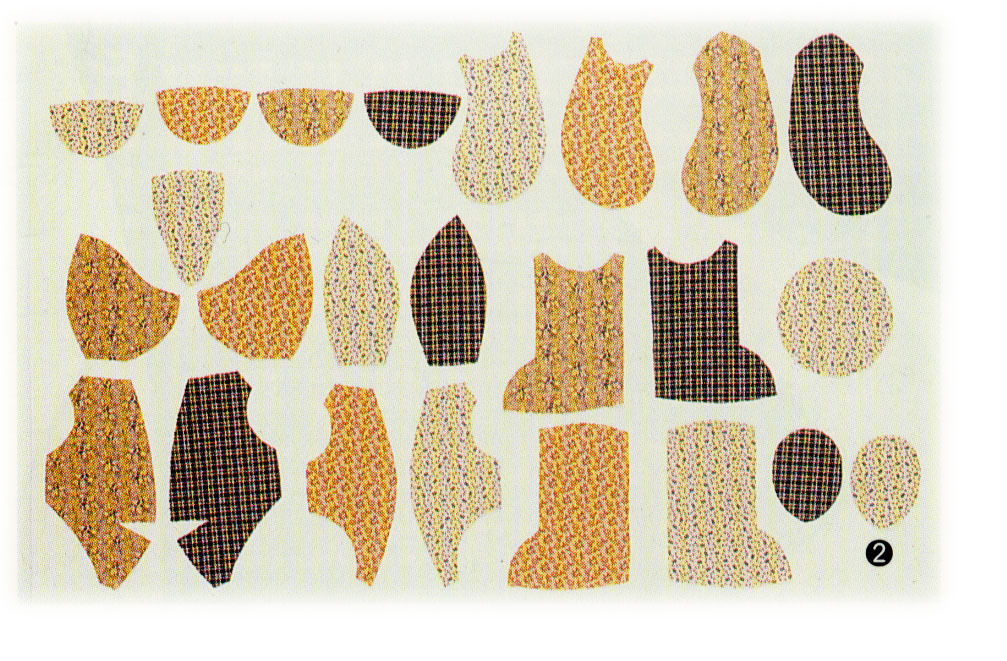
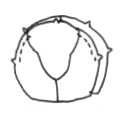
When you have finished cutting all the patterns out, you should have the same number of pieces as the picture on the left.
If you do, we are prepared to go to the second stage - sewing. Most of the sewing for the patterns prepared will be backstitched. 
|
|
|
|
| The step-by-step instructions |
|
|

|
|
|
|
|
|
|
|

|
|
|
|
|
|
|
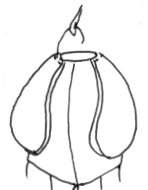
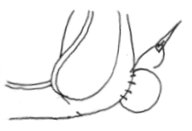
Turn the 4 parts of the body inside out and stuff them with cotton.
Let��s move on to the main body. |
|||
|
|
|
|
|
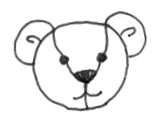
Now you have the head and the body to attach to finish the teddy bear.
|
|||
|
|
|
|
|
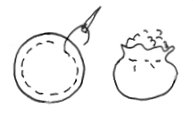
Before you tie a ribbon around its neck to finish up, remember to give the teddy bear its tail.
|
|||
|
|
|

|
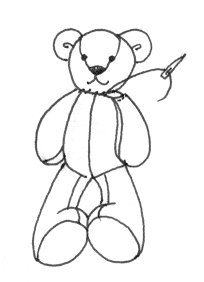
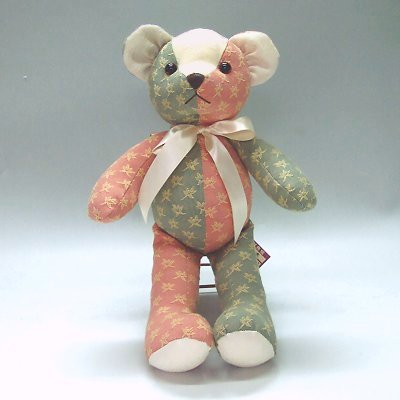
| Does Your Result |
|
Look Like This?? |