Andy's Builder's
Log
|
Please check out
the article I wrote for Smith Aviation's website.
As many of you
already know, I picked up this kit from Nick Smith in Caldwell, Idaho in
March 2000, and have been flying it since February 2002. There are lots of
pictures here, I hope I have been descriptive enough, but I haven't had a
lot of time to type lately. Let me
know if you need any explanations.
Click here to see
pictures of assembled aircraft added 11/29/01.
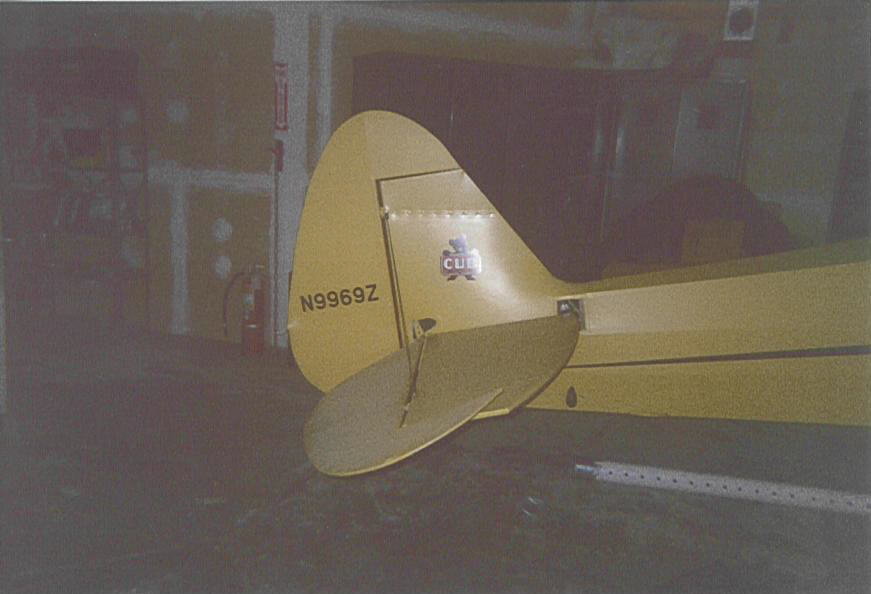
The
fuselage is painted!
See the classic
color scheme!
Can you tell I'm
excited?
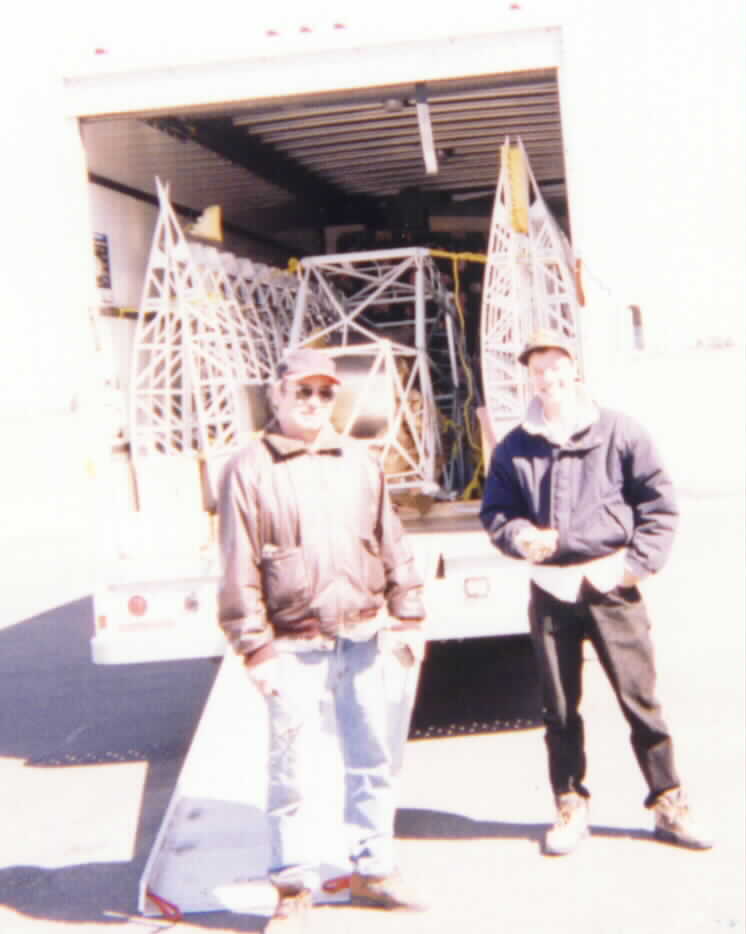
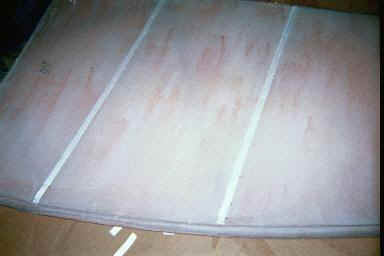
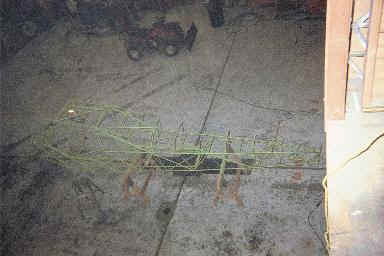
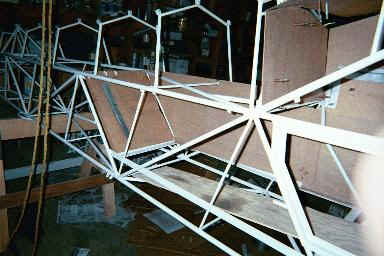
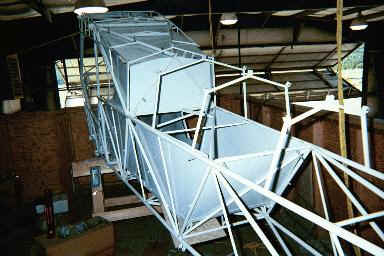
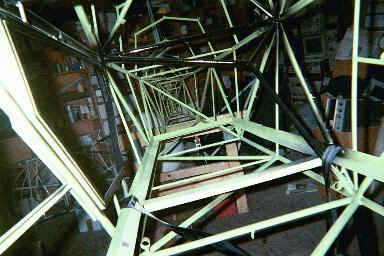
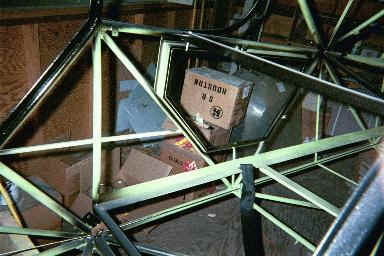
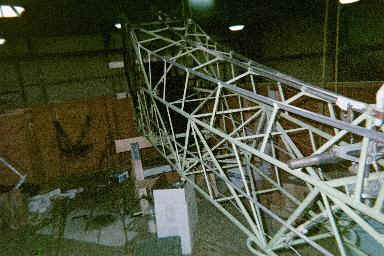
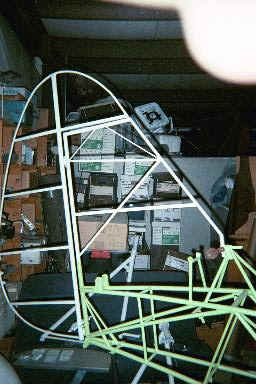
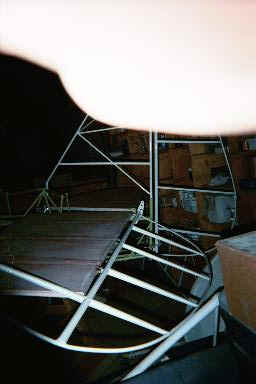
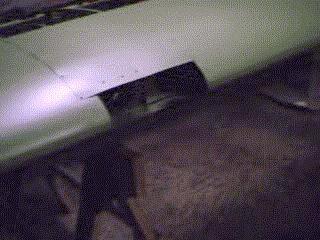
Fuselage,
as delivered
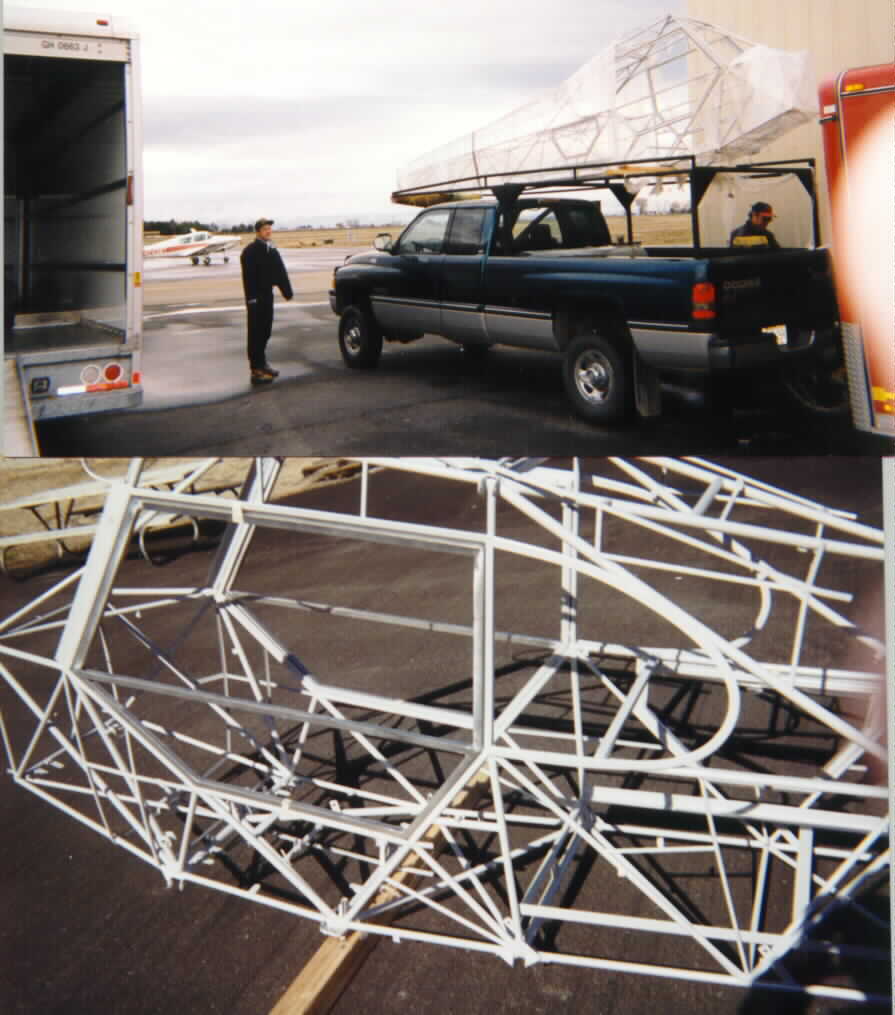
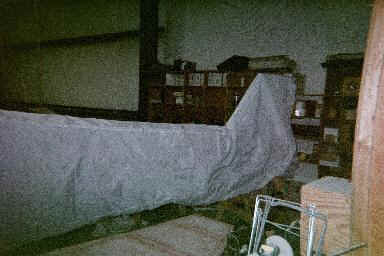
Loaded truck,
headed for Alaska
It will be a cold day
in you know where first!
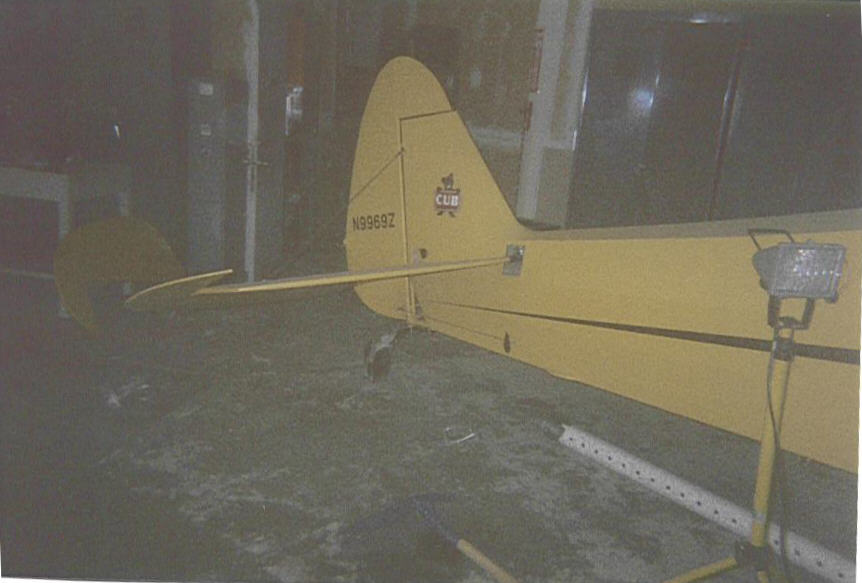
Tail feathers
installed
Tail wheel
installed
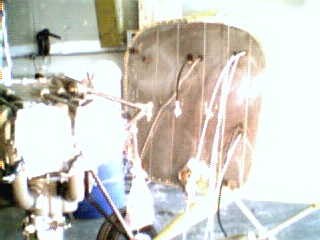
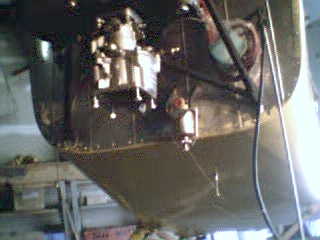
Firewall prior to
engine mounting
Engine On the
hoist
Lining up with the
fuselage
Carburator
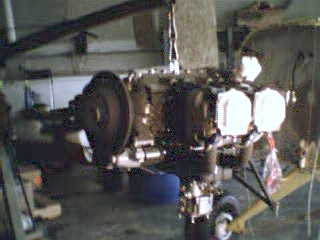
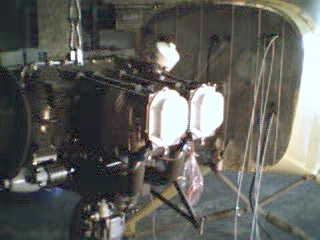
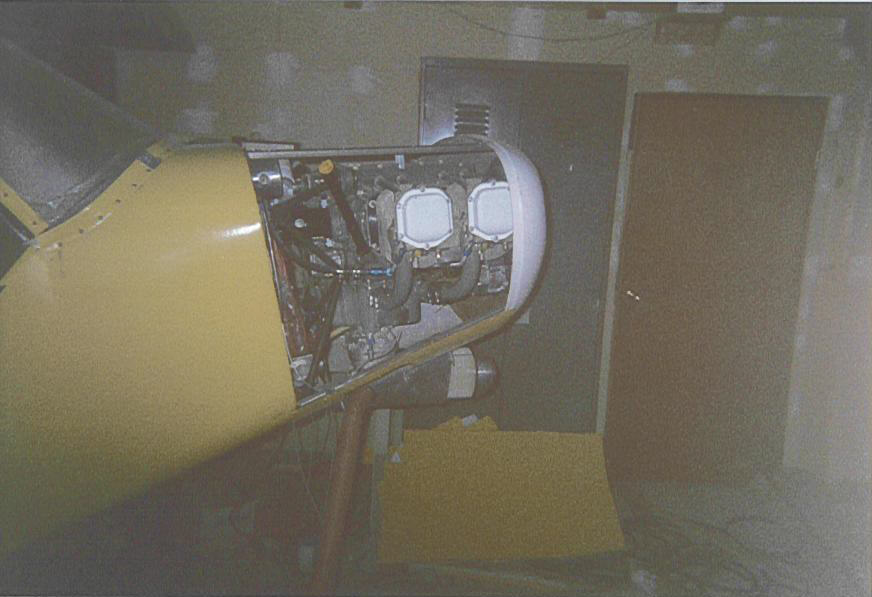
Engine partially
mounted
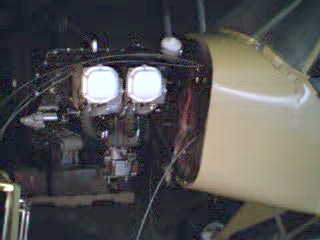
Engine and nosebowl
partially installed
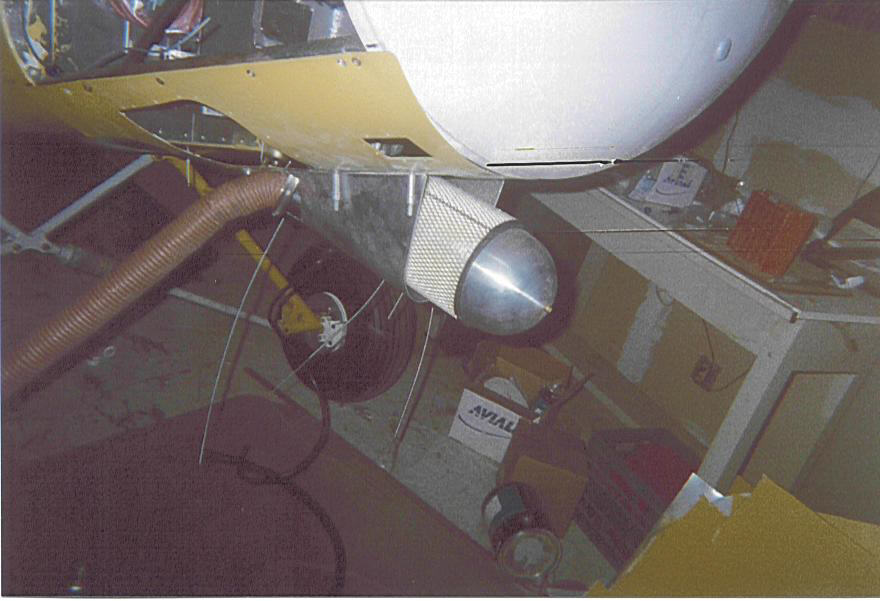
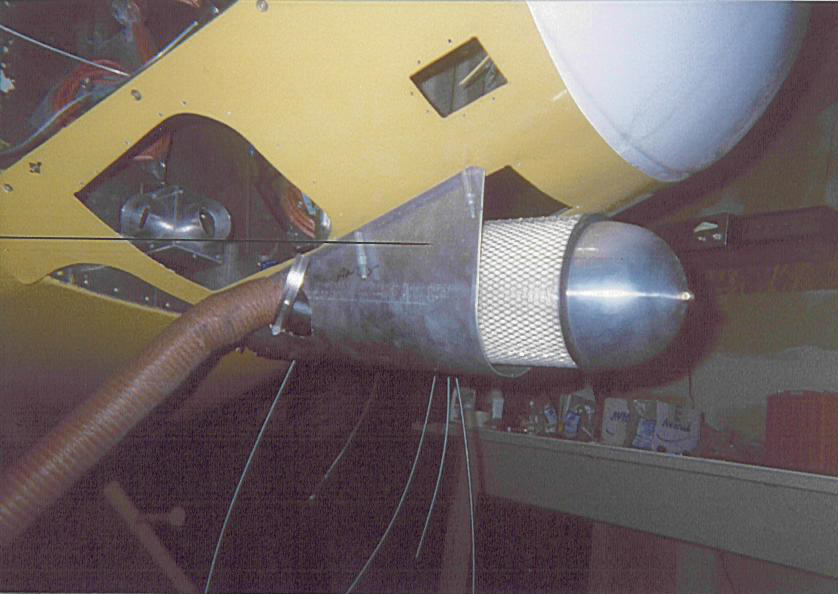
First Air scoop is too
short!
Cabin heast box on the
firewall
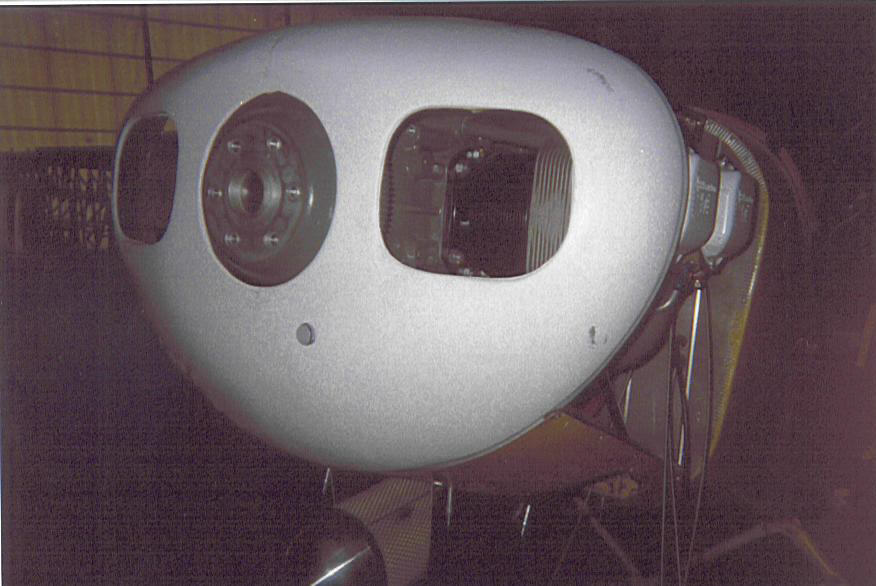
Unpainted
nosebowl
Both fuel tanks in the
wing
Fuel tanks connected
directly with 3/8" tubing
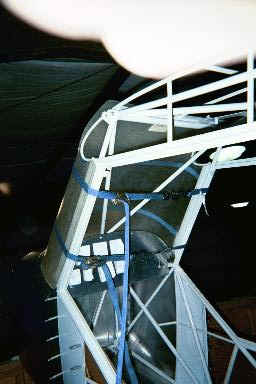
Fuel vent line comes
out near strut attach point
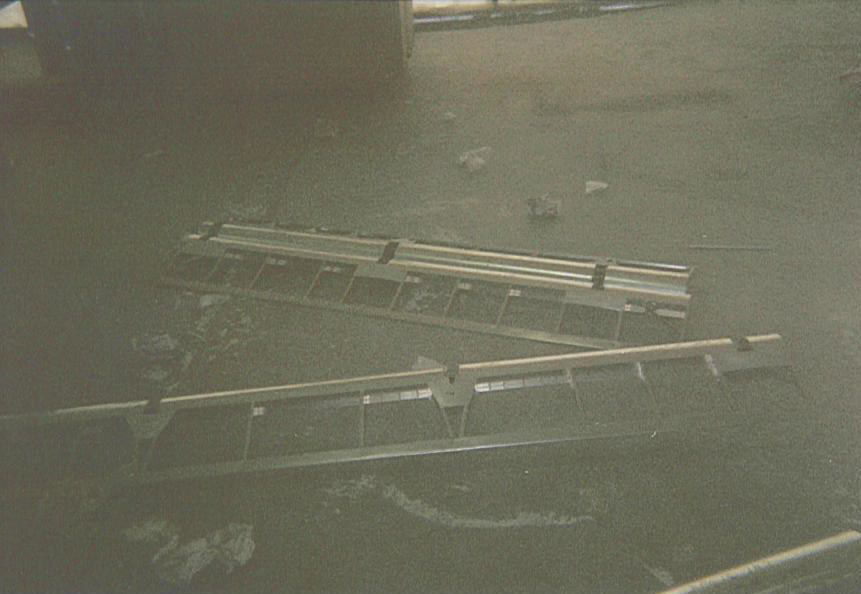
Uncovered
aileron
Middle of
aileron
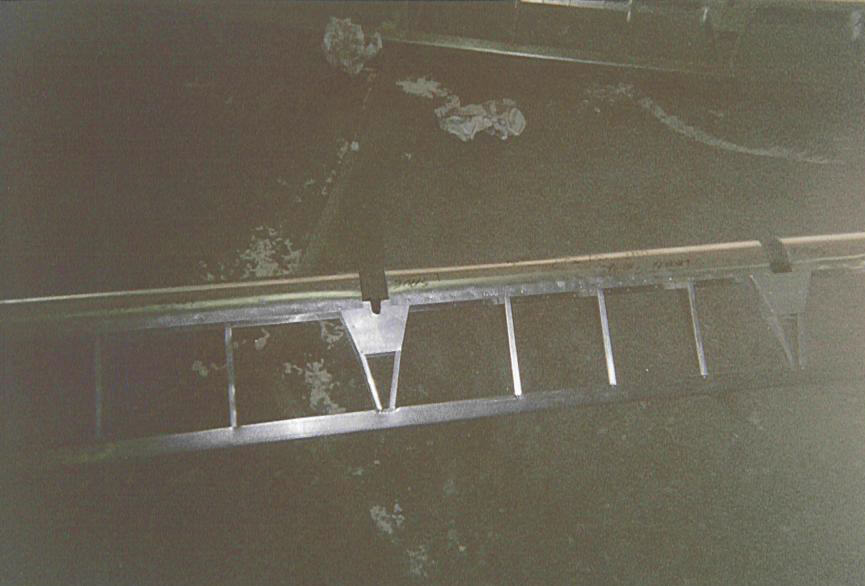
Aileron and
flaps
|
Fabric
Covering
|
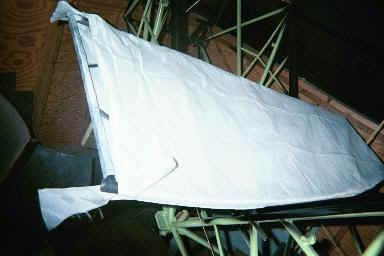
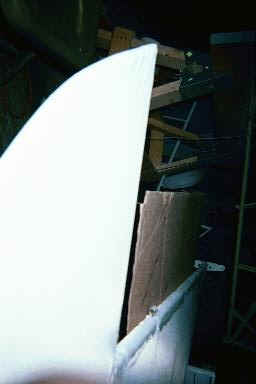
Horizontal stabilizer with
unshrunk fabric
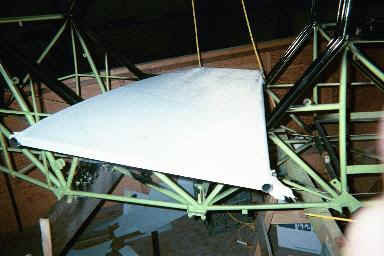
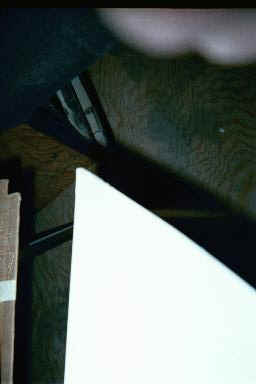
See the fabric
shrink!
Its hard to see, but
the fabric envelope was loose at the corner of this elevator after
shrinking
Wrinkles removed by
additional heat shrinking
Bias finishing tapes
are used on curved surfaces like the leading edge of the stabilizer. Its
tacked into place on one end first.
Then stretched around
the surface all at once to make a smooth tape.
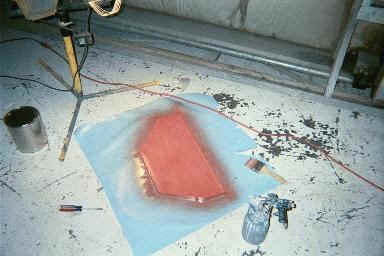
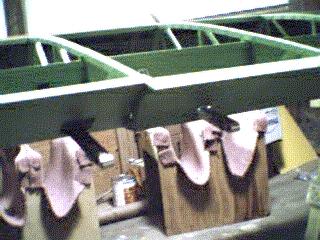
Pink "Poly-Brush"
sprayed onto baggage door
Silver "Poly-Spray"
sprayed onto baggage door
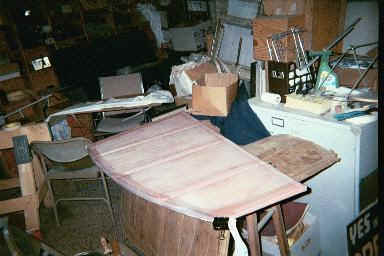
Rib-laced horizontal
stabilizer
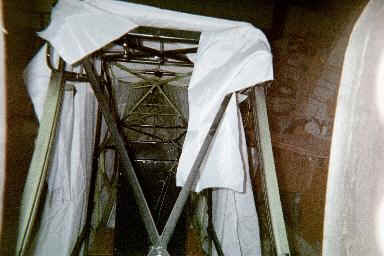
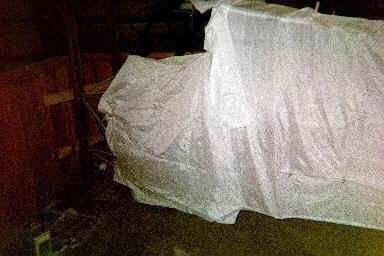
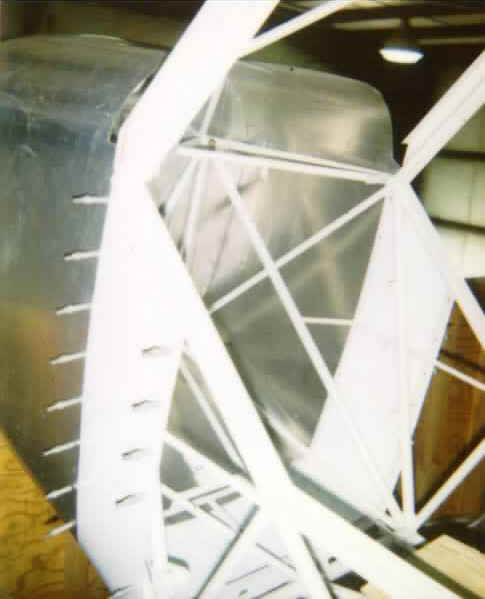
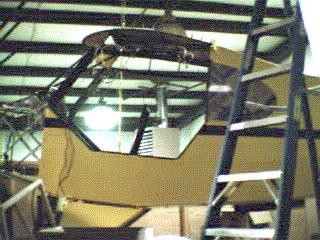
Fuselage envelope
draped over, tail section
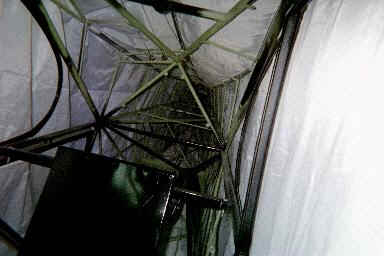
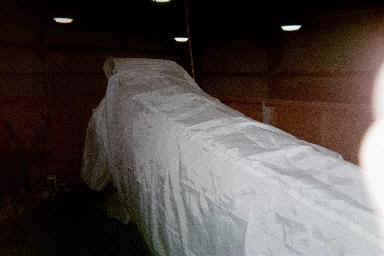
Fuselage envelope
draped over, Inside fuselage
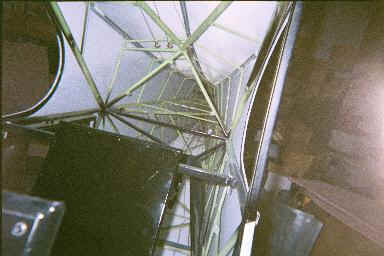
Fuselage envelope
draped over, top front
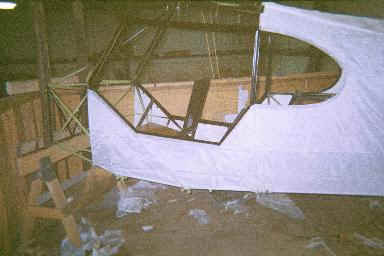
Fuselage envelope
draped over, side front
Fuselage envelope
draped over, Length wise
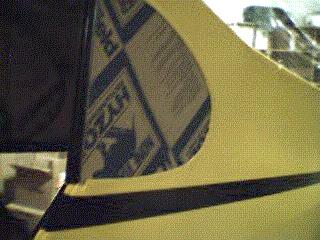
Fabric glued to front
of fuselage
Fabric glued near
baggage door
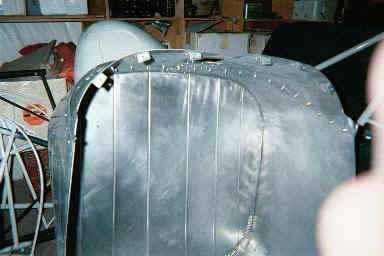
Fabric tightened
around fuselage
Fabric tightened, as
seen from inside fuselage
|
Cables and
Pulleys
|
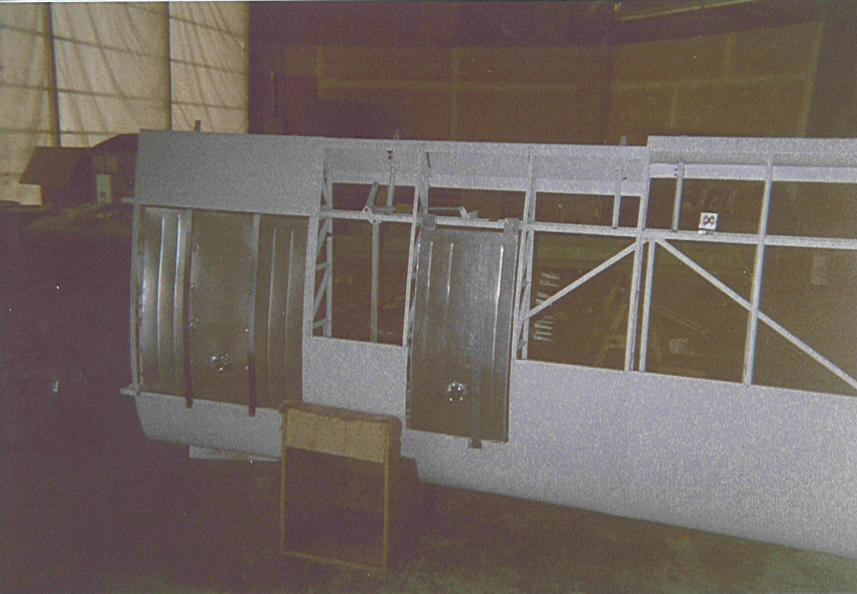
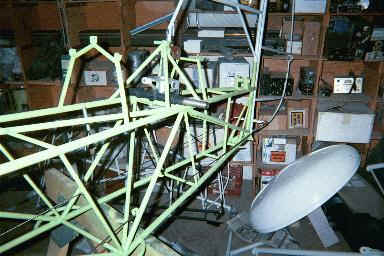
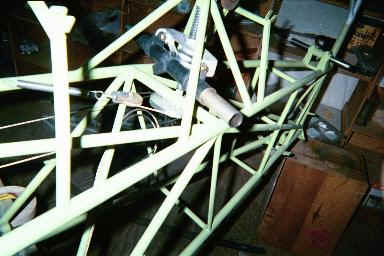
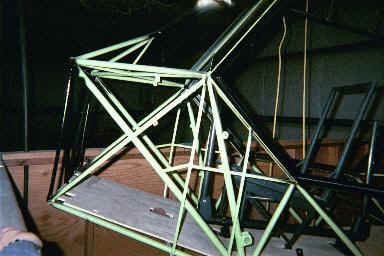
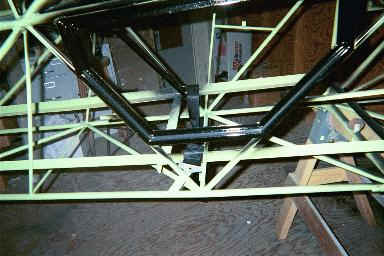
Primed
Fuselage
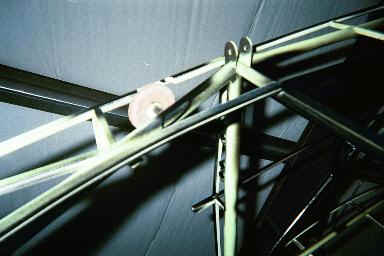
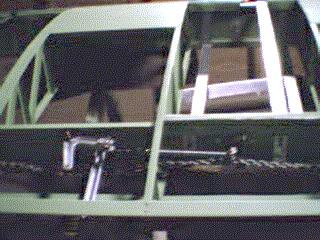
Right side flap pulley.
Cut slots in U-channel stringer to fit cables through. Later "Smith"
models have pulley mount moved to eliminate this step.
Rudder cable
installation
Rudder cables attached
to rudder
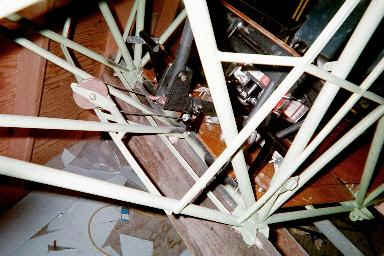
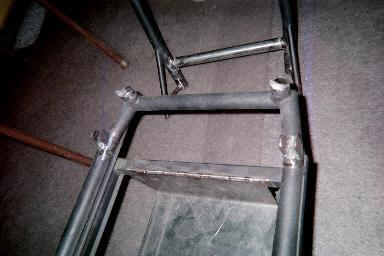
Front and rear rudder
pedals
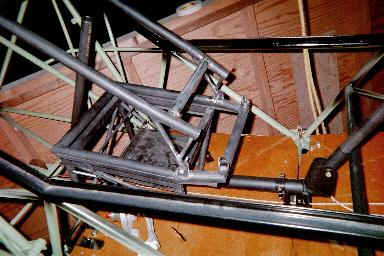
Control sticks
installed
Rear seat control
stick
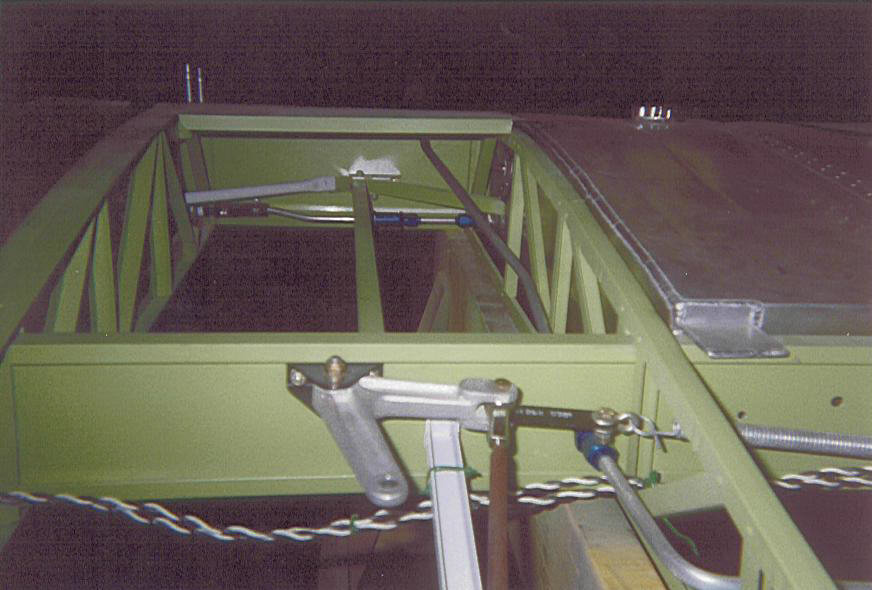
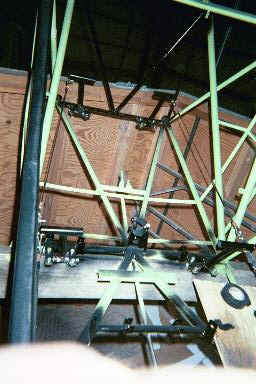
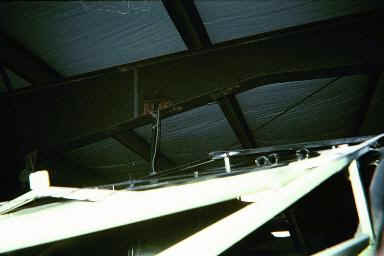
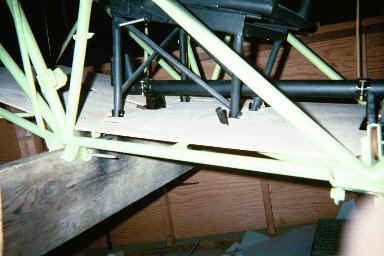
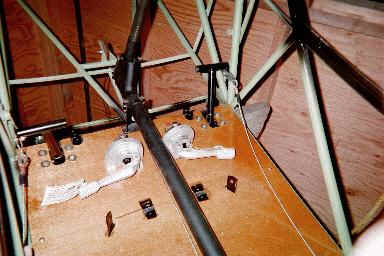
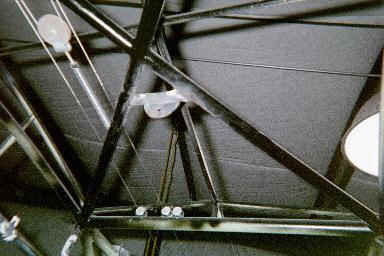
Trim cable top view,
note the cutout of the fairlead so it could be inserted as a continuous
loop
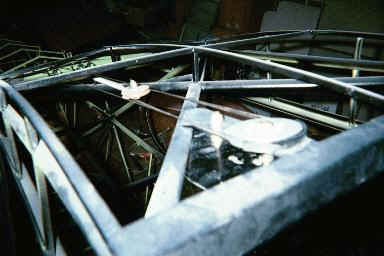
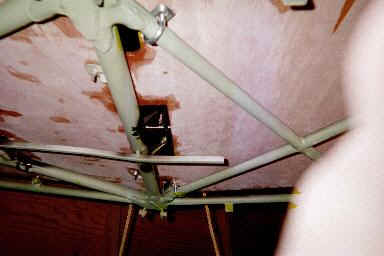
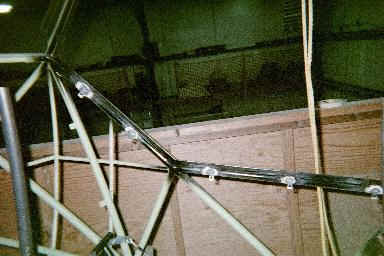
The trim cable rubs on
the stringer supports, those places will have to be filed down
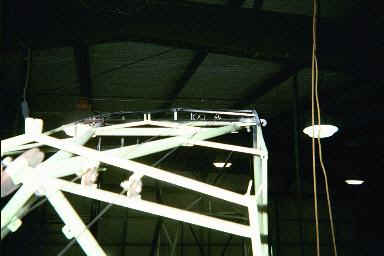
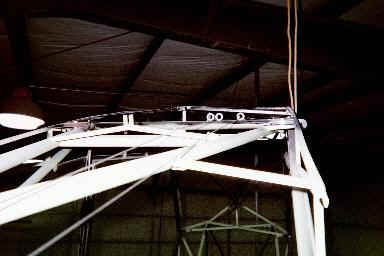
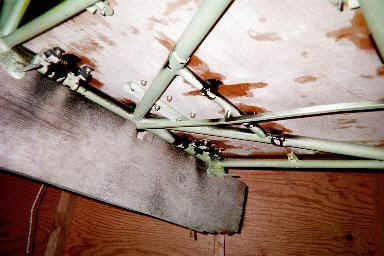
Instead of filing a
slot, plastic fairleads safety wired in to prevent chaffing
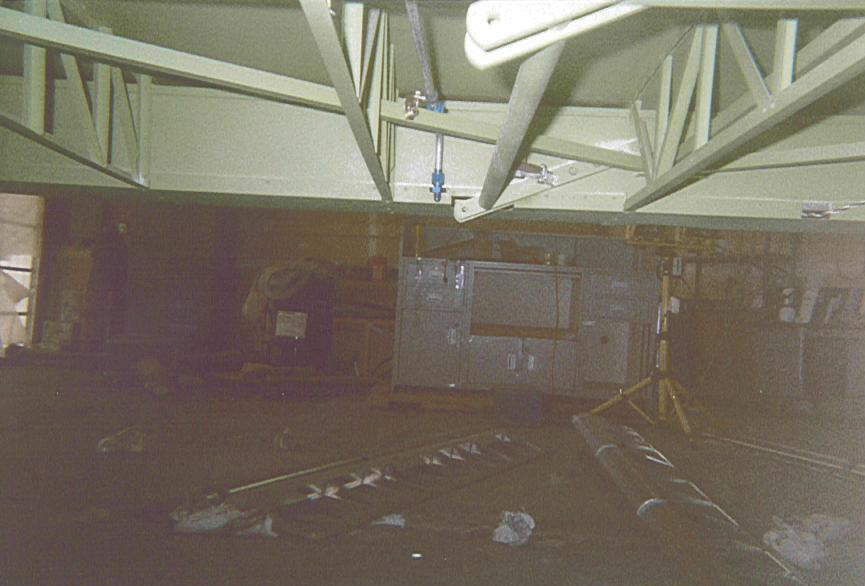
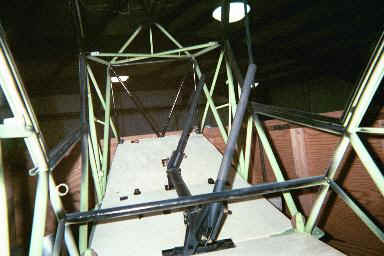
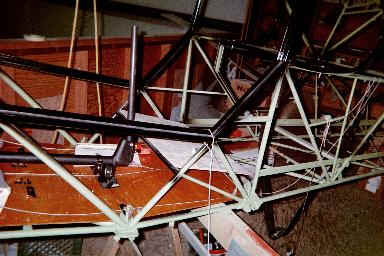
Top front view of
installed trim cable
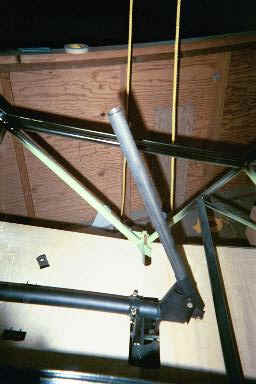
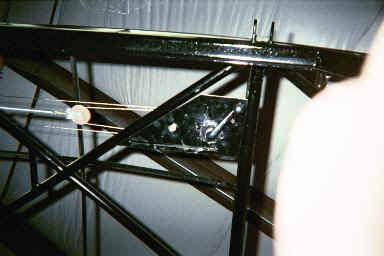
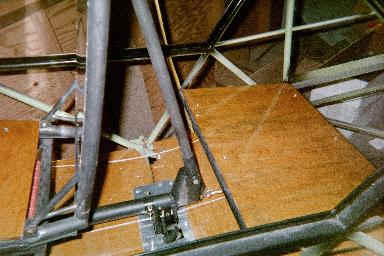
Trim crank from
pilot's seat, looking upward
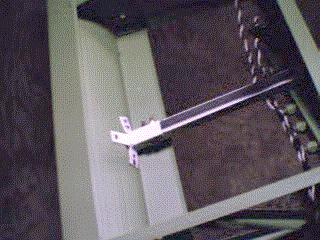
Trim cable attached to
stabilizer adjustment screw
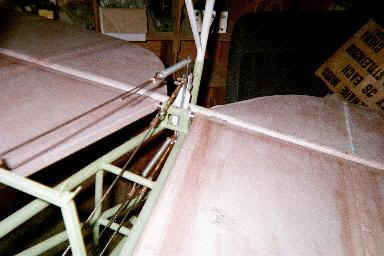
Elevator cable
attached to elevator
Front elevator cable
attachment
Elevator cables with
trim spring cable attached
|
Interior
|
A
very bad picture of the flap handle installed
Flap cables
installed
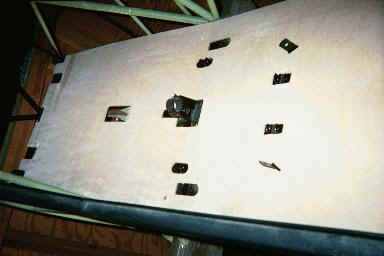
Parts of fuselage that
will show in end product are painted black
Cardboard interior
templates
Cardboarded rear
baggage area
Actual interior pieces
installed, still wrapped in protective plastic
Sitting in the back
seat, looking aft
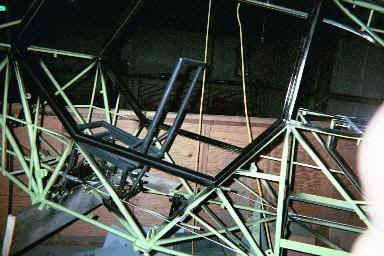
Front baggage
area
Front seat
Front Seat cut in
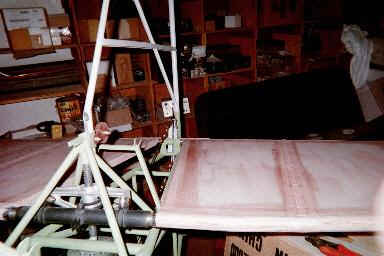
two, plus pieces to be welded on it
Floor boards
Wider view of floor
boards
Front seat over
floorboards
Front floor
boards
U-bolts used instead
of welded tabs to attach rear floorboard (plus my finger!)
Fitting read seat
bottom board
Master brake
cylinders installed
Under side of brake
cylinder attachment
Front seat after
welding on tabs for hinge
Front seat
reassembled, hinged forward
Shoulder harness
mounts welded in place
Extra interior mount
tabs welded on
Rear seat
installed
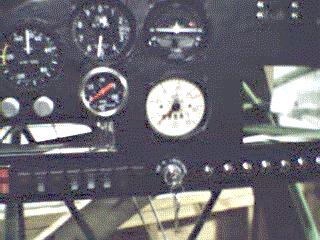
Instrument
panel
Instrument panel
(close up)
|
Exterior (Other than
Fabric)
|
Cleco'ing on the boot
cowl
Bootcowl with
windsheild strips attached
Installed boot cowl and
cardboard interior templates
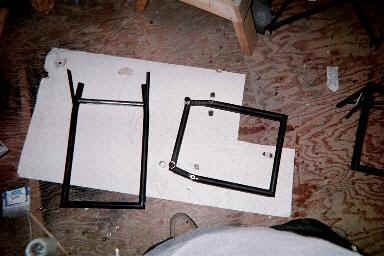
Baggage door
frame
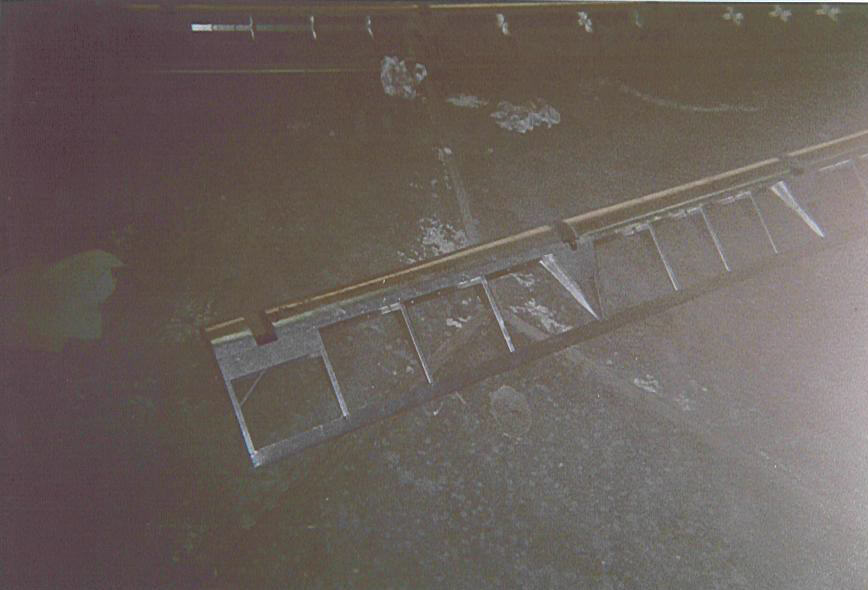
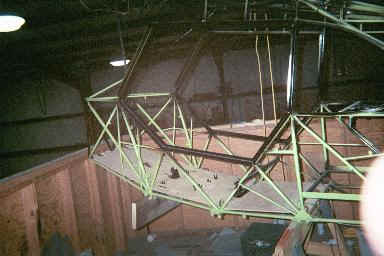
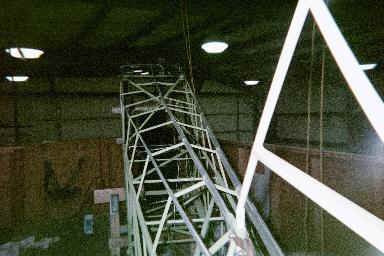
Top fuselage
stringers installed
Top and side fuselage
envelope draped over, tail section
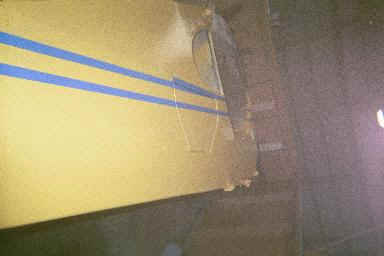
Fuselage taped for
black stripe
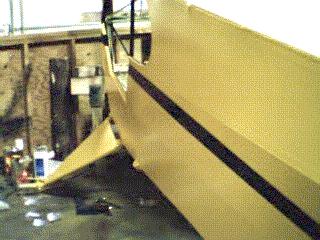
The black
stripe
Landing gear
on
|
Tail
Feathers
|
Rudder
and vertical stabilizer
Rudder has electrical
wire under fabric for position light
Elevator attached to
stabilizer, no fabric yet
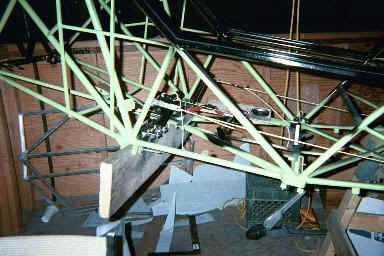
All tailfeathers
installed temporarily to fit control cables
|
Electrical
|
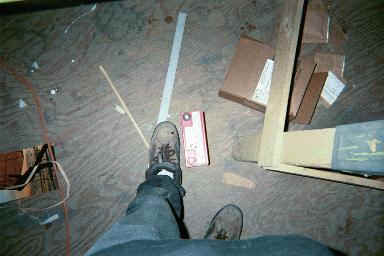
My
battery is smaller that my foot
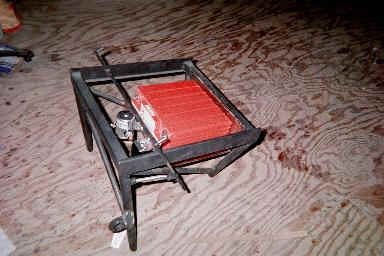
Battery box
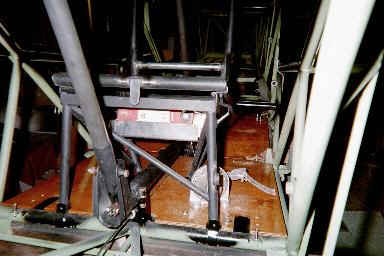
Front view of
installed battery box
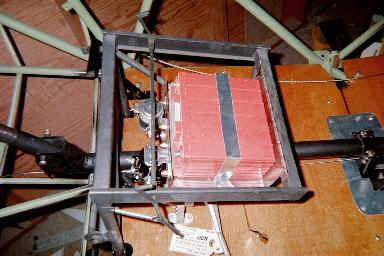
Top view of installed
battery box
|
Engine
|
|
|
| Aerosport Power in B.C. built this for me
|
Wings
|
Top
view of wing showing aux fuel tank bay
Flap Bellcrank
mounted above middle flap hinge
Outboard flap hinge
and inboard aileron hinge
Inside view of
aileron hinge mounted to trailing edge
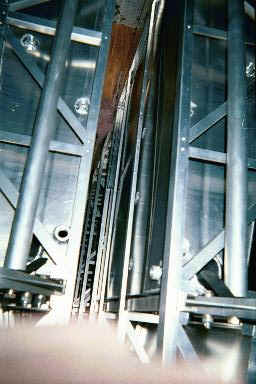
Leading edge of
wing showing landing light bay and both fuel bays
Landing Light
bay
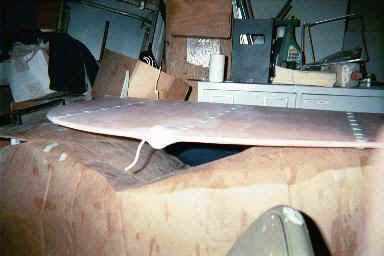
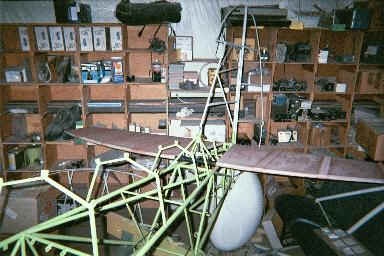
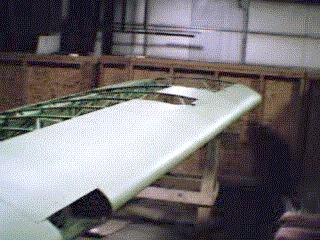
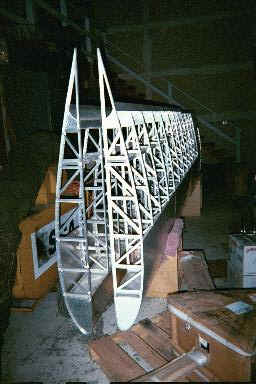
Wings
Fuel tanks from the
inboard side of the wings
Wider view of fuel
tanks
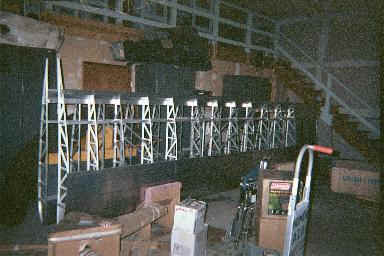
Top view of
wings
|
Glass
|
Fitting
the windshield
Top window and
side windows fit into place
Close up on one
side window
|
Final
Assembly
|
|
|
nothing yet
|
