She started
life as a GM crate motor, then I pulled her brain, her lungs and her heart.
Just to do
it all over again...
During my time away at university between '99 and 2000 I developed the power itch. It seemed as though it had gotten the better of me as I was moments away from blowing my savings on a set of Vortec heads. The very same heads that have produced between 360 and 400 horsepower in the hands of many performance car magazines. However, during the school year this was not meant to be. Months pass... I now work for the government... I have sufficient funds and connections on a set of brand new heads for dirt cheap. More time passes and I gain access the heads and all the unknown parts to follow...
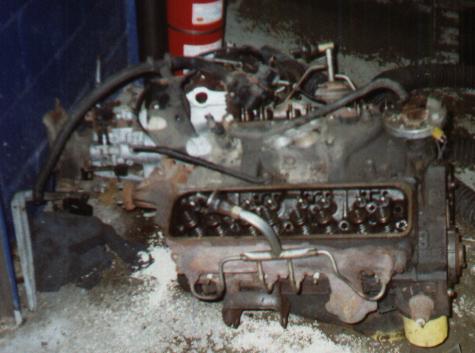
Before starting
it helps to have one of these laying around. It is a 1987 L69 305
HO. Man is it dirty and dirty slow at that! But it is a great source
of centre bolt valve covers and the bolts which hold them down.
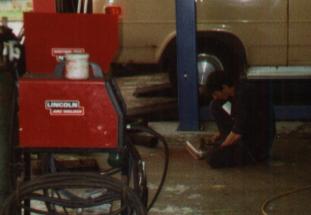
Here is my
Dad working away at the 13 year old rusty valve covers with a wire wheel.
Why did I intentionally add the welder in the pic??? It will come it to
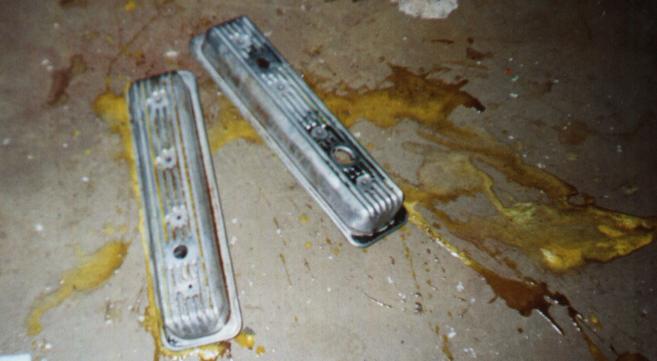
play later. And these are the valve covers after a treatment to Muratic
acid. Not to bad, eh?
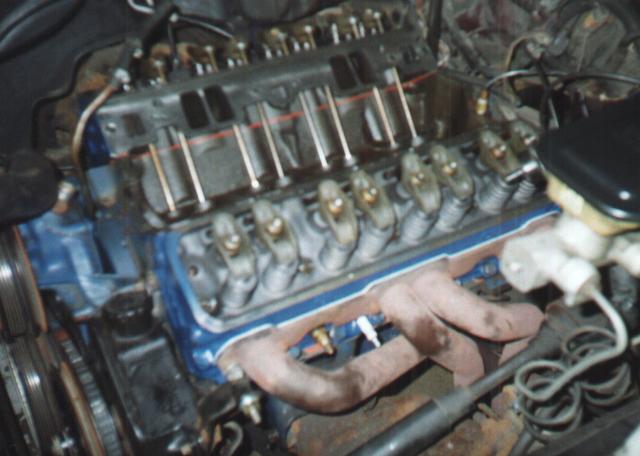
this is the
"old" 355. 305 heads, torker II, and rusty chrome valve covers.
Oh and for those of you who can't tell the engine it New F@rd Blue.
Why??? Because I like blue, not wussy sky blue (Pontiac), or dark
navy blue (old F@rds), I like a nice medium blue.
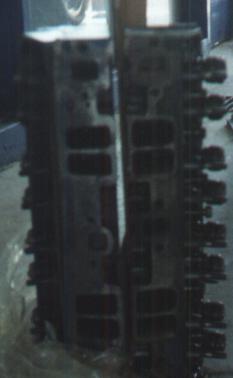
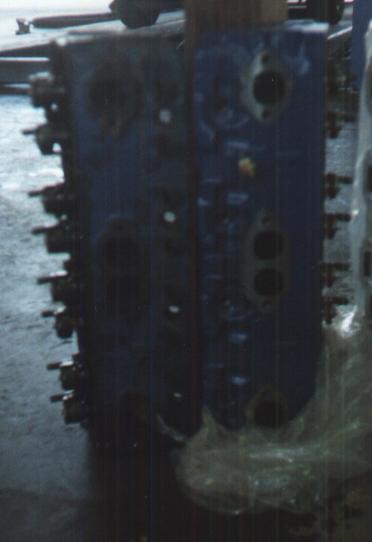
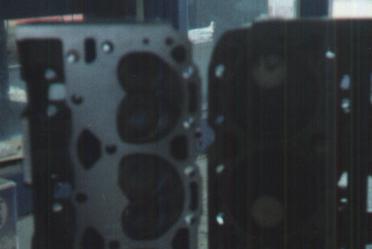
these are
the 305 and Vortec heads compared. the 305ers appear to have large
intake runners, that is because they do. But only because they have
been port matched extensively. Note the shape differences.
On the exhaust side the ports are about equal in diameter. Lastly
and most importantly the shape and valve sizes (1.94 & 1.50 Vortec
and 1.85 and 1.50 305) that are all part of the combustion chambers.
the "fast burn" shape allow me to run 87 octane.
My heads have
been shaved .010 to make up for the .050 head gaskets that i had to buy
(cheap). The machine work was free with the heads. And thanks
to Ray Buck (who's name appears regularly on the web) for helping me figure
out my compression ratio of 9.60:1. This is very 87 friendly as Car
Craft used 10:1 with 89.
It is very necessary to point out that the removal and reinstallation of iron cylinder heads that are still in the car attached to the motor is quite difficult and straining. I heard and felt my spine pop on a number of occasions while doing the swap. When dropping the heads on attach one rocker arm to either side of the head to make handles for an easier drop in. Be damn careful of the head gasket, I managed to nick one of mine. When using pushrods I suggest a set that have those little balls on the ends (I think that they are a newer design). the headers were not quite as bad as everyone makes them out to be. Just do the passenger side first as it is the most aggravating of the two (you will need new gaskets for these too, duh). For those of you who have redrilled their heads and have found that they just won't work as planned you have to plug up the new holes. Get 12 1/2" allen set screws, pinch the upper 3 threads in an effort to create an interference fit, and add red or green Loctite as you install.
It is very
important acquire a full set of self aligning rocker arms. I thought
that my L69 had them, I was wrong. I also thought that I could reuse
my torker II intake, I was wrong again. this left me in need of parts...
bad. I TRIED to deal with a company called RH Performance in Kitchner
Ontario. they tried to charge 120+ bucks for used rocker arms and
even though I was going to buy a Victor Jr. intake that he had, but he
still wouldn't deal. If I were you I would stay away from this over
priced bunch of idiots. try to rip me off HA!!! Anyhow, I managed
to get the arms for free from the guy who sold me the heads, and I found
a Performer RPM for Vortec intake for $300. Because I used the Vortec
style intake I had to eat the 100 dollars in machine work that was spent
trying to skimp. My suggestion to all is to buy the Vortec style
intake... forget the redrilling.
I just reused the head bolts from the 355's old heads, I bought eight 5/16 x 1-1/2" grade 5 bolts @ 25 cents each instead of using the $4.50 a piece GM bolts for the intake. Use Fel Pro 1255 intake gaskets and adhere them to the heads first using some RTV silicone around the water passages, then add it to the intake or gaskets before final installation. Just snug the intake bolts down by hand after adding blue Loctite to the threads.
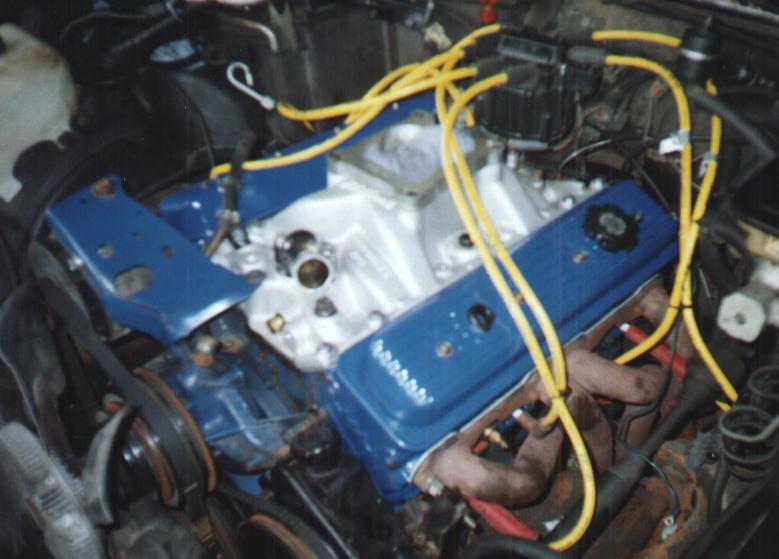
It really
is a nice blue.
Here it is
in its near final stages... but wait there is more!

You see...
Mr. Edelbrock needs to fire someone in his casting or machine shops.
After struggling away with the distributor hold down bolt for close to
half an hour we realized that the mounting flange was cast too high or
that the mounting ring for the hold down was machined too low. So
my Pops welded on two tabs to the tips of the hold down to achieve a grip
on the intake. the pics are not too clear but I hope they help tell
the story. Note the family race car (green 'Bu) is stripped for parts,
this was my brother's doing as he also has an '81 green 'Bu.
these are
a few extras that had to be bought, again they are blurry. they are
a 1/2" pipe plug for the front water passage on the very front of the intake.
I have no idea why it is there. And secondly the red blurs are a
flush kit for the coolant system. I suggest doing this too.
the leaky radiator was fixed during this time as well.

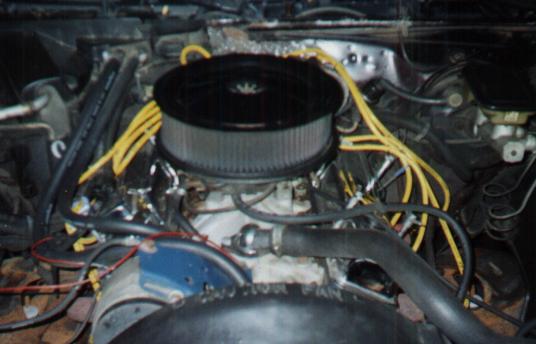
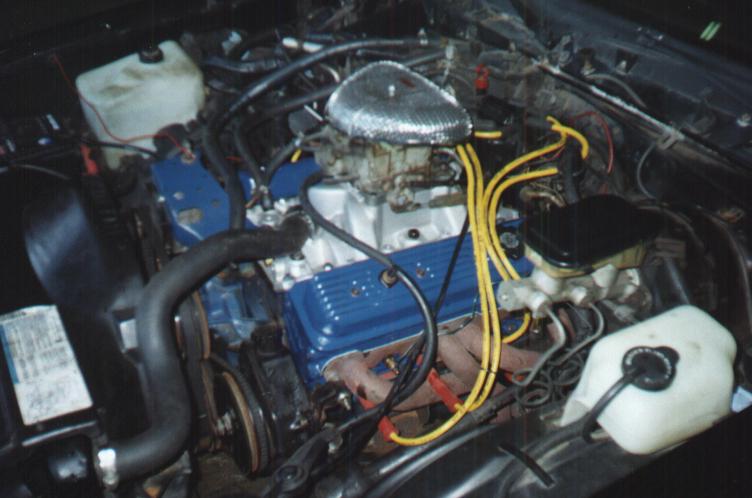
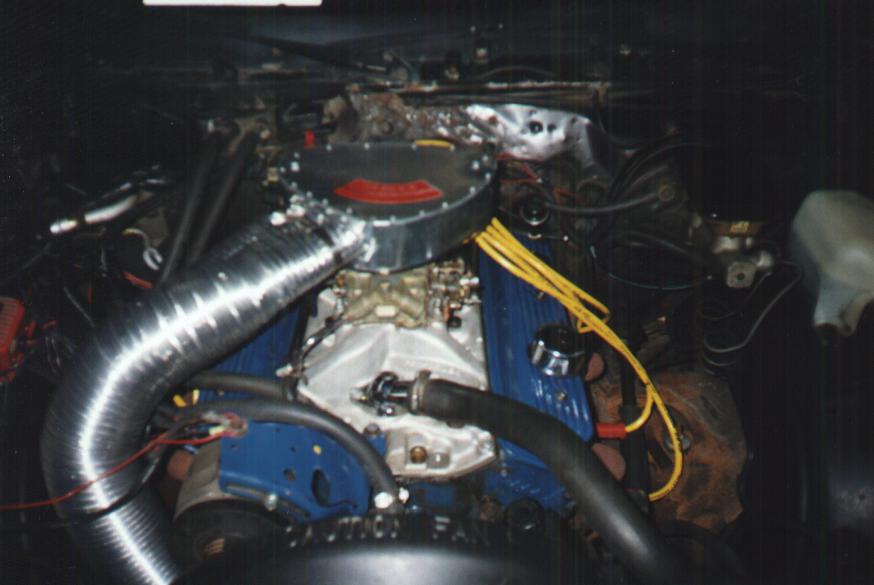
Here she sits
in her final state after having found that my Q-jet would not function
with the new combination.
that is a
Predator carb on top, it is a huge variable flow 1 barrel. I have
been told that it looks like a toaster. But that is one mean toaster.
I am also
moving on to yet a 3rd carb for this motor, as the Predator isn't gas friendly
(actually it is spilling it all over the intake). So I am going on
to a Holley, but it is unlikely that I will add a pic, because if you have
seen one have seen them all.
the saga continues:
Franken-Ram Air
Dr. Mike goes
into his lab one night and draws up plans for a Ram Air system so vile
it screams tacky! And above is what was born. Her parts came
from Home Depot and her soul straight from hell! With the looks of
an elephant would she hold the heart of a HEMI? Actually no.
In fact it blew up at the track. that being the hose expanded and the air
box balloned. How? I am still trying to figure that one out.
So now the trunk sits in the trunk and the air box is back to air filter
duty. The air was scooped from the high pressure area on the inner
lower air dam of the car. And in the process cost me a lower rad
hose as the tubing pressed the rad hose against the harmonic balancer.
Doh!