 In the picture, there is a black circular object. It is my tweeter mount. I
glued the tweeter mount onto a piece of wood, then attached it onto my A-pillar
panel where I wanted my speaker to be placed.
In the picture, there is a black circular object. It is my tweeter mount. I
glued the tweeter mount onto a piece of wood, then attached it onto my A-pillar
panel where I wanted my speaker to be placed.Now to Fiberglassing
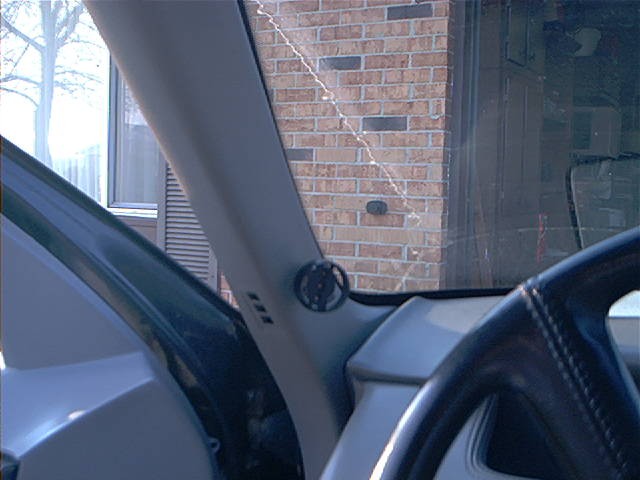
Before you fiberglass, you need to choose where your speaker is going to be placed.
I decided on my A-pillars
In the picture, there is a black circular object. It is my tweeter mount. I
glued the tweeter mount onto a piece of wood, then attached it onto my A-pillar
panel where I wanted my speaker to be placed.
Once I had the speaker mount firmly mounted onto my A-pillar, I then put the Cotton/Polyester blend cloth into use. You need to make sure that when you put the cloth onto whatever you may be fiberglassing, to be sure to pull it tight. When you put the matting and resin mix onto the cloth, it WILL weigh it down greatly, so making sure the cloth is tight is a must.
 The reason for this is so that when you start fiberglassing, you have a sort of
shape to work with, instead of completely building the whole structure out of
fiberglass.
The reason for this is so that when you start fiberglassing, you have a sort of
shape to work with, instead of completely building the whole structure out of
fiberglass.
The next thing you need to do is tear/cut the fiberglass matting into pieces that are no bigger than 3 inches. If you can, you want to tear the pieces, because the rough/ragged edges help with overlapping, and helps the strength of the structure.
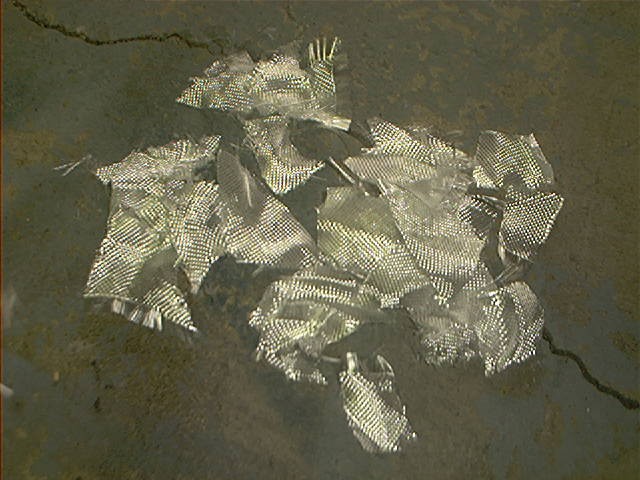 This here is just a small, sample amount of what I used during this project. You
WILL use 2-3 times as much as what is pictured above.
This here is just a small, sample amount of what I used during this project. You
WILL use 2-3 times as much as what is pictured above.
Then, put your resin and hardener into the cup/pan, and mix the two together. Once you have them mixed, you have approximately 20 minutes to use the resin mix in the cup/pan. Now, the actual steps on how to fiberglass:
First Layer:
1: Take a piece of matting, and put it in the resin mix. Make sure it has plenty of resin on it, then place it onto the cloth that you are fiberglassing onto.
2: Repeat step 1, covering all the cloth. Make sure that all the fiberglass matting is overlapping, and that there is overhang onto the surface that you are fiberglassing onto (if you didn't, how would it stick?).
All Other Layers:
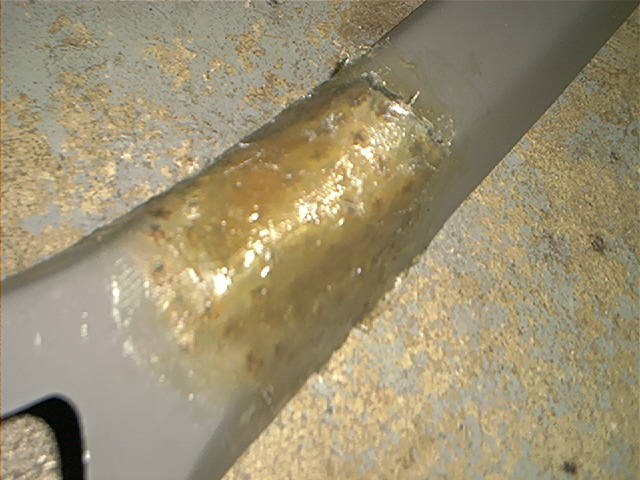
Take pieces of matting and put it in the resin mix. Then place the matting onto the matting that you have already done. I used the wooden stick provided to poke out any bubbles that I got. Make sure that you put matting all over the structure. DO NOT worry about it not being smooth, because that will be worked out later.
Notice that it is not very clean looking. Do not worry about that.
Note: Straight parts are the weakest parts. Be sure to add extra matting and resin into those areas. I have also heard of people adding toothpicks into the straight parts for strength. When doing curves, matting and resin tends to build up there, so you do not have to worry about curves as much.
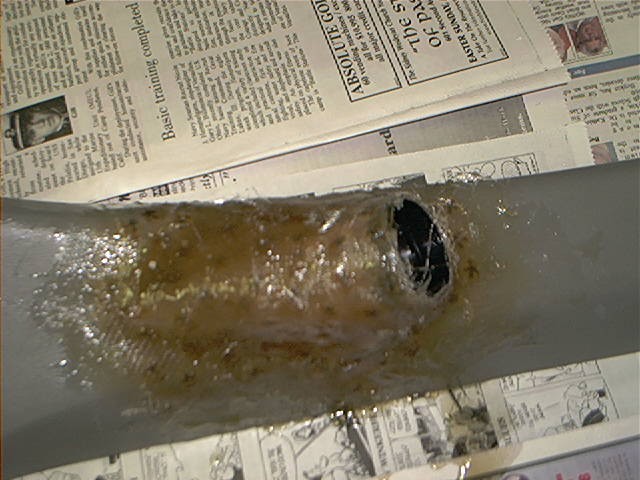
After this, let dry for at least 1-2 hours. When I took this picture, it was 10-15 minutes after I was done fiberglassing, and it was already drying. But, you need to ensure that the resin mix has completely dried before you start anymore.