 Here, you can see the smoother tool, the tube of body filler, and some of the
body filler I used.
Here, you can see the smoother tool, the tube of body filler, and some of the
body filler I used.Finishing
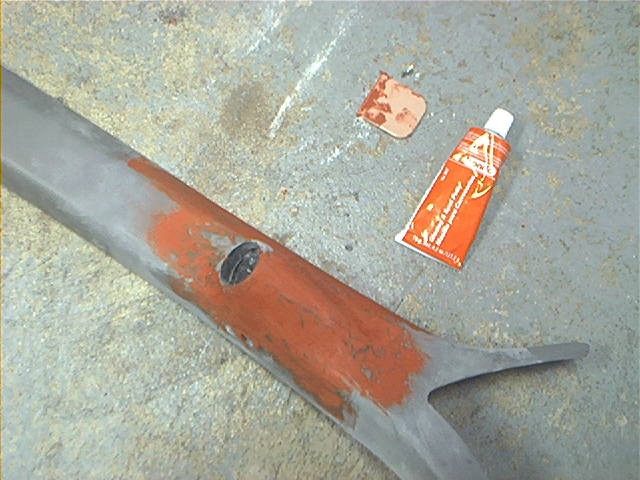
Now that you have let the fiberglass dry, you need to finish the project. Now is when you will need the bondo-type filler to fill in any bumps.
I bought myself a plastic, sandable bondo. I also made sure that the bondo I used was water safe, because I would be cleaning the whole thing later. The instructions of the tube of body filler that I bought said to apply several thin layers rather than 1 thick layer to prevent cracking. So, I put a small amount of body filler onto the fiberglass, and took the smoother tool from the kit, and start moving the filler around. I did this for several hours, letting each layer dry for 15 minutes. Once I had applied what I though was enough ( I determined this because pretty much the whole surface had became really smooth), I stopped.
Here, you can see the smoother tool, the tube of body filler, and some of the
body filler I used.
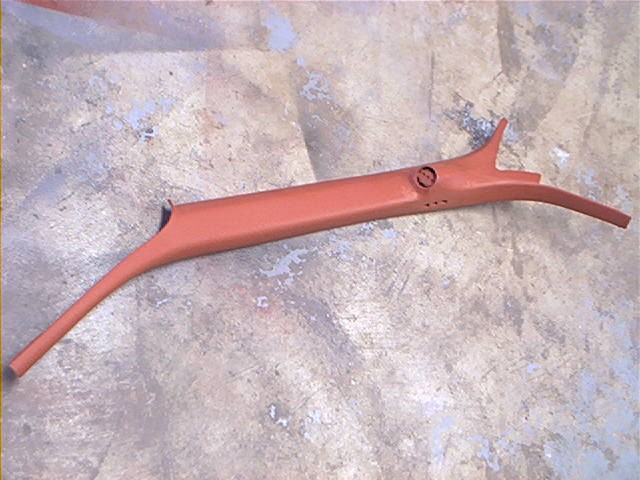
Here it is, after I was done with the body filler:
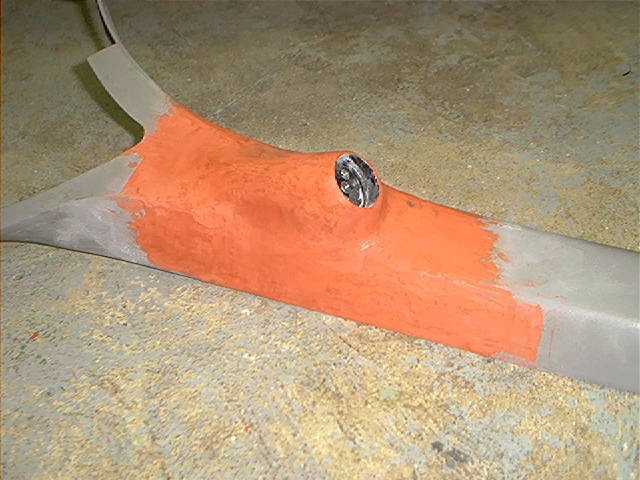
I completely smoothed the fiberglass onto the plastic. This made it look like it flowed very smooth.
I then sanded, and sanded, and sanded. I sanded because there were still some rough spots, and the body filler was used to fill things up. But, some spots were filled too much. So, I sanded, and it completely smoothed the whole project out.
Painting
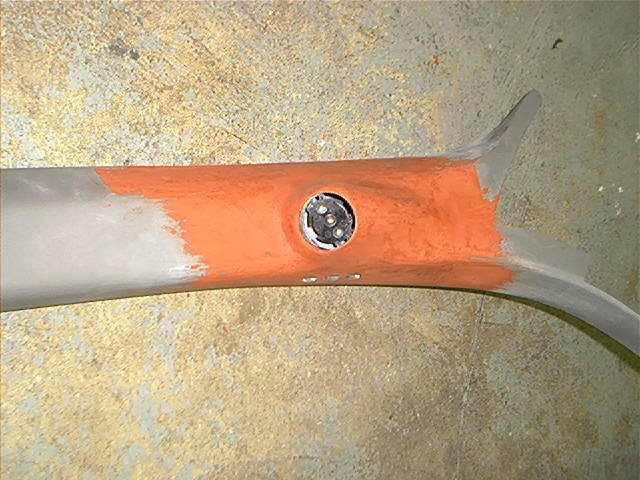
Once I was done sanding, I then primered the project.
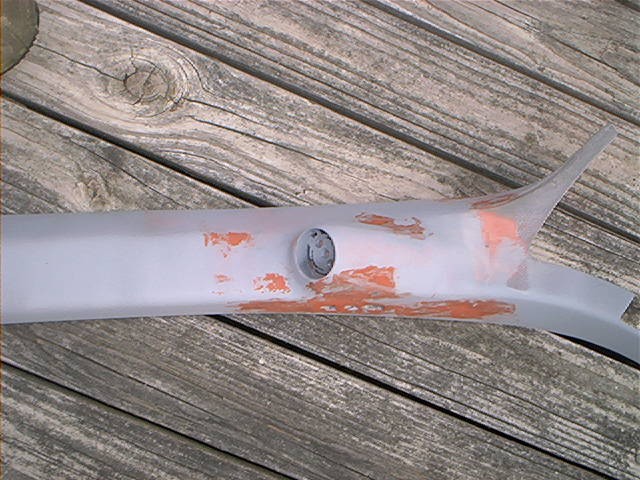 Once I primered it, I could see that I needed to use a little more body filler,
so I applied it directly on top of the primer.
Once I primered it, I could see that I needed to use a little more body filler,
so I applied it directly on top of the primer.
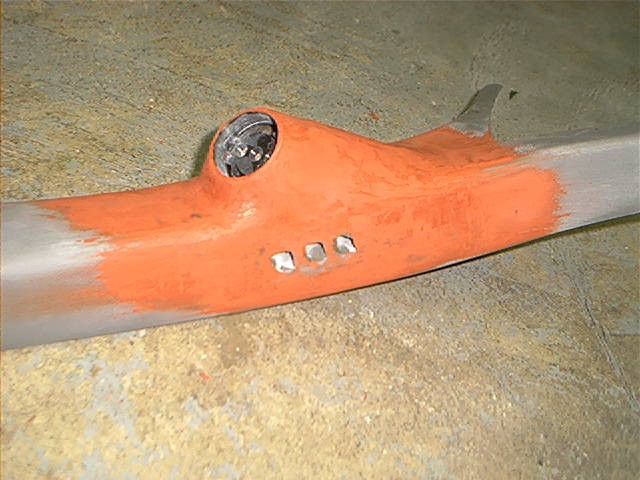
I then sanded a little more, then applied 5-7 light layers of primer to the project.
Then, I sanded a little more, because the primer built up in some spots.
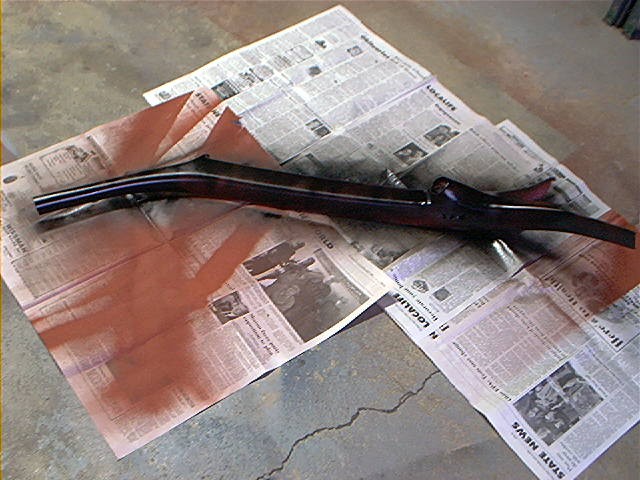
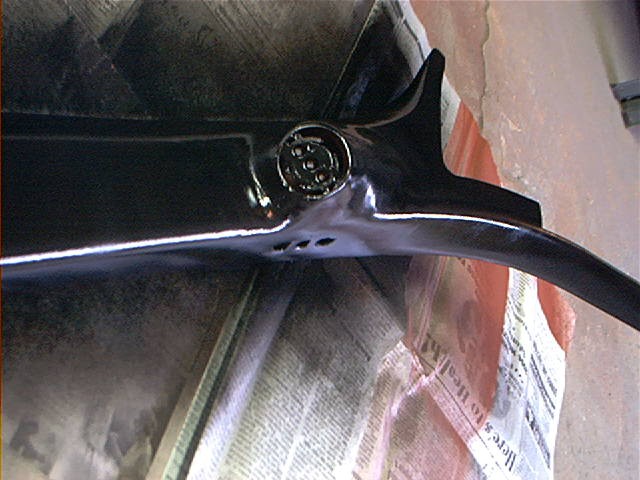
Once that is finished, you then can paint with any color of your choice. I am choosing black to go along with the color of my interior.
Vinyling
I have no pictures of this process, but I can describe how to do it from past experiences.
1: Take your spray glue, and spray one end of the project. Then spray glue onto the bottom side of your vinyl. Let the glue sit for 30 seconds to get tacky. This will ensure that it will stick much better.
2: Then lay the vinyl onto the project. While doing this, smooth out the top of the vinyl with your hands. This will get any bubbles out from underneath, and it will ensure that they will stick together better.
3: Then, spray more glue onto more of your project, and more glue onto the bottom of more of the vinyl, and repeat steps 1 and 2 until it is completely covered.