Before
continuing, clean the inside of the rim (particularly the
bead seats) and wipe away any water. If you want to use
the minimal amount of weight to balance the tire, you can
strip the weights now and find the true heavy spot of the
rim (usually close to, but not always exactly at the valve
stem).
Step Five: Replacing the first bead
|
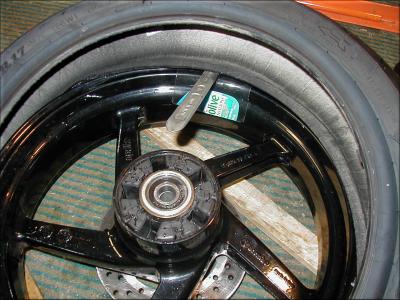
Lubricate the tire bead and
place on the rim. Make sure that you get the
direction of rotation correct (marked with an arrow on the
one side of the tire, and on the rim if it is dual
caliper). There should be a red or yellow paint dot to
mark the light spot on the tire. (Michelin Pilots seem
only to have a bar code sticker). Align this spot with the
heavy spot on the rim (usually the valve stem). Push the
tire in place. You should be able to get it almost mounted
by hand, prying up just the last bit with an iron.
|
|
Step Six: Replacing the Second Bead
|
|
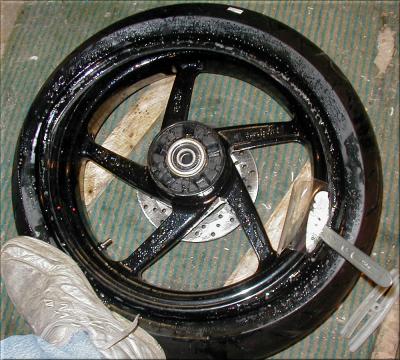
The easiest, and
most satisfying part. Lubricate the bead (don't get water
in the rim though). Start the bead over the rim, then push
it into the drop center as you work the two irons around
opposite sides of the tire.
|
Click
to Continue to the next step...