Step Seven: Seating the Beads
|
The moment of truth.
Bounce the tire on the ground around its circumference,
lubricate the bead, then apply your air source. You want
good flow here, but shouldn't use more than 40 psi. Its
preferable not to have the valve core
in yet. In most cases, you will hear two distinctive
pops. Listen carefully, sometimes they occur at nearly the
same instant. This is your sign the beads have seated. If
you don't get the pops, have a feel around and find where
the air is escaping. Push on the tire in that area, or
bounce the tire while your are inflating and you'll usually
get it.
|
|
What to do if
the damn bead won't seat (it happens).
- Using a
tourniquet around the circumference of the tire sometimes
works. I've used ratcheting tie downs to crank down on the
tire circumference, pushing the beads against the rim.
- Try prying the
problem area of the bead unto the bead seat with an iron.
Another area will likely fall back into the drop center,
but sometimes it will seat afterwards.
- Heat the tire.
Put it in the sun, or throw it on your balance stand with
tire warmers on it. Cold tires, and old tires are the
hardest to seat.
- Rotate the tire
to another orientation on the rim.
- Block the air
loss. Some tire shops have large o-rings to fill in the
area between the tire and rim (for some reason, Dunlop
specifically warns against using these devices). I've
tried duct-taping the area to hold in a bit more air
(it didn't work).
- Get more air
flow. Larger hose diameters, bigger compressor tank,
rigging up a blow gun to fill it instead of the tire
adapter. These are last resorts.
- Considered the
mark of a desperate man, its a well known trick that if you
fill the tire with a little starting fluid (ether),
lighting it will often create an explosion that seats the
beads. This trick is more often used on truck tires that
have had the beads knocked loose in the field, but its been used
on motorcycle tires too. Before I did this, I'd take it to a
tire shop that has a setup to blow air in around the seat.
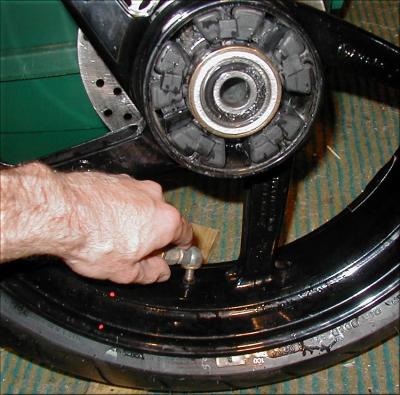
Once the beads
seat, replace the valve and inflate the tire to 40 psi.
Additional air may bubble from around the rim, but this
should stop quickly. Inspect the full circumference of
each rim. There is always a line or ridge around the
circumference of the bead area on the tire. This is
supposed to be inspected to make sure it is equally spaced
from the rim all the way around. This is the one place
where carelessness can hurt you. If the bead is not evenly
seated, deflate the tire, bounce it, lubricate it, and try
again.
Reduce the
pressure to around 20 psi to relax the tension, then bring
it up to your final cold pressure.
Click
to Continue to the next step...