Go to the beginning of this document

Step Three: Remove the first bead

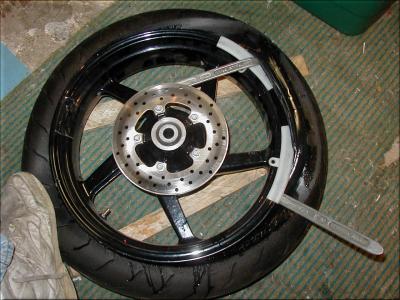
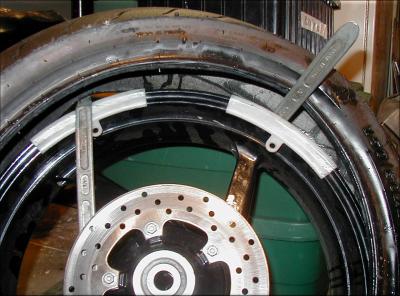
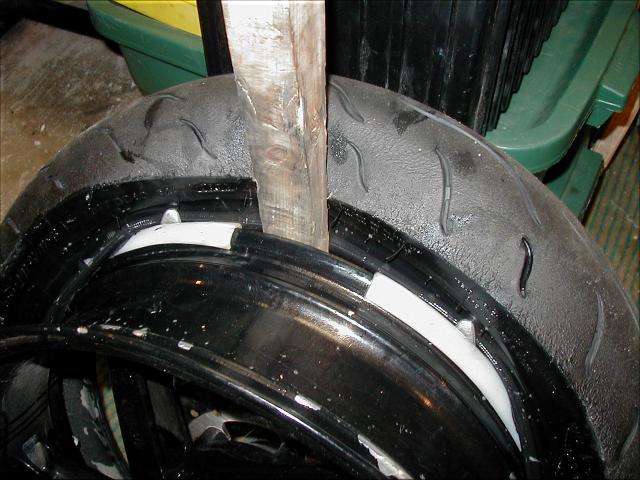
Use the irons to remove the first bead. Soapy water will help here. Remember to use rim protectors under the irons. This job is a lot easier if you push the opposite side of the tire bead down into the center of the tire (known as the drop center). This will give you another half inch of clearance to spoon the bead up over the rim. Note that the rim is sitting on strips of wood on a carpetted area. You can leave your brake rotors in place, but don't pry against them or allow them to rest on the ground.

Push the tire into the drop center and pry opposite


Step Four: Remove the Second Bead

Start both irons at once

Remove the second bead from the same side of the rim. When doing narrow tires, you can pry from the other side of the rim, but I find this difficult on anything larger than dirt bike tires. Start both irons at once (when there's no tension on the rim), then pry the bead over. Drive a wooden wedge or two in between the two irons to hold the bead. Now, you can often just pull the bead off with some muscle, or knock it off with a mallet. If not, work the irons apart on the rim.


Click to Continue to the next step...

Go to the general motorycle maintenance page

Hosted by www.Geocities.ws

1