Alfa Romeo Alfasud SC: As most of the people who read alt.autos.alfa-romeo will know, I have recently restored my old Alfa Romeo Alfasud. Here at long last is the collection of photos I've taken during the restoration of my the car. Firstly I must apologise for the poor image quality. These pictures were taken using a variety of disposable cameras and then scanned and the results are sadly nowhere near digital camera quality to which we are all used. The car in the pictures first came into our family in 1983 when my parents bought the car brand new for the princely sum of �5250. We still have the original receipt for the car along with all the brochures and bumph that came with it. The car was used daily until about 1993 when it became surplus to requirements and was laid up in our garage. Last summer, I dug the car out from under all the junk and set about getting it through an MOT. The car was then used for a year until 4 months ago when I took it back off the road and begun a restoration. Let me take you through it......
|
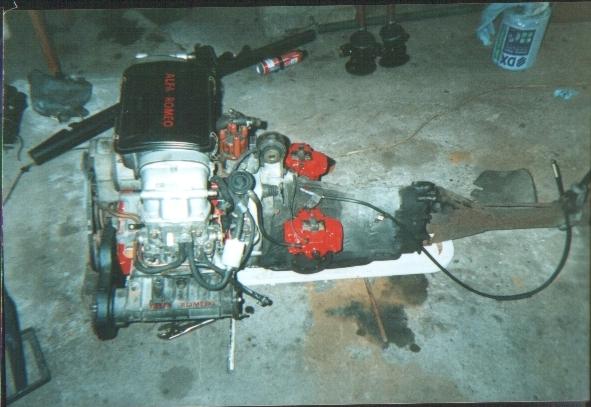
This is where it all started. I got the 1.7 QV unit from Steve Parry, stripped, reworked and rebuilt it, painting the engine block and the brake calipers red. I re-installed the unit into the car and gave it a try. The hydraulic valve lifters in the engine failed within 2 weeks of the rebuild. Guess I should have changed them in the first place! So, I installed 8 new ones and it's been fine ever since. Also replaced were the cambelts and handbrake cable and a new set of pads and seals went into the front calipers. In this shot (at the top of the picture) you can see the driveshafts which have had the cv gators replaced. Thanks again to all in the newsgroup who helped with that one!
|
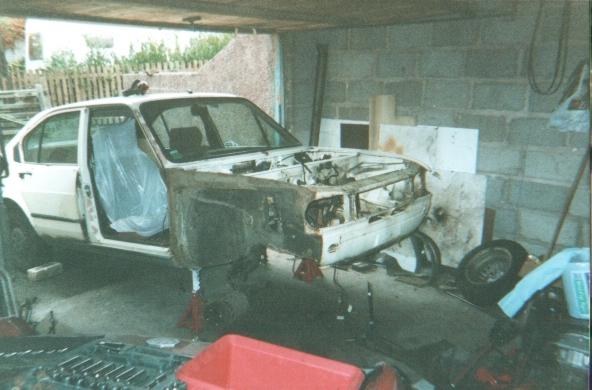
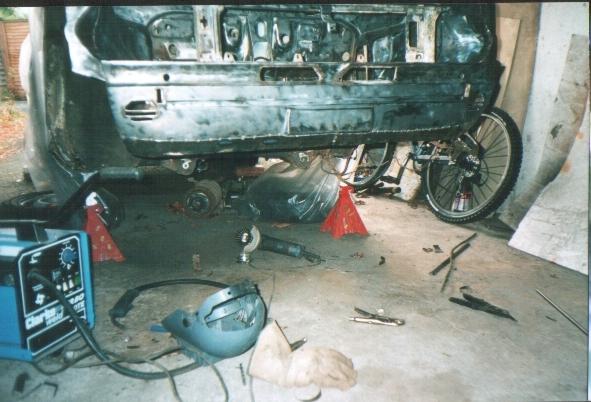
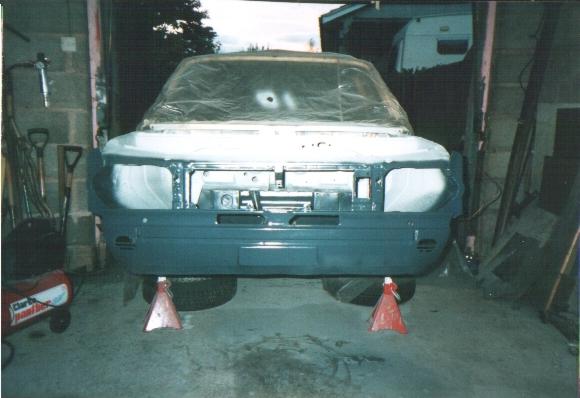
After the engine was done, I begun stripping the car. As you can see, the os front wing has been removed along with the suspension strut.
|
|
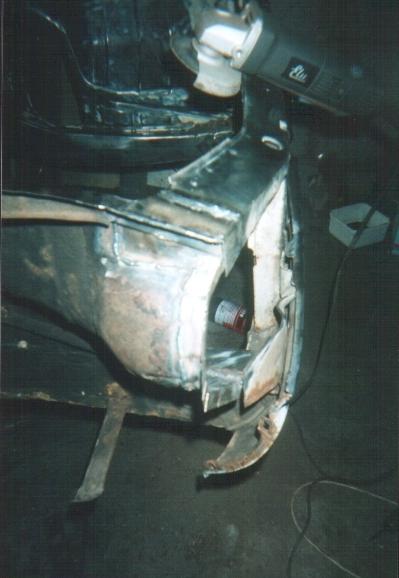
With the car in this state, several repairs were carried out. Both the headlight wells were rusted and so these had to be constructed. The front of the wing rail has been replaced and the flange around the edge of the well has been remade too.
|
|
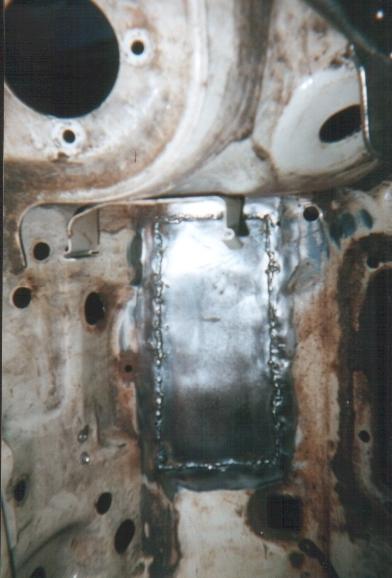
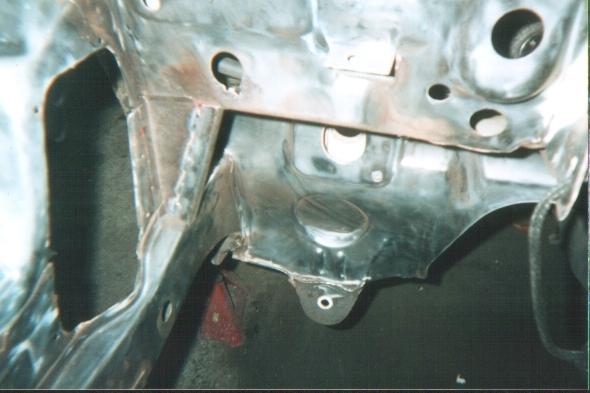
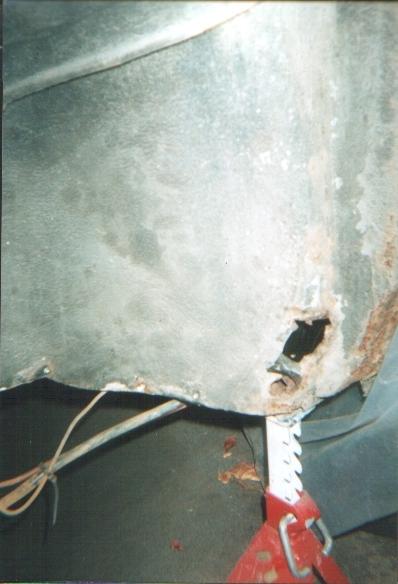
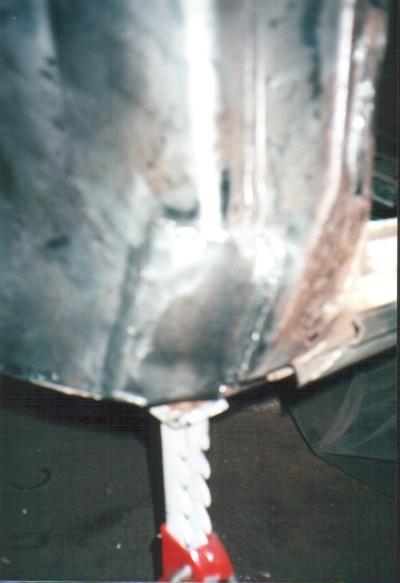
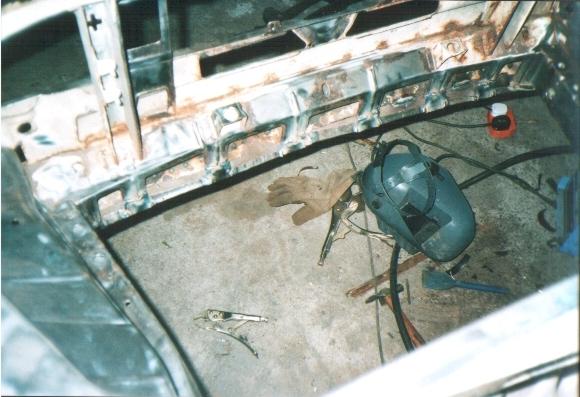
Another repair was to patch a fairly large hole which had rusted through below the brake servo (the mounting holes for the pedal box and servo can be seen at the right hand side of the picture). Probably caused where brake fluid had been spilt, exposing bare metal and thus a big hole. .
|
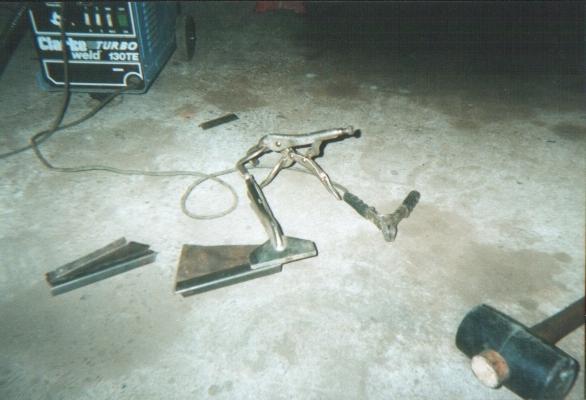
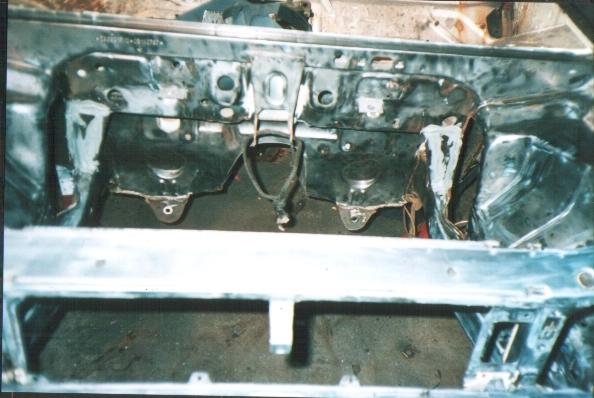
Another repair was to the braces which fit between the chassis legs and the bottom of the battery bay area. This pic shows how I went about making them.
|
And this is where they were fitted. This one has only been tack welded into place for final adjustment (with a big hammer) before putting a big stong weld all round it. This part of the car is actually quite stressed because as the engine is revved, the torque reaction flexes the chassis legs (at the bottom of the brace). So, the brace has to be firmly attached to the partition to help reduce this flex.
|
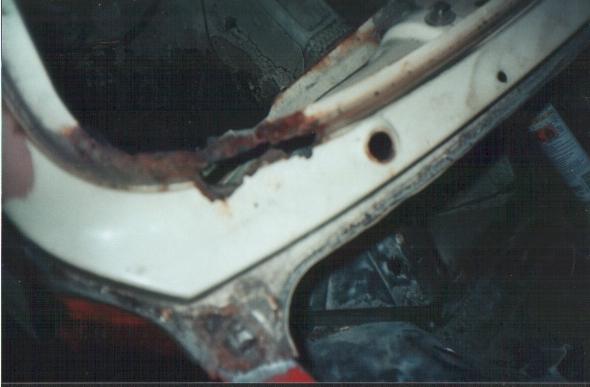
As with all most all Alfasuds, there were holes in both corners of the windscreen surround where water has sat. These were both repaired as best I could.
|
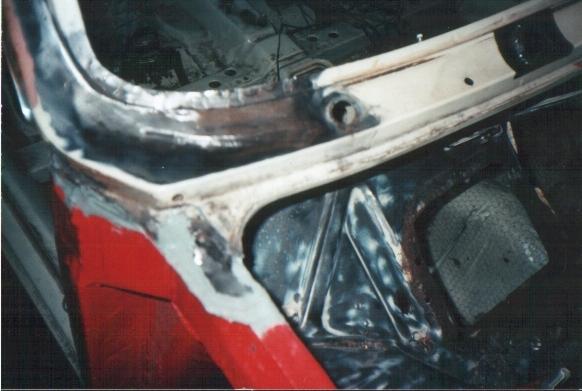
This shows the repair. The picture doesn't really do it any justice and it is actually alot smoother than it looks. You can see in this photo how the inside of the inner wheel arch has been stripped of the old underbody seal and then painted. Process is described later. Also by this point. As I was doing this I found a large whole in the near side wheel arch....
|
|
This is the hole in wheel arch. Close inspection revealed that a bit of rust has begun at the front of the sill. So, I cut into the end of the sill and welded the very front of the sill as best I could. The finished job looked like....
|
|
This! Sorry for the poor photo! This sort of thing is typical of the repairs that were required all round the car.
|
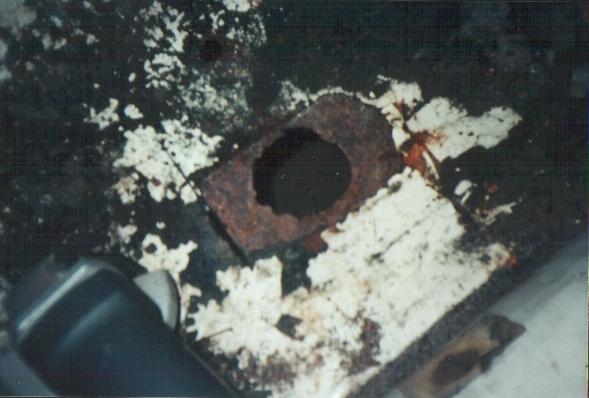
This is another stereotypical repair. These holes were originally plugged with big plastic plugs. I can't understand why though. It wasn't for drainage because they were fully sealed by the sound deadening material...
|
The bottom edge of the front valance was very rotten and I spend a while deliberating over how to fix it. In the end I just sliced off the rotten portion with the grinder and tacked on a peice of sheet steel. The tack welds can be seen running along the top edge of the sheet. I then folded the bottom edge and welded it onto the castle section behind.......
|
Like so. The end result is a reasonably neat job, although it doesn't really matter too much because all of the front is hidden behind the bumper, as long as it's strong!
|
Not too bad! Note the selection of tools scattered messily across the floor of our garage! The repair did turn out to be quite strong, I was able to lift the front of the car clean off the axle stands (whilst the engine was removed that is!) by it so I reckon it's good.
|
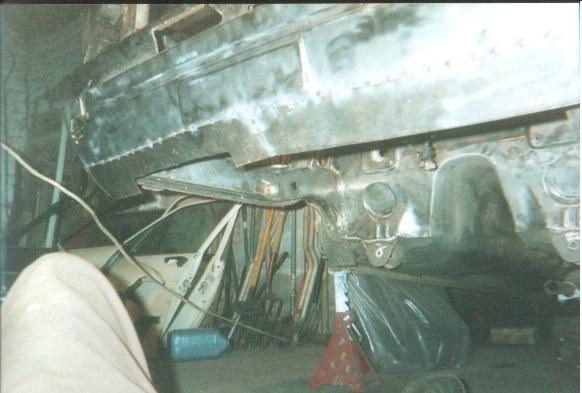
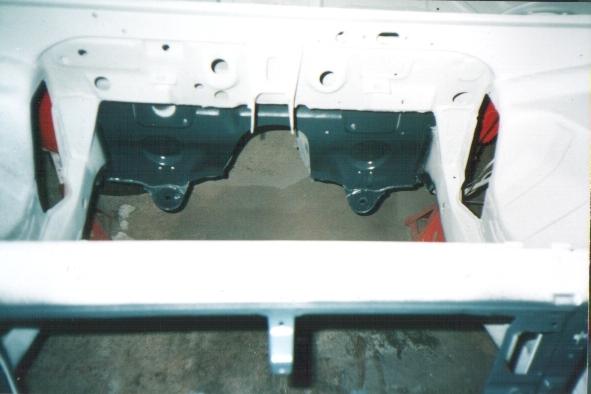
This shot shows the engine bay all cleaned up and repaired prior to painting. Although the old paint can be seen in the battery bay area, this was all removed before painting begun. I decided to a paint the engine bay first so I could then put the engine back into the car and have it sitting on it's wheels and mobile so I could move it around whilst preparing the rest of the body for spraying.
|
The car is being painted with cellulose based paint because we don't have the facilities for using cyano- based paints. This shot shows the engine bay after priming. The dark paint is the anti stone chip paint which has been applied to all the areas that are likely to be hit by spray and stones.
|
This shot shows how much of the front was painted with stone chip paint! I basically applied it to all the areas that had rusted badly in the first place in the hopes that it will offer some more protection to recurring rust.
|
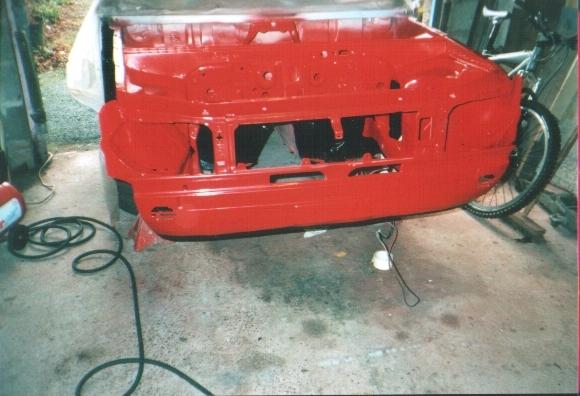
The next (and most fun!) stage of the restoration was spraying the top coat. It is of course Alfa Rosso (ICI Ref. no. P030-WM37) and I am very pleased with the colour. I was worried it was going to be a very bright red but in fact, it is a nice deep red without being maroon. If you know what I mean. The picture doesn't give a very accurate representation of the true colour.
|
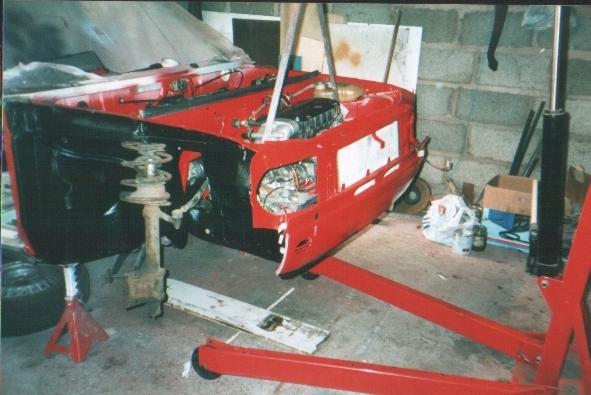
This shot shows the engine going back in. The front springs in the suspension strut have had one ring cut from them (a la Bert Kanters!) so that the car will sit lower and stiffer. Also shown in this shot is the inside of the wheel arch which has had the following paint process: 2 layers of zinc rich primer, 2 layers of hammerite smooth followed by 2 thick layers of underbody seal. All of these were brushed on rather than spray painted.
And that's the end of the photos for now. Currently progress stands like this: All the panels have been refitted to the car and all the paint stripped from it. All the dents in the bodywork have been filled (which has taken me ages!) and the car is almost ready for the respray. I still have to clean out all the dust from the garage and put up plastic sheeting to try and make it as dust free as possible. As soon as I have the current roll of film developed, i'll put it onto the web too!
CONTINUE...
|
