
|
|
|
|
|

| | |
Alfa Romeo Alfasud SC: At long last I've got the next set of photos developed. Once again, sorry for the relatively poor image quality, I'm still in the dark age of 35mm film and a scanner! Anyway, enough of the pleasantries, lets get on with it!
|

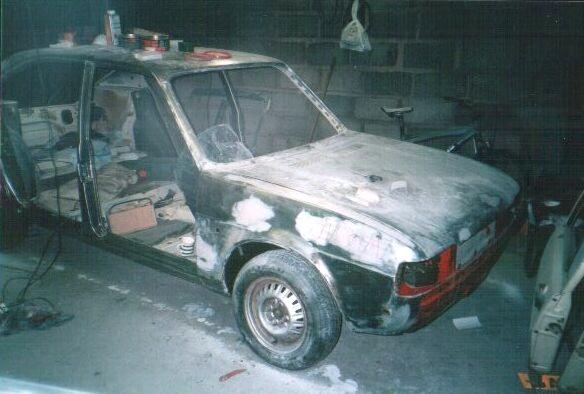
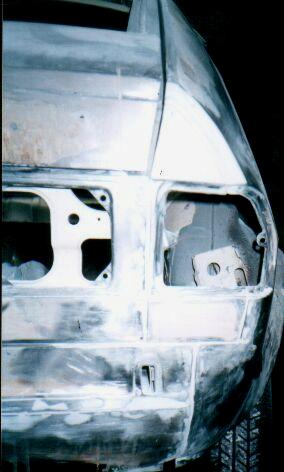
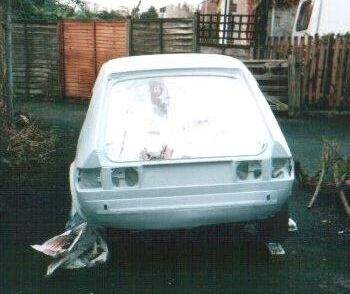
The last photos that I put online were after the engine bay had been painted and the engine re-installed. The car was sitting on it's wheels and driveable although no seats or any of the interior were fitted. There was a short spell where no photos were taken and in that time, I stripped all the paint from the car using copious amounts of paint stripper and elbow grease. In the end, I chose not to use the grinder with the wire brush as this was really hard work, and i've already done enough grinder-ing to last me a lifetime! The first pic shows the car, stripped of paint and down to the bare metal, engine fitted and raring to go!
|
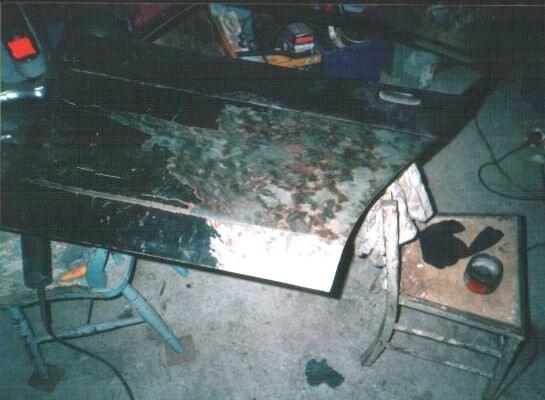
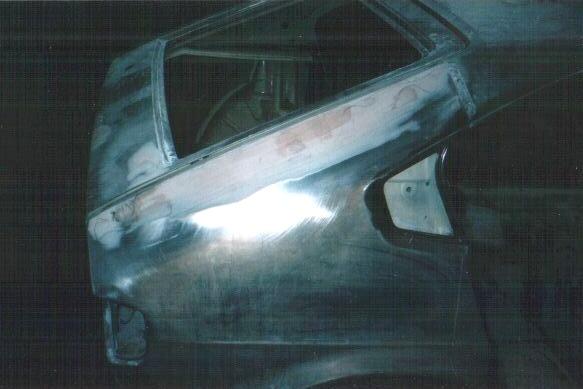
The next part of the paint stripping I did was the bonnet. For some reason, they painted the bonnet with something different to the rest of the car which put up much stronger resistance to the paint stripper. It took ages and I used a ton of stripper fluid. I then started on the new doors (all three of them) as supplied by Steve Parry. They were in reasonable condition considering that they are probably about 20 years, a couple of dents here and there. But when I started stripping off the black panel primer from the NSR door I wasn't expecting to find a blanket of rust! However, a bit of perseverance with the Jenolite and the grinder sorted it out.
|
Once I had all the doors back to bare metal, it became easier to see all the dents and I was able to get on with filling them using epoxy filler. It took ages (in the freezing cold over the christmas period, mixing filler with twice as much hardner just to get it to go off inside 1hr!!), probably a combination of lack of skill, over enthusiasm with the sandpaper and over perfectionism. In my defense, some of the dents were pretty difficult to fill, particularly the ones in the ridge that runs along the middle of the (both the rear doors) doors. Both quite big dents and difficult to get flat whilst preserving the ridge. Funny thing is the front door was in the best condition and is almost certainly the oldest as none of the trim or mechanism from my original doors fitted which makes me think it is from a series 1 'sud. weird....
|
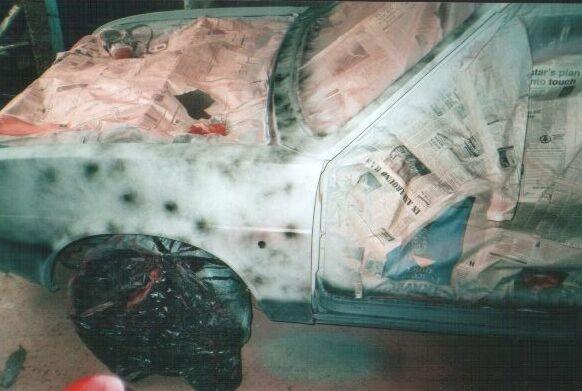
The doors finished, the next part of the job was to fill all the dents in the body of the car. This also took ages for the same reasons as the doors did. The whole car was peppered with small dents as you can see from the pics.
|
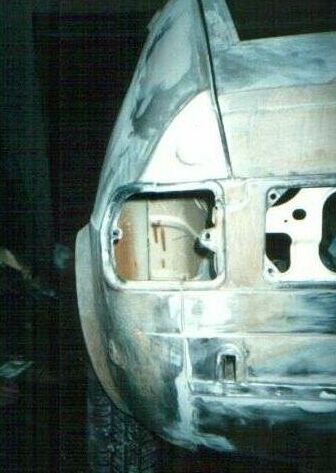
The filler on the OSR wing masks a seam that I had to make when fitting the new wing after I crashed the car (winter 2000/01) The wing i got (thanks Dad!) came from justsuds (www.justsuds.com) and was actually for a series 1 sud that had the saloon boot (little flap) as opposed to the full hatchback sud that my car is. The result of this is rather funny lines at the rear and although not immediately obvious, it is easy to see when you compare it to the original side:
|
| 
|
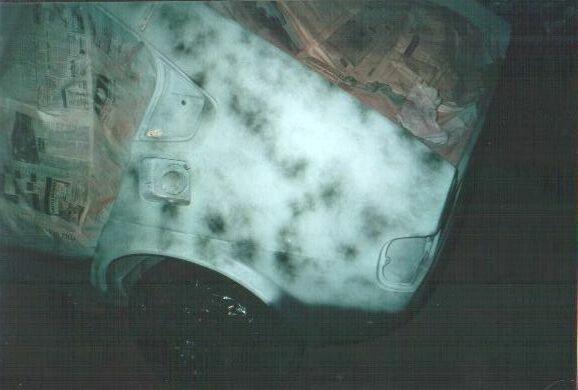
Look immediately below the light aperture on the right hand side and you can see the recess for the reflector that was fitted to the earlier models. This has been filled in with filler but the lines seams around it don't match the other side! I don't really mind this as it adds a bit of character to the car! Also, there is a seam that runs right the way up the top of the wing where the old one was cut off. Then there is some weird jiggery pokery at the triangle above the light.
|

|
Very intrestingly, I found a picture on the web of a series 1 car that's had the wing from a series 2/3 car fitted! It looks like mine anyway with the reflector recess filled in... And I thought my car was one of a kind! Thanks to Superpeo for the pic! www.cinghialoni.org or www.idanet.net
|
This picture shows the seam that runs along the top of the wing. All nicely covered in filler and reasonably flat-ish after about a million skims of filler:
|

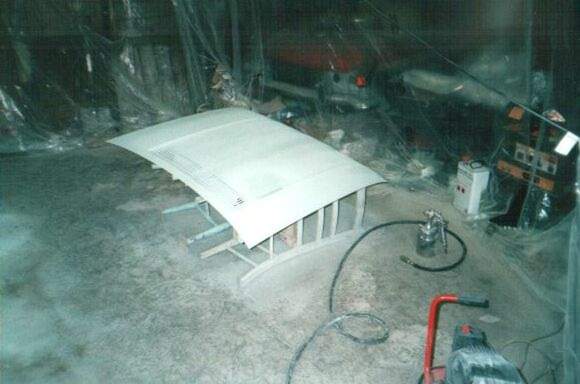
So, after many hours of filling and sanding I collected up all the loose stuff in the garage and packed it away. I cleaned up all the dust as best I could and hung plastic sheeting all round the garage to try and hamper the dust that was remaining. Once I'd done this, I washed down all the doors, boot and bonnet with Jenolite which is a phosphoric acid based rust remedy. The idea of this was to remove any thin film of rust that might have developed and generally make sure that the surface of the metal was clean. Unfortunately this kind of backfired a bit because while the jenolite gets rid of rust very well, it leaves a sticky gummy residue unless it is scrupulously cleaned off. I did try quite hard with the cleaning but I still had lots of adhesion problems once the first coat of primer was sprayed. In the places where the paint was flaking off, I rubbed it down and cleaned it again. Eventually, after much cursing I got the paint to stick and primed all the doors, boot and bonnet.
|
|
|
|
Now that I'd got the hang of painting again, I did the body of the car, having painstakingly masked off all the apertures. Spraying primer is amazingly easy compared to topcoat and is a good way of learning the ropes. Hypothetically, imagine how silly someone would feel if they nearly masked themselves inside the car........ not that i nearly did of course......
|
|
The next part of the job was spraying anti-stone chip paint around all the areas at risk, such as the sills, bottoms of the doors, leading edges and such like. Also I sprayed a guide coat of paint which is just a very thin coat of different coloured primer so that when you come to flat the final coat of primer, you can see where you've already sanded and where you haven't. It saves you accidentally sanding through the primer you've just sprayed!
|
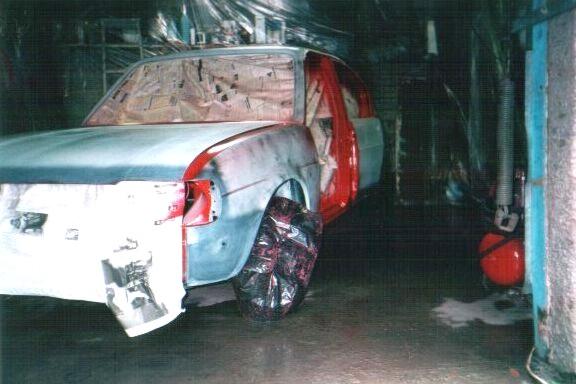
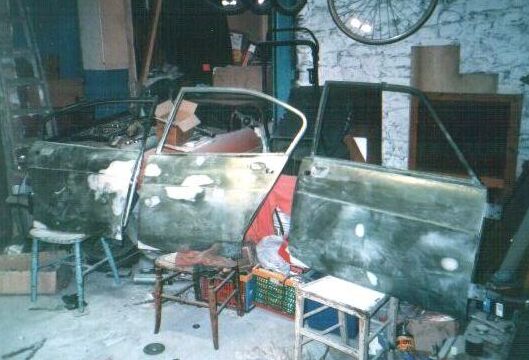
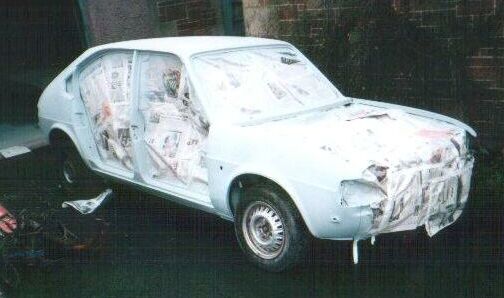
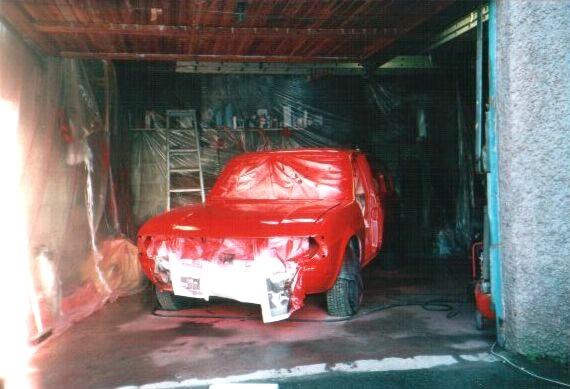
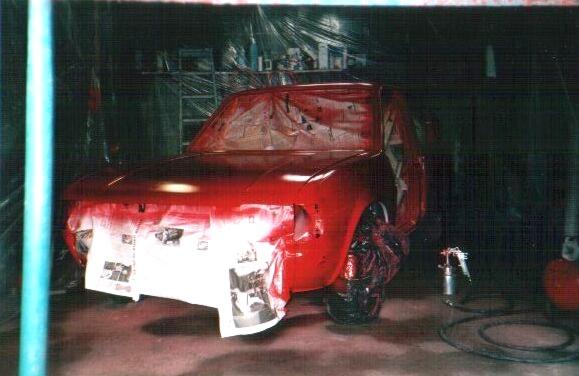
So, with everything primed, flatted and stonechip shielded, the top coat could start going on. The order in which everything is painted is worth giving some thought. I decided to spray the door, bonnet and boot apertures along with the inside of the doors and the undersides of the bonnet and boot first. That way, I could be sure that the insides of the door frames are properly protected, which might not happen if i were to bolt the doors on straight away. So, all the apertures were then sprayed and the doors bolted on, like so! Note the damp floor to prevent dust being disturbed by air from the spray gun and the bin bags over the wheels. In hindsight, this wasn't a very good idea and I should've just used newspaper because the paint doesn't stick to the bin bag and just flakes off at the slightest draught. The NSF door is missing because Steve Parry only got 3 instead of 4. Still waiting so it looks like i'm going to be driving around with a rusty beige door for a while yet!
|
|
|
|
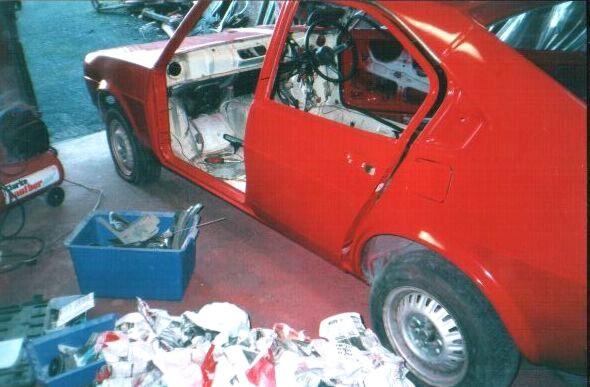
Next job was to remove the doors again, turn them upside down and inject waxoyl. The idea was to get the waxoyl to run into the gap between the seam that runs along the top of the door. The gap is less then 1mm which is too small to allow water to run away once it gets there, which is why so many of the doors rusted from below the chrome seal. Hopefully this should help the problem. When I took the old doors to bits, I found that the top of the doors had originally been waxoyled, but I could see where it had run down the inside of the door which means they weren't turned upside down when it was done and therefore wasn't fully sealing the gap. When reassembling the doors, I also filled the inside of the chrome strip with waxoyle to prevent rust even more. The doors were then remounted on the car and waxoyl squirted into the bottoms of the doors.
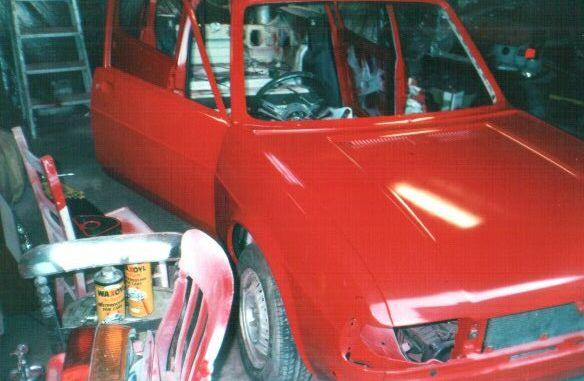
The current state of the car is that it's almost finished! Both the windscreens have gone back in, all the winder and lock mechanisms, glass, handles and trims are back in the doors (which was amazingly difficult because none of the holes lined up with the series 3 trims!) headlights, grille and rear lights are back in too. All that remains to do is waxoyl everything else (sills, bonnet, boot) refit all the interior, carpets, dash etc etc, fit the wheel arch trims, bumpers and other anciliaries. Then comes the joys of MoT's! Watch this space for more info!
Cheers, Simon Grundy [email protected]
|
|
|
|
|
|