 |
 |
| Brake Job Project |
| This is just a basic brake job project, nothing new to install or upgrade. I thought it would be useful for someone who was not very familiar with changing their brakes and wanted to see what was involved. This is on my 4x4 so taking off the rotors are alot easier than on a 4x2 where you have to take out the wheel bearings and all that. This is only the front brakes. |
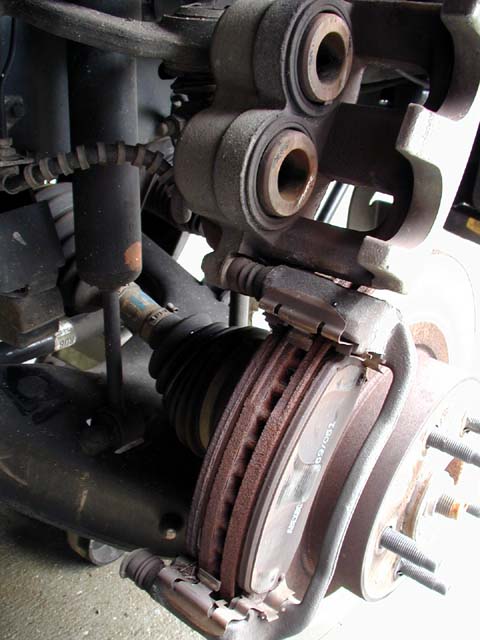
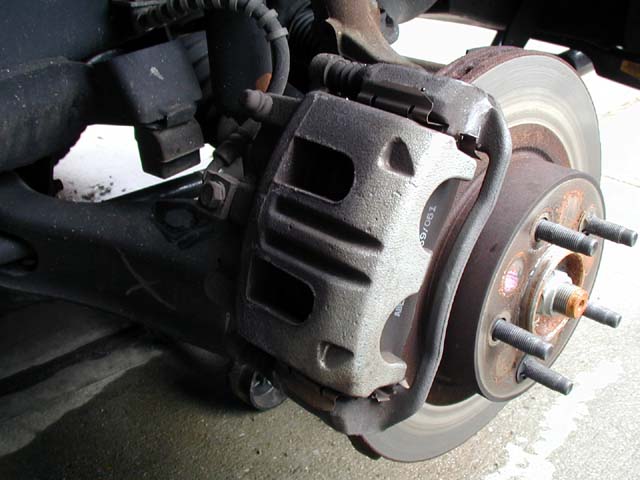
| Step 1: Place your chocks behind the rear tires, jack up the front tires, place you jack stands in the appropriate place (check your manuals) and remove the front wheels. You should see this: |
| Rotor |
| Callaper |
| Callaper Mounting Bracket |
| Pads |
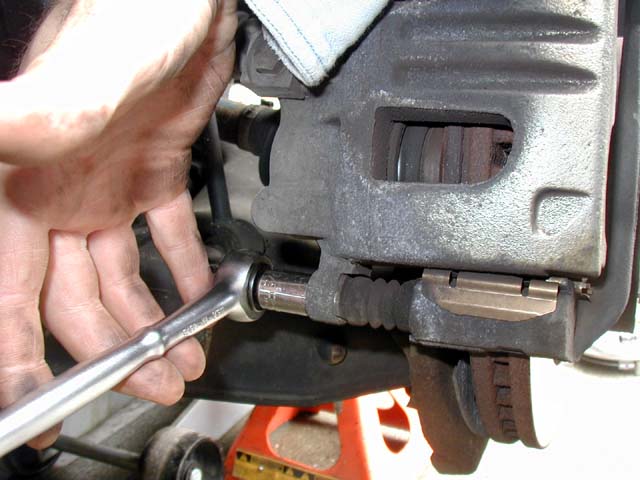
| Step 2: Remove the lower Callaper bolt. I used a 1/2" socket on a 3/8" drive ratchet. |
 |
| Step 3: Slowly compress the pistons back into the callaper. I use a 6" C-Clamp. This is done so you can install the new pads later and put the callaper back into place easilly. Also it makes it easier to lift the callaper up to remove the old pads. Take your time doing this, you are forcing the brake fluid back into the master cylinder. Also there are 2 pistons in the callaper so you have to compress both. Be sure not to crush the brake line when doing the top piston as shown. |
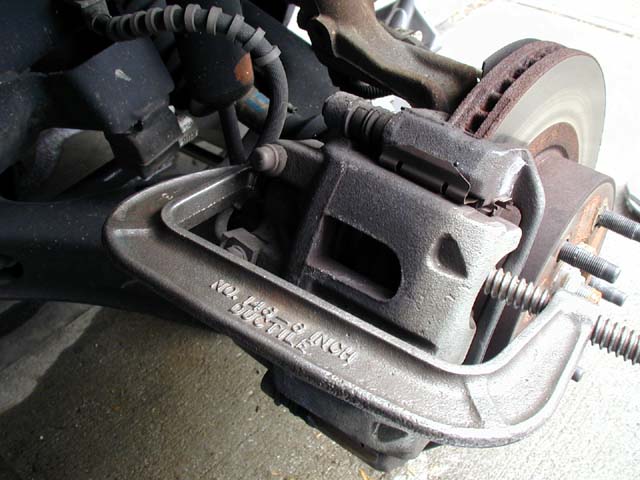 |
| Step 4: Lift up the callaper and remove the inner and outer brake pads. (If you are only changing the pads then you are half done. Fit the new pads in paying attention to fitting them in correctly and reverse the steps to put everything back together.) I chose to take the rotors out and have them cut on a brake lathe. Some people say this is not necessary, so do as you like. I have been doing it like this for a lot of years with good results. Driving in NYC is very hard on the brakes, this may not be necessary for everyone. To each his own. |
| All the usual saftey stuff applies here: use good strong jack stands, a good jack, chock the back wheels, wear whatever protective gear you feel you should wear. Gloves, eye protection, etc. |
 |