...Steady...Steady... --------------------------------------------------------------------------------
Okay the challenge. As I saw it the only way to defeat the monk army is to crush its morale. Now its morale can only be crushed by either killing more of them (unlikely since monks are killing machines and I would be facing 10 units of them) or by seeing themselves outflanked (this causes the AI to become very panicky). I chose the latter and here is what happened; I spent a long time using
the battlefield calculator trying to determine what could kill monks.
2 Yari Cavalry
Honour 4
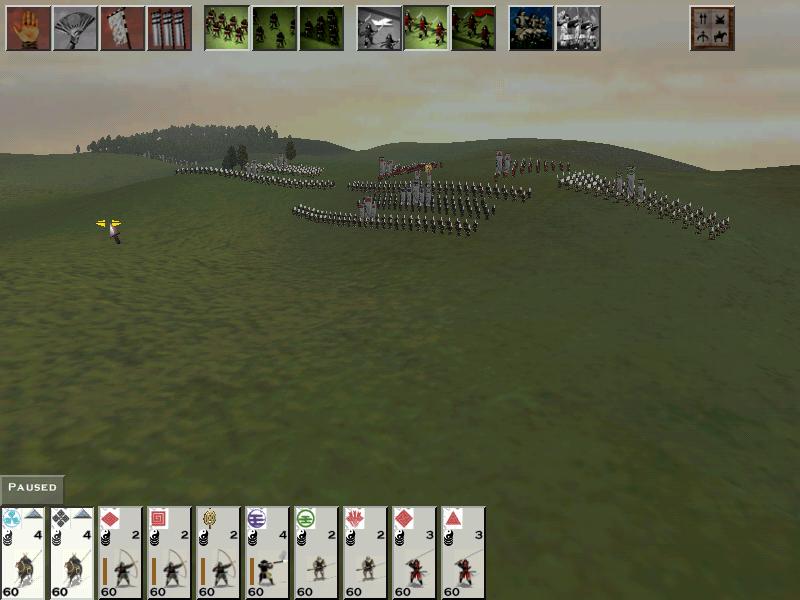
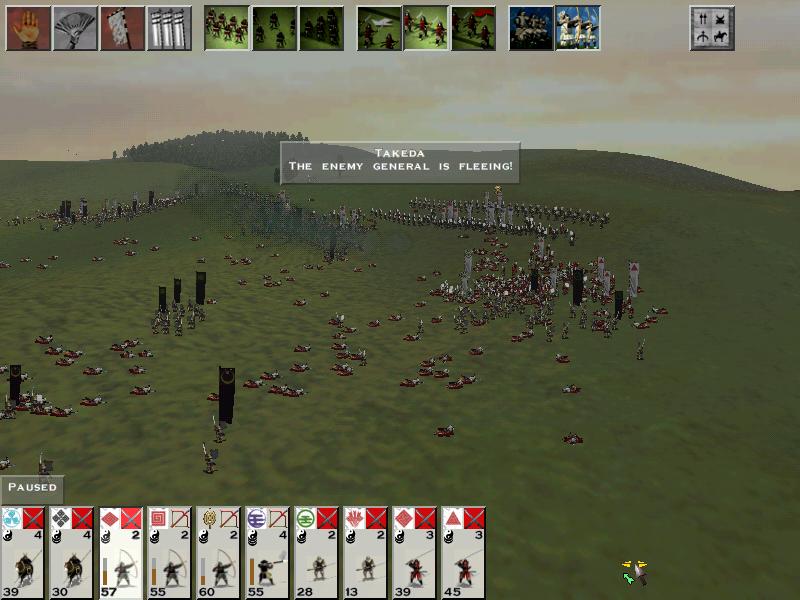
I found I had some spare points so I upped my Musketeers to honour 4. I set up (see picture 1) at the back of the map as I am less likely to be flanked. Using the hill I put 2 YA in double rows and my Musketeers in a triple row, all in my centre. All were on hold formation. On by right flank I put another unit of YA in double row, also on hold formation. Then to protect my flanks I put 1 unit of WM on each flank and to back up the centre 2 units of No-Dachi. The WM were in 3 or 4 rows deep, the ND in wedge, both types on attack at will. My cunning plan was to hide my YC in the woods on the right wing, and I positioned them as close as I could in the set-up phase. Both units of YC were on hold formation. Picture 1.
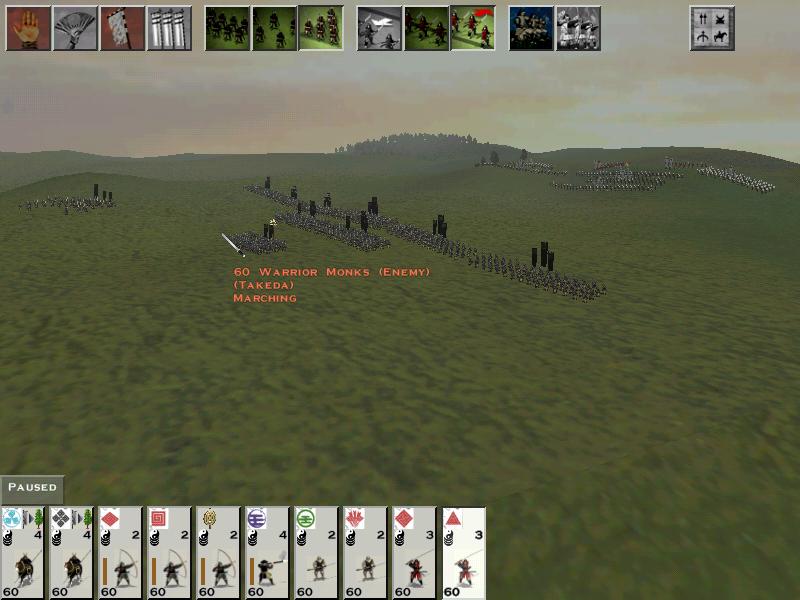
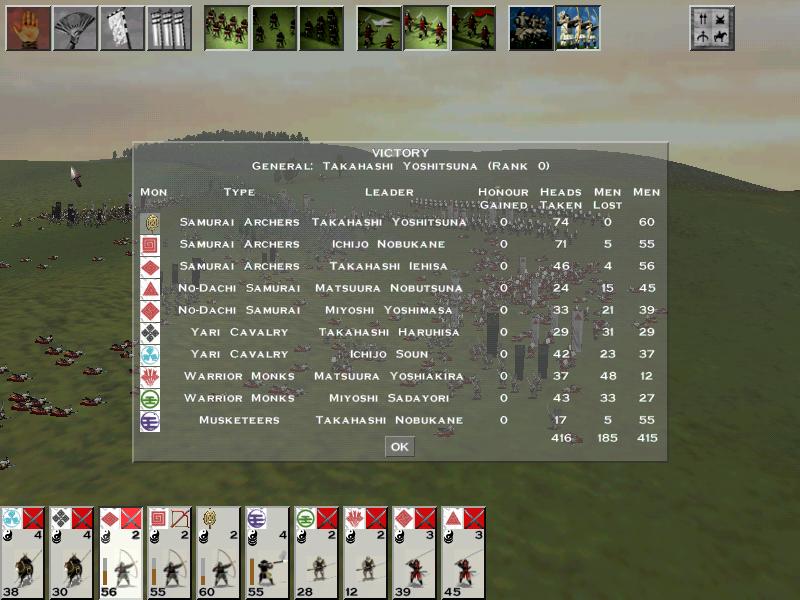
Then I nervously clicked on begin. Immediately I moved my YC into the woods and hid them in the forest as the AI army approached. He set out in standard array (see picture 2) and started to close. When he got to the distance in the picture I advanced my YC out of the woods and lined up on the slight hill infront of the trees. Picture 2.
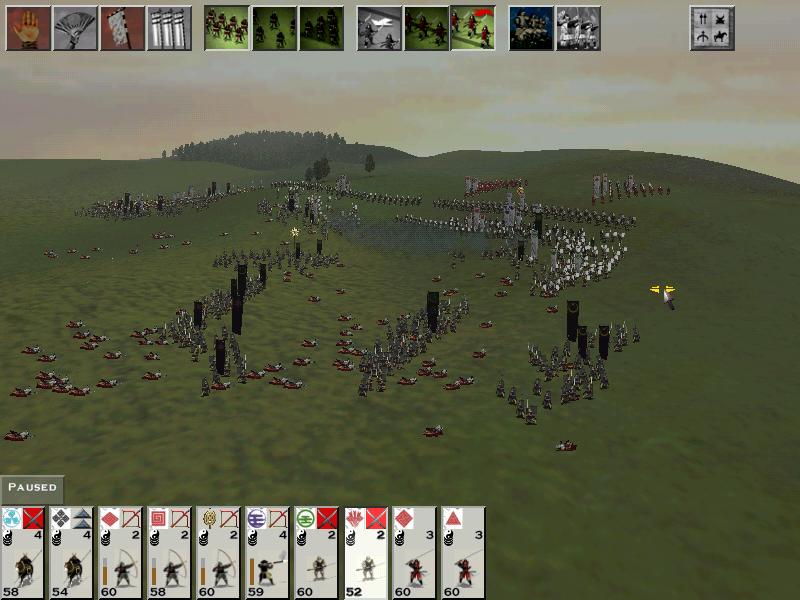
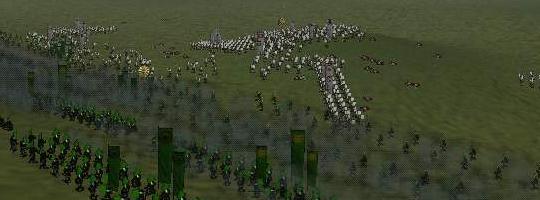
As the AI neared all my missiles opened up on him, decimating the centre unit of WM to around 50%, but still they came on (I somehow knew they would!). The two armies clashed (see picture 3). Picture 3.
As you can see I launched my cavalry on to his left flank and supported them with the WM on that wing. On my left wing he closed on the archers so I sent my WM down to attack. The AI centre is just forming up to attack, and my ND are still champing at the bit for a fight. Now the battle really started
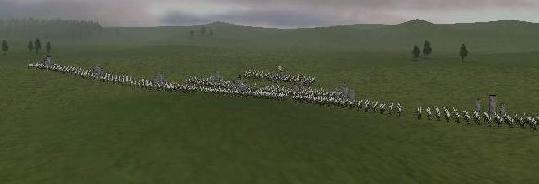
(see picture 4), my cavalry were doing well against their 2 units of WM,
but my unit of WM I had sent into battle to support them wasnt faring
so well. The AI then sent his Taisho unit into to attack my WM unit as
well, so to avoid my WM being double teamed, I sent down the closest unit
of ND to attack the Taishos unit.
Picture 4.
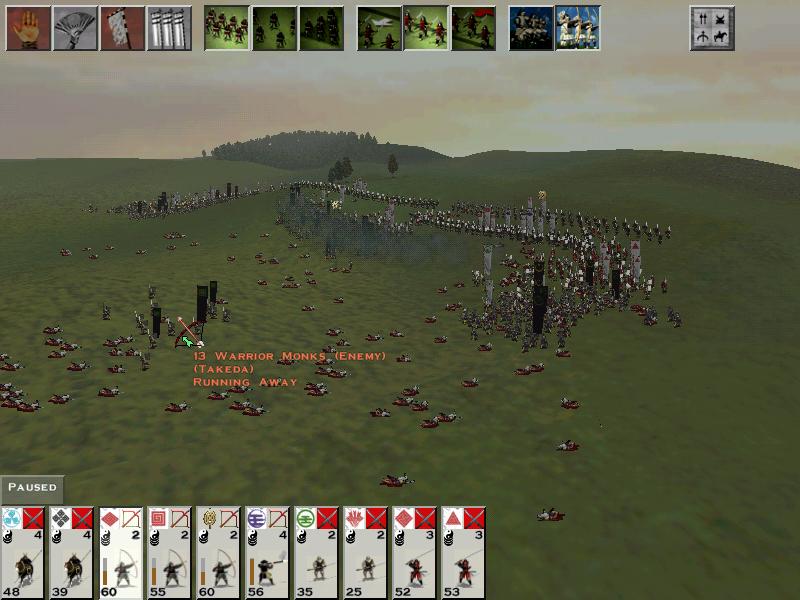
So in Picture 5, both wings were fighting away. However my cavalry were struggling a little so I sent the YA on my right wing to swing around and hit the WMs in the back (my unit of YA is the 3rd flag from left). This turned the battle, and there was a very loud crack as the AI Taishos backbone snapped. You can see on my right wing that the WM and ND have seen of the AI WM no problem. Picture 5.
And then it was all over (see picture 6) and I was left staring at the victory screen. Picture 6.
I have played the same units four times, and in the same positions and won all four. Im now off to try against Hard level and hopefully Expert using the same tactics. --------------------------------------------------------------------------------
1) I used the Battleflied Calculator. I know it might not be 100% correct in all aspects but it did tell me what stood a chance against what. I was very suprised to discover YS and YA were very similiar in attack strengths. I know, as most do, that they both attack with a value of 1, but SA has bows and are able to kill probably as many enemy as their more heavily armoured brothers before h-t-h. 2) I ALWAYS put my missile units on hold position. This stops them moving away when the enemy get close. In my posted battle the musketeers and diamyo SA stood their ground all game and kept firing. If they had been on skirmish , god only knows where they would of ended up and they certainly wouldn't have taken so many heads. 3) I didn't set up in the
middle of the map. I know it smacks a little of camping, but if the AI
has to march across the whole map to get to you, his units are probably
at Quite Fresh stage. I am sure that fatigue as well as the slight hill
I was on, was a factor in my successes.
4. I am pretty certain from
reading somewhere and from campaigns, that while musketeers may not kill
many in a quick battle, the effect they have on morale is enormous.
However beating the AI is not difficult, tricky Yes but not difficult. I don't know if this tactic would work online, maybe someone would fancy a go? Let me know I would be more than happy to try and experiment on-line if you would like to. -------------------------------------------------------------------------------- ...my sole musket unit was forced to try clubbing monks - the musketmen were not happy about spilling blood on their shiny toys and went home early! --------------------------------------------------------------------------------
Barocca
|