Installing the 6-71

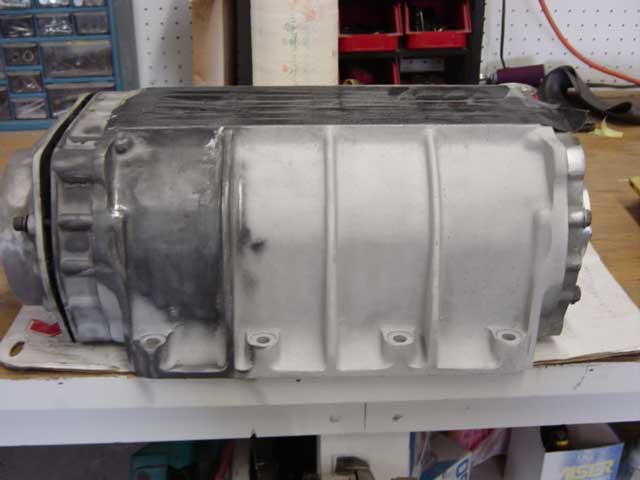
Here is what the blower looked like when I bought it. Its a used unit that was setup for drag racing, it was used on a BBC. The date on this baby says 1966, it probably spent a million miles on some big diesel engine.
The top plate, carbs and scoop are also used, although the setup is fairly new. It came on a "Big Al's Toybox" blown engine with an 8-71, the guy was upgrading to fuel injection. The carbs are twin Edelbrock 750s and have already been tuned for a blown engine. The intake is a used BDS unit, I won everything on eBay and got the whole setup for a great price.
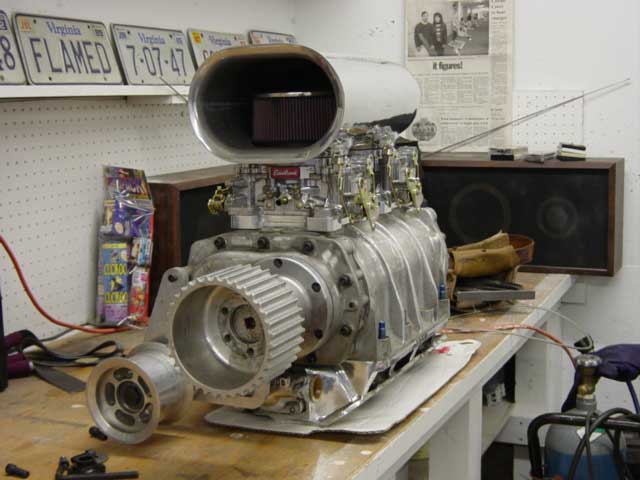
The blower itself was still in factory rough cast form, someone had done a half assed polish (sanding) job, it will need a lot of work. The pulleys will also need polished and buffed
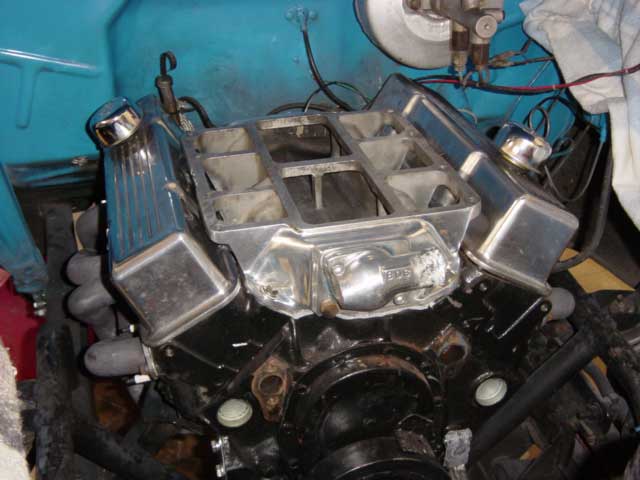
I was also able to get a used BDS intake manifold, Its already mounted in this photo. My biggest complaint is that it's almost impossible to torque the bolts down correctly the way this intake is built.
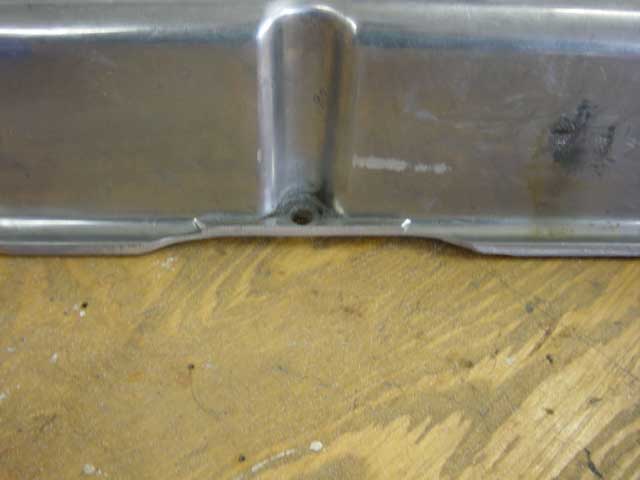
Another gripe about this intake is that my valve covers wouldnt work with it. I had to grind down both covers as shown to make them fit.
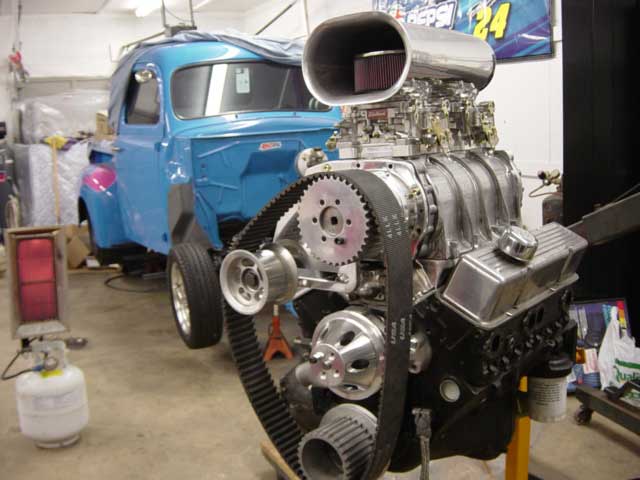
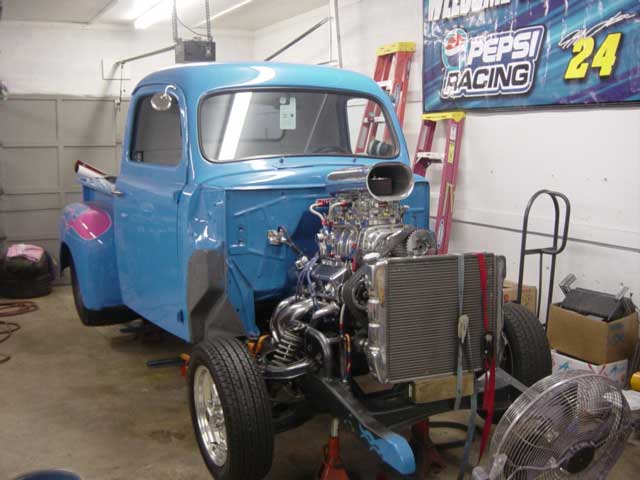
Here it is mocked up under the hood. Nothing bolted down at this point.
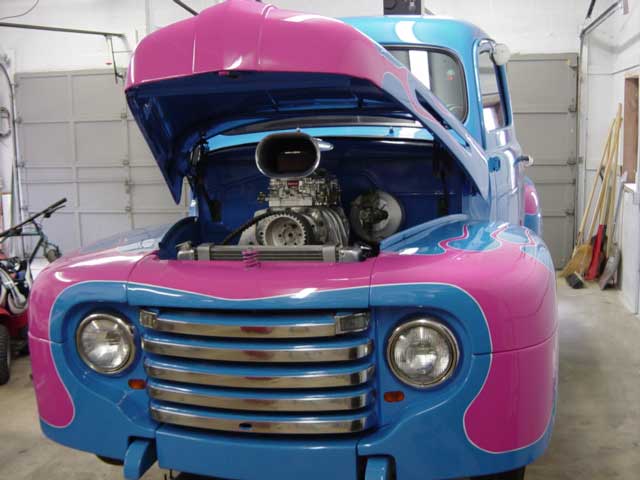
Now that the blower has been mocked up its time for the real work to begin.
As you can see in this shot I have media blasted the blower and started my initial polishing.
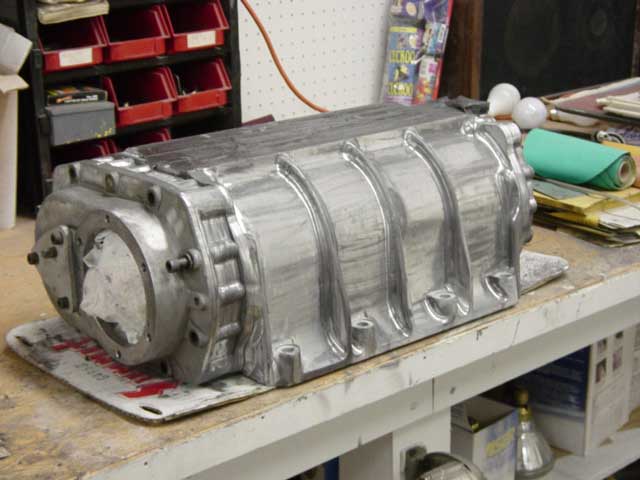
Everything was polished (sanded) with 180 and then 240 grit. The small rolled sand paper was used to do this before hitting it with the "setup" wheels.
Even at 240 grit you can already see a big difference in the shine.

I decided to go with a new front cover from BDS,the price made it worth while since I wanted the sight glass and relief valve anyway.
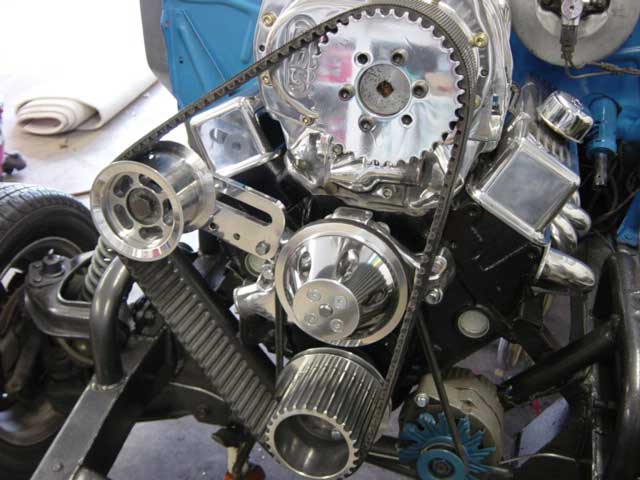
A lot has gone on between these shots. Here I have the engine mocked up on the stand to see how the drive components lined up.
The new MSD distributor clears the blower just fine. I have a LOT of polishing and buffing to do yet.
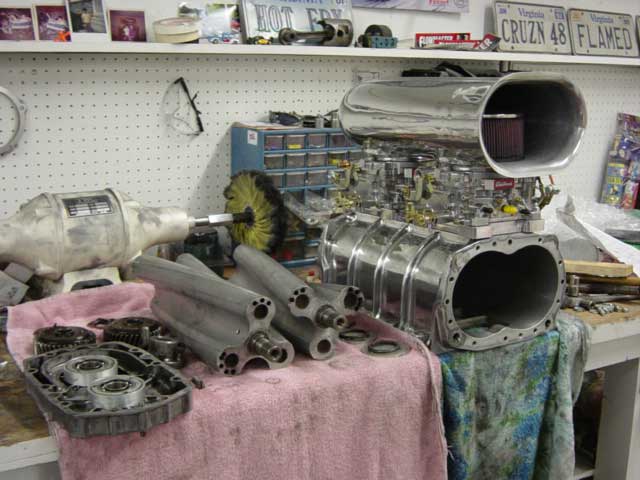
A slight setback occured when I put the Amsoil gear lube in the front of the blower, it leaked. I had to disassemble the blower, clean everything up and put new sealer on the front (and rear) bearing plates.
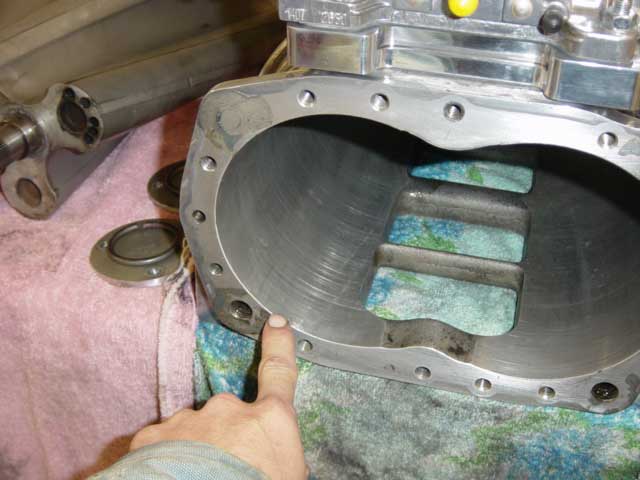
Im pointing at the offending area. If I new I was going to have to tear the blower appart, I would have done it before I did all the polishing and buffing.
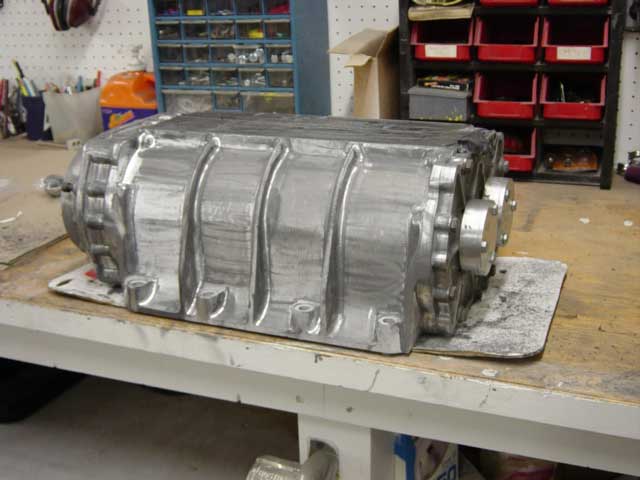
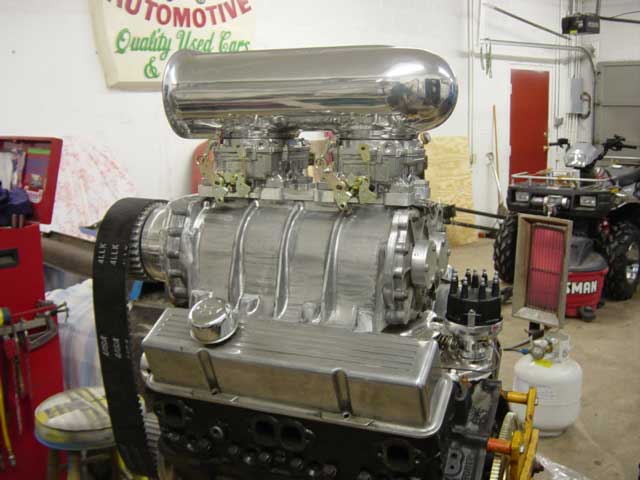
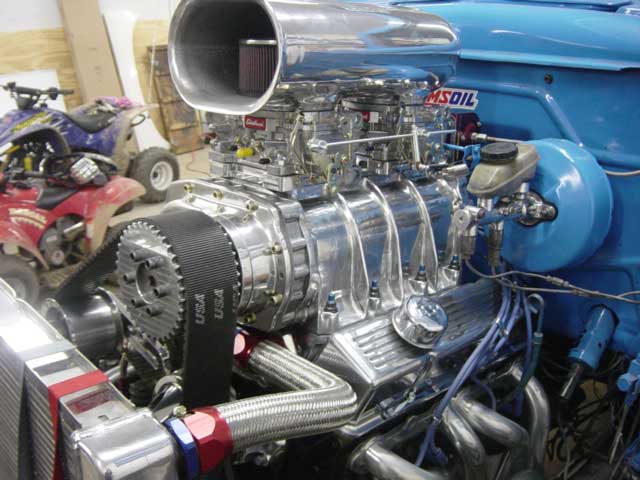
With the problems fixed I was able to move ahead. Everything has been polished and buffed in this shot. Its all ready to be bolted down. It took hours and hours to get everything looking this good.
With some modification and fabrication I was able to get eveything lined up.
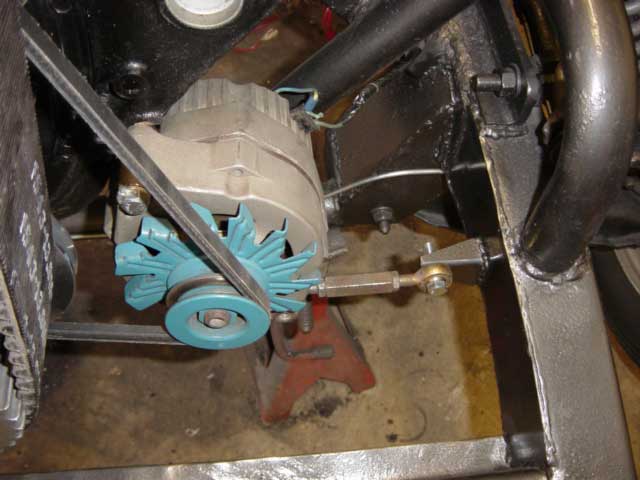
In an effort to keep the engine bay looking clean, I wanted to mount the alternator down low and out of sight. After looking at a lot of setups and mounts, I came up with something simple and cheap. Since my truck has solid engine mounts, Im able to do this, I wouldnt recommend it on a soft mounted engine!
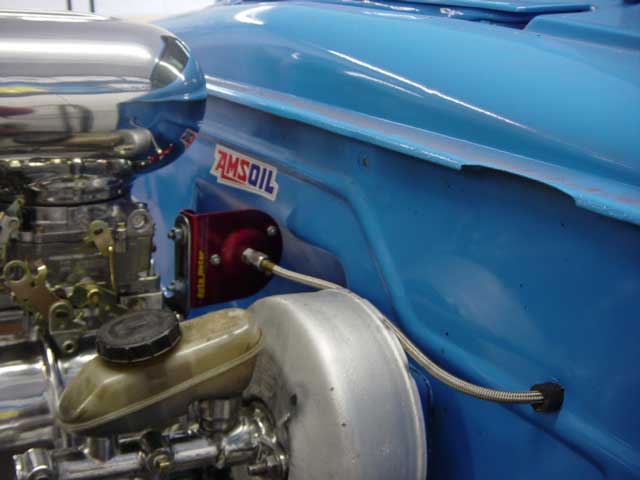
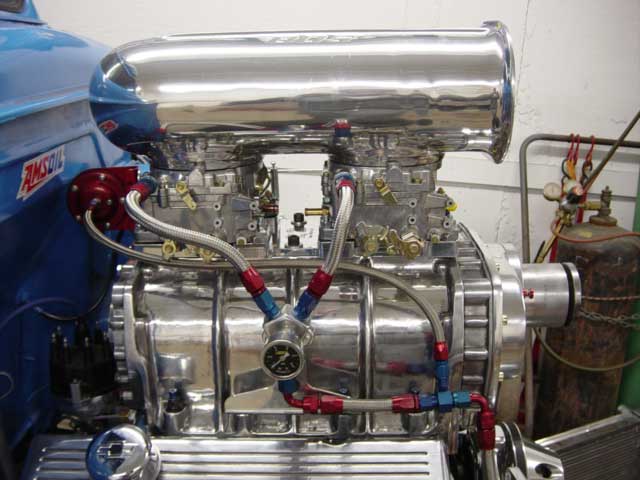
Next order of business is to start mounting the fuel line. I decided to mount the Autometer fuel isolater on the rear of the blower since some rulebooks frown on mounting it to the firewall. If I ever take it to the strip, it shouldnt be a problem.
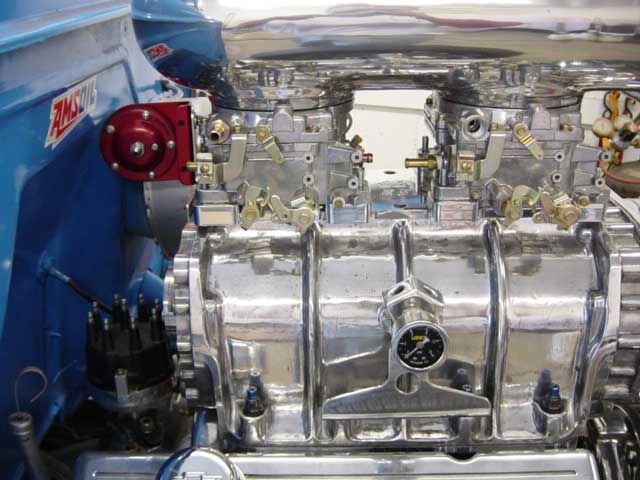
You can see the isolater sitting back there behind the scoop. Ive also mounted my y-block (after polishing and buffing it).
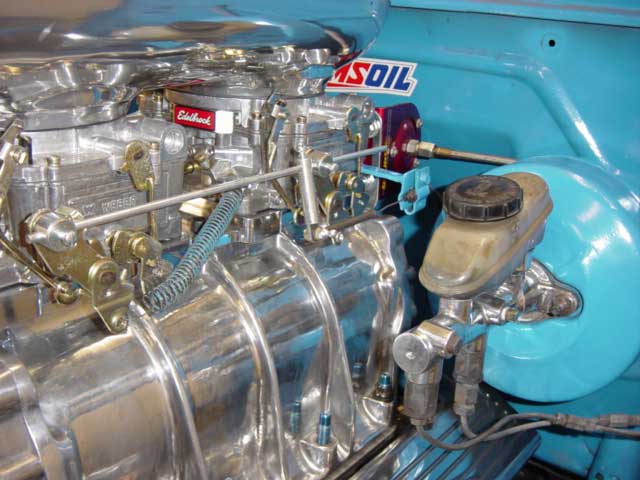
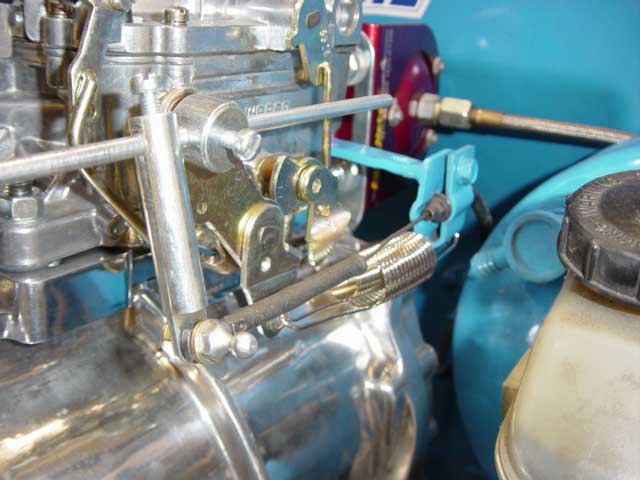
I figured the brake booster would look better if it was the same color as the truck. This linkage is from Edelbrock and was easy to install. Those return springs are temporary at this point. I fabbed the cable mount out of and old stock Chevy bracket.
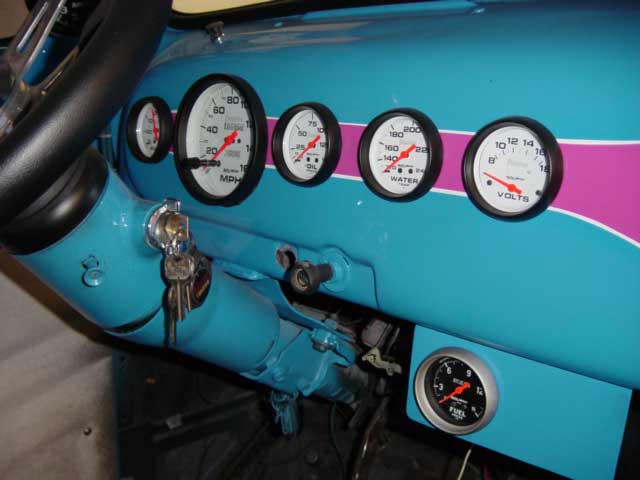
I ran out of room for gauges in my dash, so I had to make a small gauge panel for the fuel pressure. I was able to make it out of a piece that was cut from the bed when I tubbed the truck. The boost gauge is on the far left.
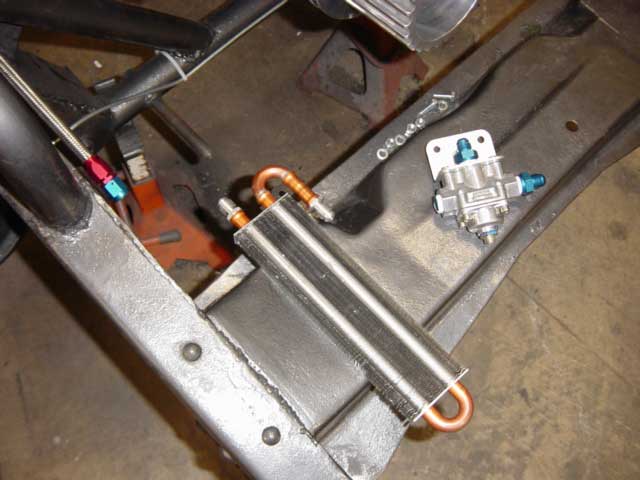
I found this trick little fuel cooler in Summit, I figured it would take up less room than a cool can. With the blower you want the fuel as cool as possible to help prevent detonation.
It took about 3 hours to plumb everything. The fittings are Aeroquip, 6an with a 4an line feeding the isolator.

The fuel cooler was mounted down low on the passenger side. You can see the fuel line coming out of the frame and into the regulator too.
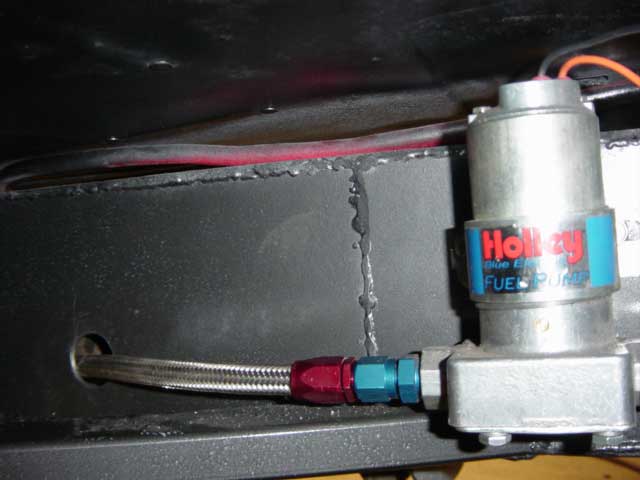
Further back on the frame just behind the cab is the fuel pump. There's the entry hole for the fuel line.
I picked this dual return spring at PEP Boys.
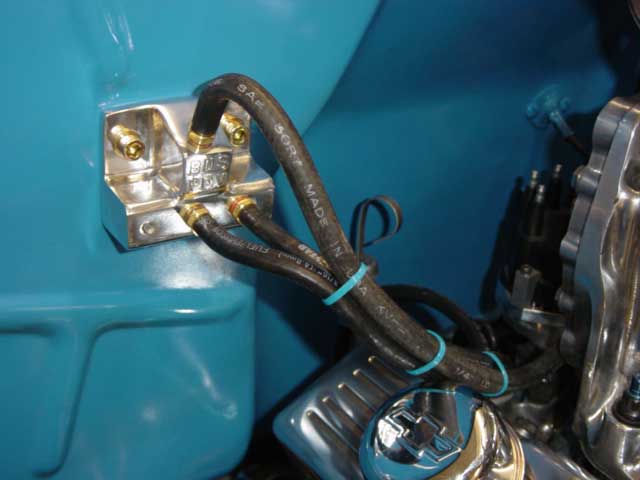
To help the transmission shift correctly, I bought a Pressure Diversion Valve From BDS. I decided to mount it on the firewall near the blower and intake. This device enables the transmission to recieve correct vaccum signals while the engine is under boost and non boost conditions.
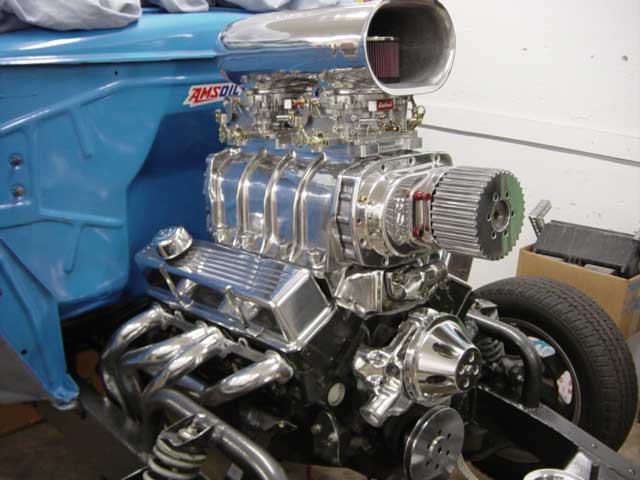
With everything in place, this is how I started the truck the first time. It made it super easy to get to for tuning, I can see the advantages of a tilt front end. It pretty much fired right up and after some timing adjustment was running smooth.
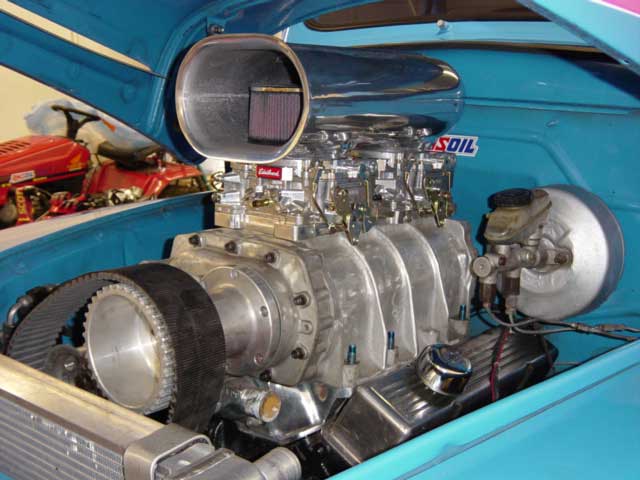
It seems VERY responsive, with some carb and timing adjustment it should be a blast to drive. Right now its 6% underdriven and makes about 5.5 pounds of boost at 6,000 RPM. I dont plan on running anymore boost than that, since this is a 10:1 engine. According to BDS my combination should be making 575-600 HP.
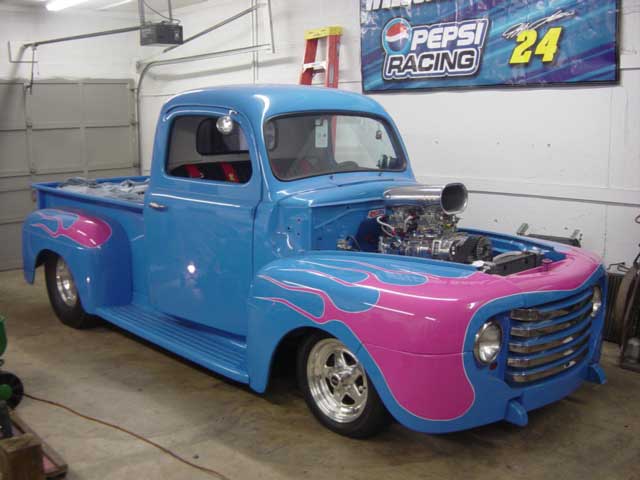
Here it is in finished form. I havent decided what I'll do for the hood yet, I have some spare hoods, so I hope to do something creative. I've driven the truck several times, it is the most AWESOME thing Ive ever driven.
Specail thanks to HotRodRonnie for some "fine tuning".
If you have a blown engine or are interested in learning more about them, join the YAHOO! Supercharger group. I have gotten helpful tips and information there, you can also search the archives for past discussions.

Click to subscribe to supercharger
![]()