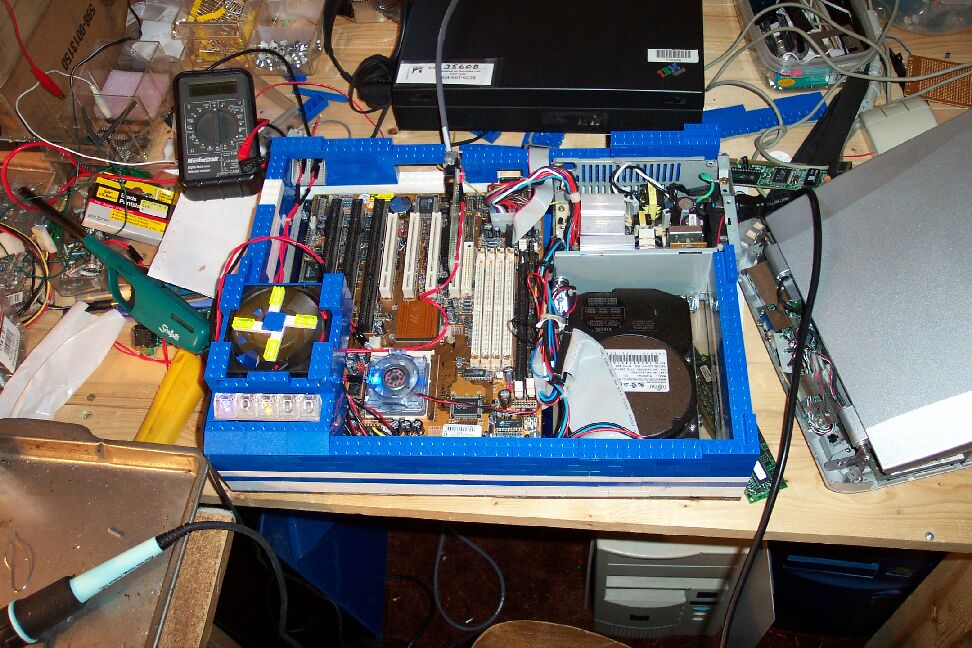
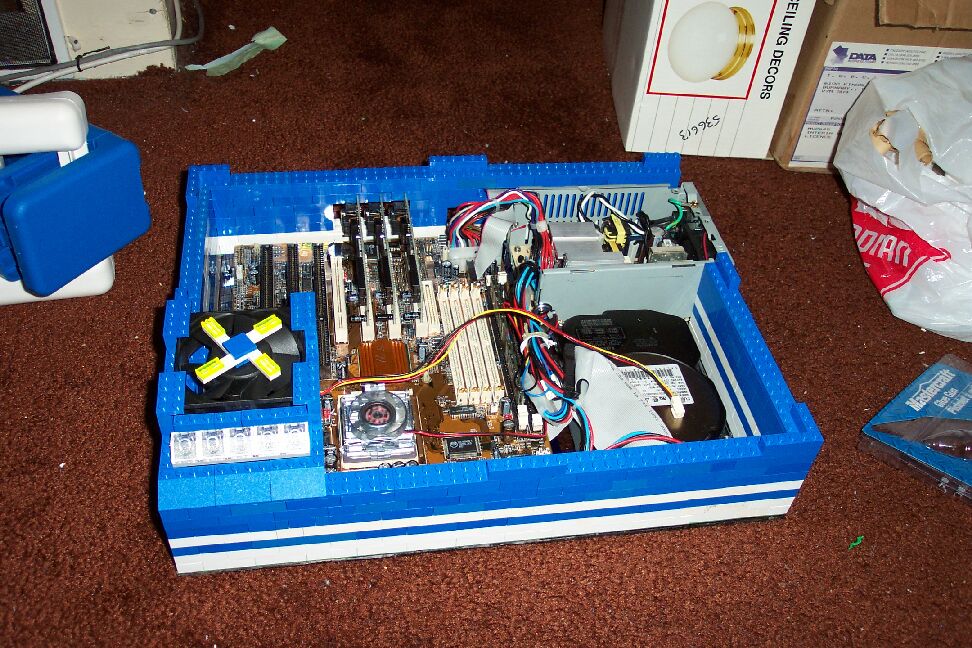
I placed the motherboard, hard disk drive and power supply
in the smallest functional layout and connected them. Finding small
ATX supplies is not all that easy so I will miss this one but it serves my
purpose here.
From my layout I determined the size of my base. With the small power supply I had to ensure that the cable to the motherboard was long enough. This is critical. Lay everything out and connect it before you start ordering/buying and most especially cutting material. Make sure it works well. I had to remove the top part of the power supply to get enough cable length for this to work even after measuring because the power supply is graced with a very short and stiff cable.
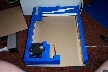
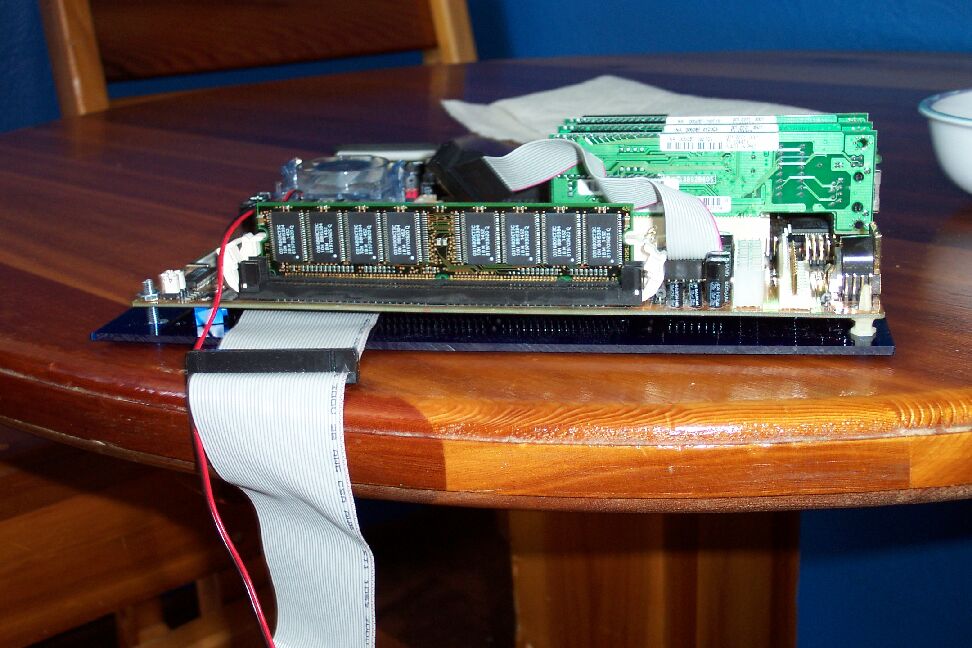
I cut the Acrylic, and set to work on the motherboard tray. Always work with the paper that wraps the plastic material in place - this avoids scarring the plastic and also gives you a nice drawing surface. I used felt markers to place my holes for the standoffs. I wanted the IDE cable to run underneath to keep the look as clean as possible and ensure that I was not obstructing cooling for the CPU.
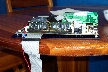
This part was easy - I drilled the holes such that the standoffs (which are threaded) would insert with resistance. I am not interested in tapping plastic. I used a screw on one hole to secure the motherboard in case of catastrophic shock, like the router falling on the floor or something. I decided to be inelegant and use a piece of LEGO (what else?) as a standoff to ensure the board did not warp when the bolt was tightened.
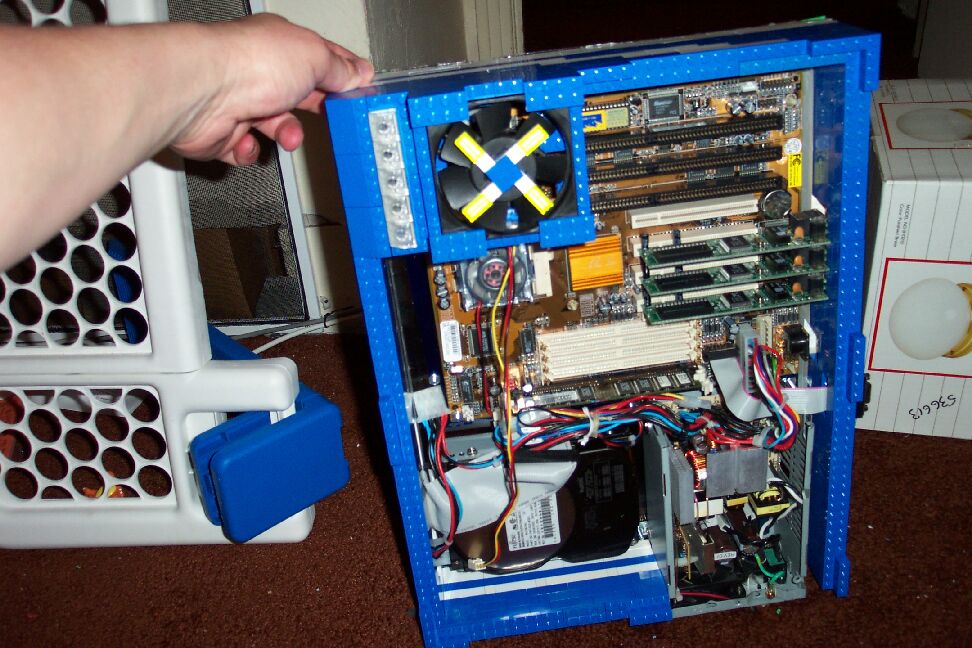
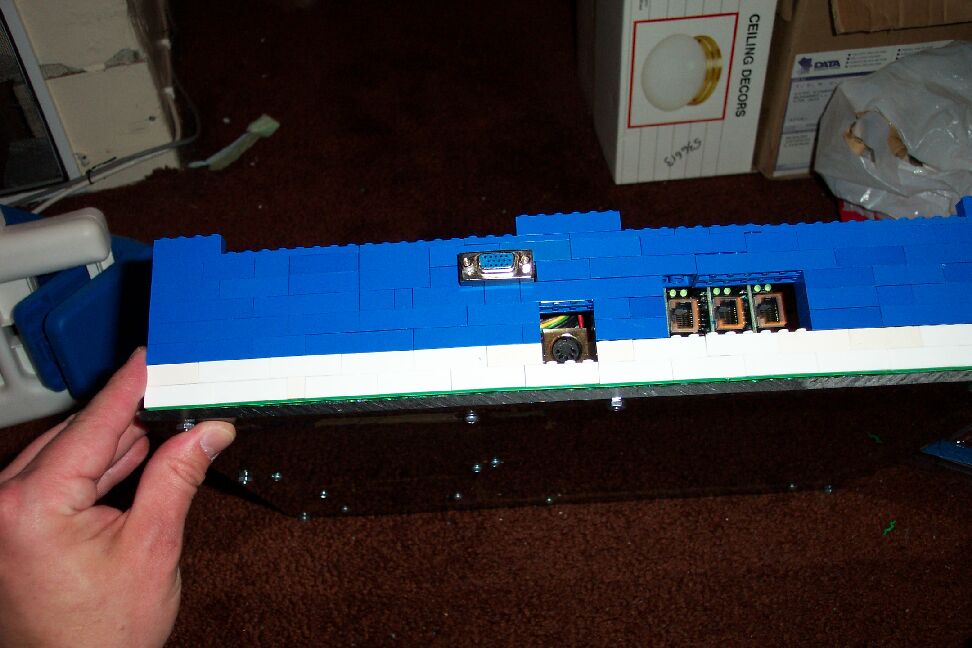
I also removed the metal back plate on my Ethernet cards. It makes for a nice router card-looking effect.
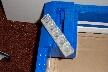
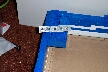
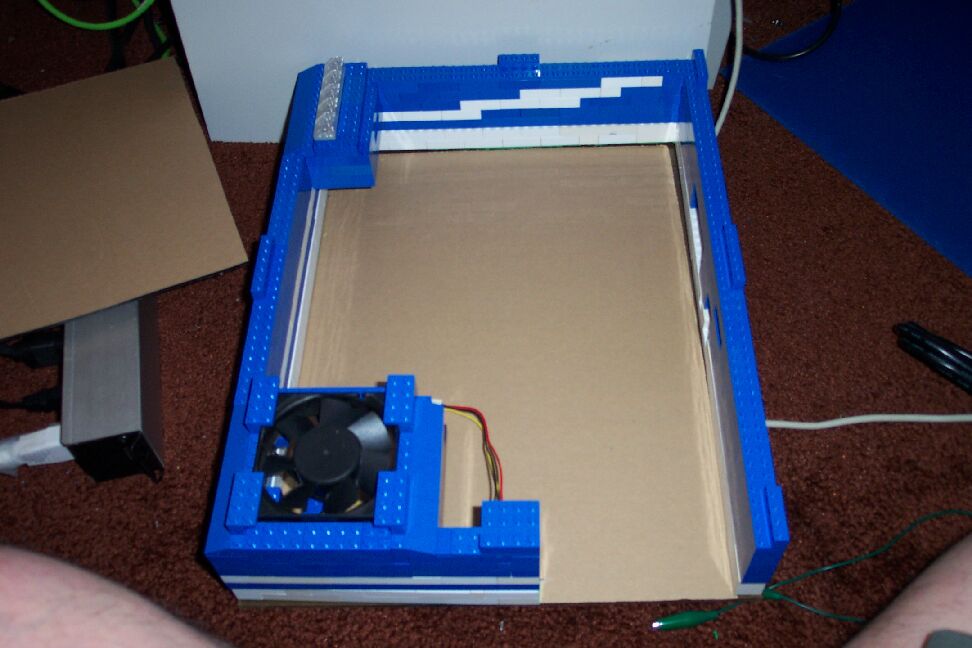
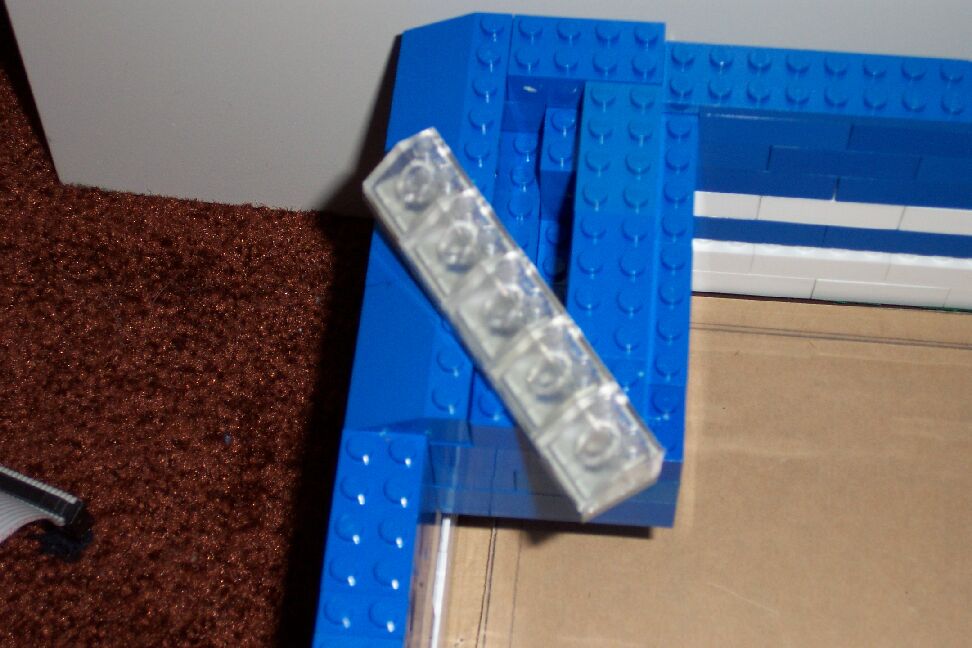
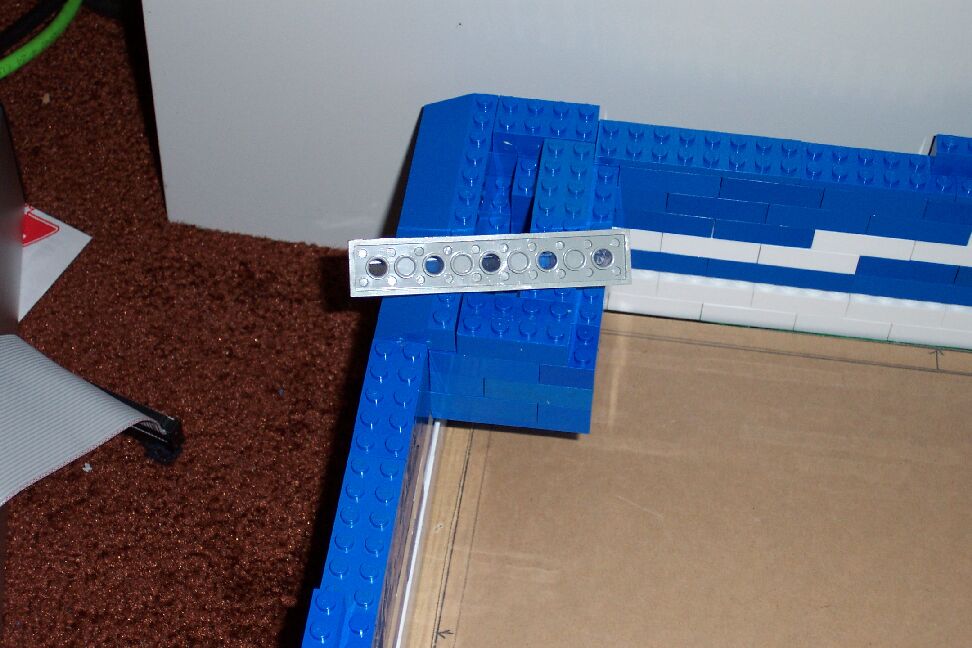
I had constructed my LEGO case sides when working with the hardboard. I merely had to ensure that it was sturdy and that the holes lined up. One thing I dislike about using LEGO - there is no set for PC Builders. I just decided to buy an enormous bin for the kids and pillage the few weird parts I needed from their huge collection. My wife helped - she likes playing with LEGO too. I was going to cover the top with LEGO too but due to the extreme cost of LEGO plates, I decided to use another sheet of Acrylic. I think a gold plate would have cost less than pure LEGO.
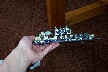
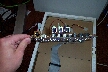
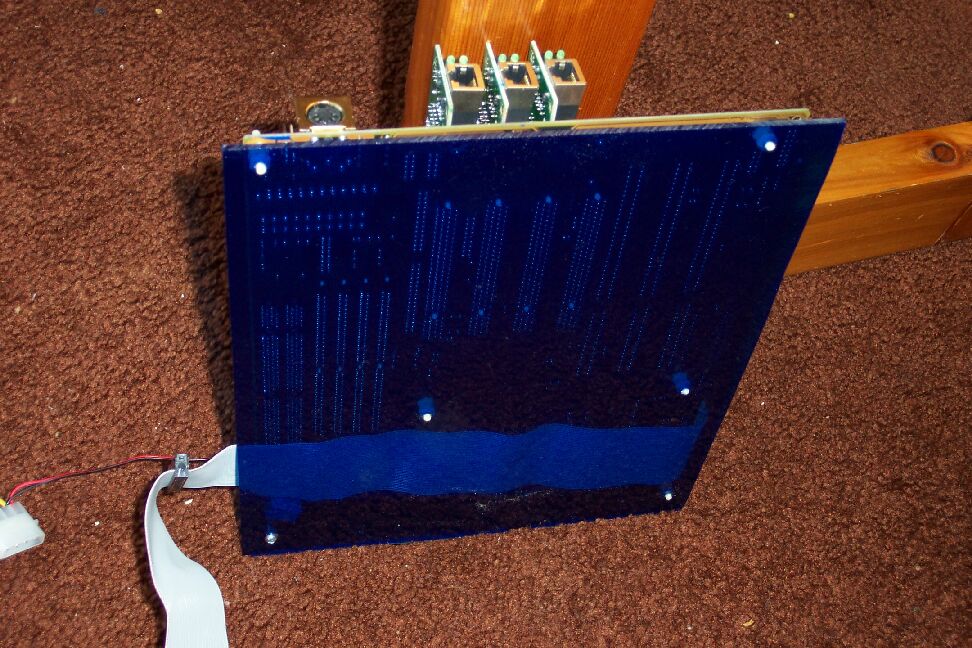
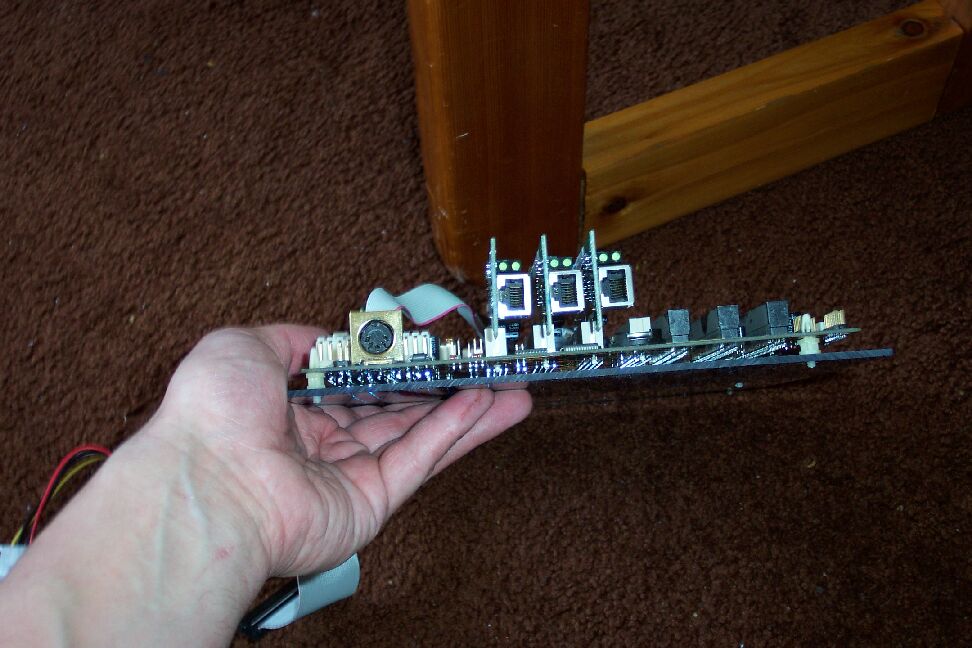
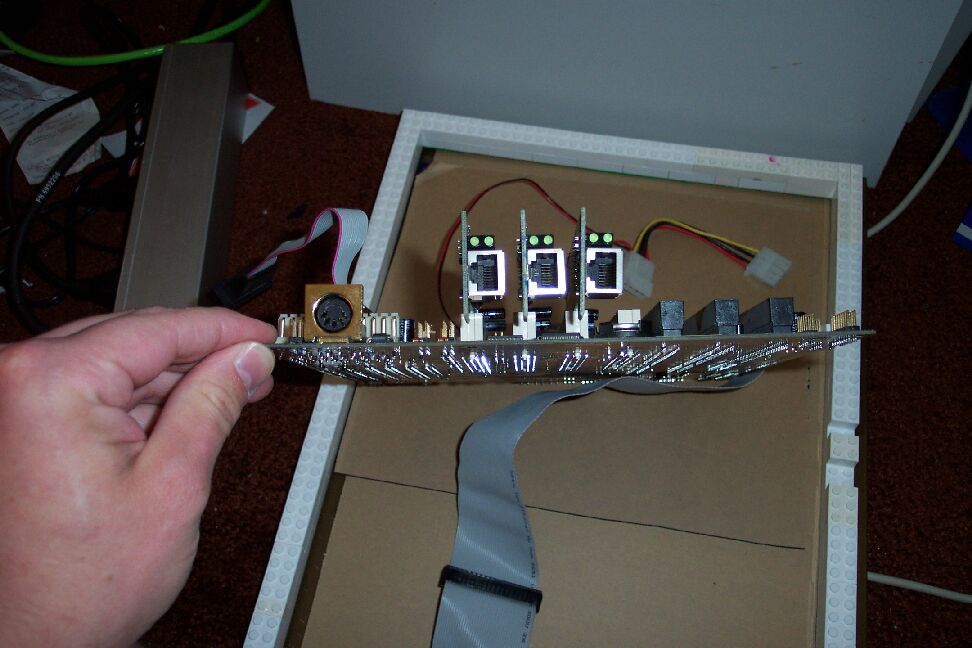
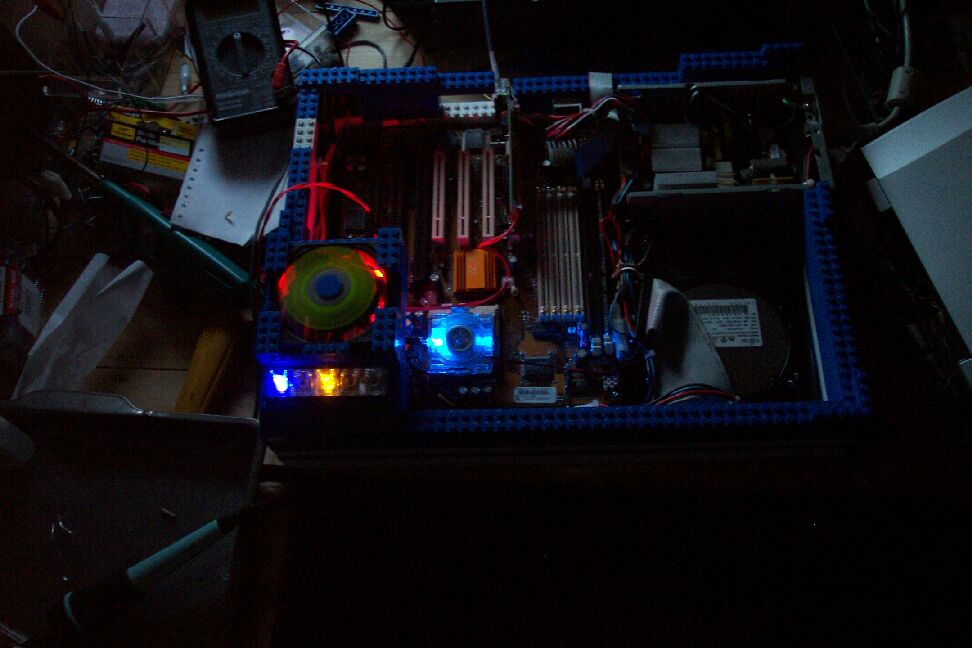
I decided to put in some lighting so I created my indicator light insert. Five LEDs to represent power, hdd, eth0, eth1 and eth2. These Ethernet NIC lights are Red, Yellow and Green to represent the firewall zones - read below for more detail. I also installed a huge ultra bright orange LED under the fan and another bright blue one in the heatsink fan because it's transparent. The clear acrylic top will look good. I soldered jumpers to the back of the card where the LEDs connect. I used cable guides to secure the wire and route it as neatly as possible to the indicator light cluster.
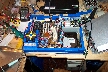
I also installed a power and reset button, and decided to place them on the back. I did have to move the fan to a less symmetrical design because my hard drive was mounted too high when I was finished with it. I think the LEGO addition to the fan is a nice touch, don't you?
From my layout I determined the size of my base. With the small power supply I had to ensure that the cable to the motherboard was long enough. This is critical. Lay everything out and connect it before you start ordering/buying and most especially cutting material. Make sure it works well. I had to remove the top part of the power supply to get enough cable length for this to work even after measuring because the power supply is graced with a very short and stiff cable.
I cut the Acrylic, and set to work on the motherboard tray. Always work with the paper that wraps the plastic material in place - this avoids scarring the plastic and also gives you a nice drawing surface. I used felt markers to place my holes for the standoffs. I wanted the IDE cable to run underneath to keep the look as clean as possible and ensure that I was not obstructing cooling for the CPU.
This part was easy - I drilled the holes such that the standoffs (which are threaded) would insert with resistance. I am not interested in tapping plastic. I used a screw on one hole to secure the motherboard in case of catastrophic shock, like the router falling on the floor or something. I decided to be inelegant and use a piece of LEGO (what else?) as a standoff to ensure the board did not warp when the bolt was tightened.
I also removed the metal back plate on my Ethernet cards. It makes for a nice router card-looking effect.
I had constructed my LEGO case sides when working with the hardboard. I merely had to ensure that it was sturdy and that the holes lined up. One thing I dislike about using LEGO - there is no set for PC Builders. I just decided to buy an enormous bin for the kids and pillage the few weird parts I needed from their huge collection. My wife helped - she likes playing with LEGO too. I was going to cover the top with LEGO too but due to the extreme cost of LEGO plates, I decided to use another sheet of Acrylic. I think a gold plate would have cost less than pure LEGO.
I decided to put in some lighting so I created my indicator light insert. Five LEDs to represent power, hdd, eth0, eth1 and eth2. These Ethernet NIC lights are Red, Yellow and Green to represent the firewall zones - read below for more detail. I also installed a huge ultra bright orange LED under the fan and another bright blue one in the heatsink fan because it's transparent. The clear acrylic top will look good. I soldered jumpers to the back of the card where the LEDs connect. I used cable guides to secure the wire and route it as neatly as possible to the indicator light cluster.
I also installed a power and reset button, and decided to place them on the back. I did have to move the fan to a less symmetrical design because my hard drive was mounted too high when I was finished with it. I think the LEGO addition to the fan is a nice touch, don't you?
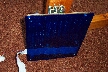
Ok it's not completely finished - it still requires the plexiglass top. But I was so excited that I replaced my linksys router, I just had to do the web page. Besides the plexiglass top suffered a fatal accident - it ended up as my wife's case window. Back to the plastic's store...
NEXT