
|
As
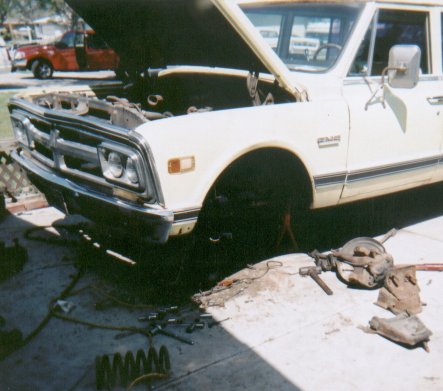
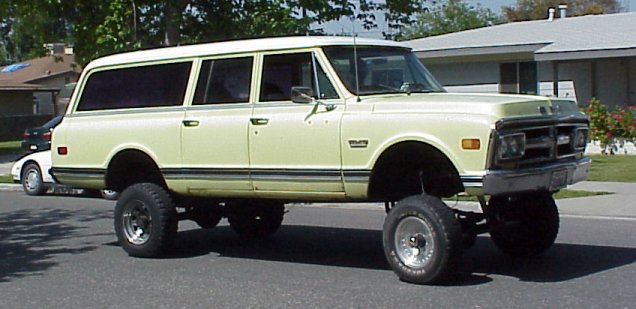
you can see this sub started out as a 2wd. It has been a dream of my wife
and I to make this into a Super Sub of our own. Its always been in the
plan to make it 4wd, it has just taken awhile for the project to get started.
This past April was the time to make the decision to either rebuild the
2wd front end or go all the way and convert it. It was 3/4 2wd and I got
a 1/2 ton front end from a friend to put under it. It wasn't my first choice
to make it 1/2 ton 4wd but the price was right. With a few trips to Pick
A Part, and some help from my wife, we got alot of parts the front end
was missing. |
| The
first step was to start removing the 2wd front suspension. I unbolted everything
I could, then moved to the sawzall. I cut some of the front cross member
out to make getting to the bolts easier. A problem I came across was the
front motor mount attach to the cross member, so I had to attach another
front cross member to the frame to support the engine. I used a tube style
cross member for converting a straight six truck to a V-8 from the Chevy
Truck Store in Orange, Ca. Once the engine was secure it was time
to change the steering gear box. Since the secter shaft from the gear box
has different splines, the pitman arms are not interchangeable. So the
2wd box had to go and the 4wd box put in place.. |
  |
  |
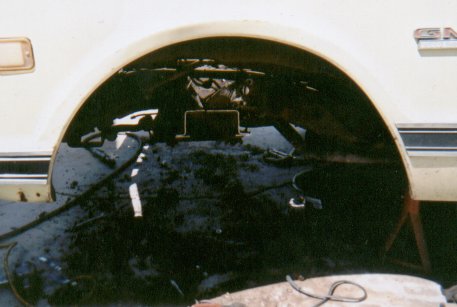
The
next step was to layout the location of the spring mounts for the front
end. With a little patience and some double checking it was time to tack
the parts in place. Once they were in place, it was time to recheck the
measurements again. With everything in place I finished the welding. At
first I hung the stock springs in place just to get the front axle in place
so I could drive it. With the front in place, time to do the rear. The
rear was a factory swing arm. Trying to decide if it was going to
be 1/2 ton or 3/4 ton was the next thing to decide on. I didn't have a
1/2 ton rear end so i decided to use the 3/4 ton rear and put 3/4 hubs
on my 1/2 ton front end. It was allways going to stay with the swingarm
for the ride. The one thing that was different was the u-bolts, on the
stock swingarm it uses only one u-bolt. The stock arm is wider than the
stock u-bolt plate, so I had to modify it for use. (look for the swingarm
mods at a future date) |
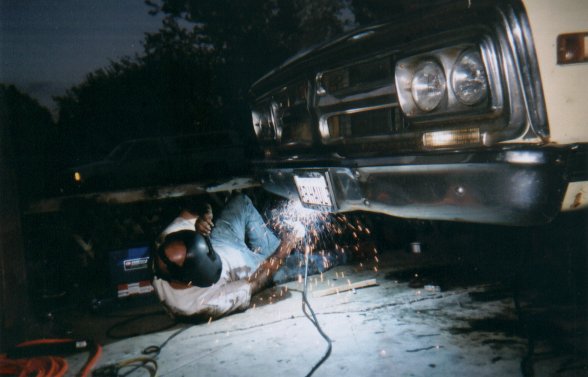
| The
axle was on the top of the arm stock and is beeing moved to the bottom
for the conversion. It was pretty simple. It consisted of relocating the
track bar and repositioning the shock mounts. Some simple tabs for the
shocks but for the track bar it was fab time. Fabing up the bar with a
combination of tubing was fun. First a piece of 1" x .120 was slipped into
a piece .120 x 11/4 then those into a piece of .120 x 11/2, then welding
them together making sure that you cut the .120 x 1 1/2 at a 45 so you
can get a good weld all the way around. Included in the rearend mods was
the install of 3 inch blocks. All said and done the total lift in the rear
is 10 inches. We used the stock rear springs to maintain the same ride
quality. |
 
|
|
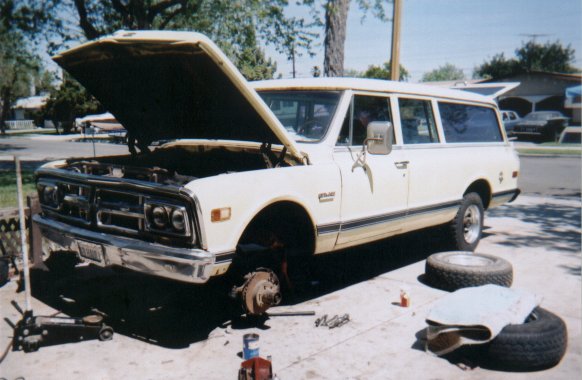
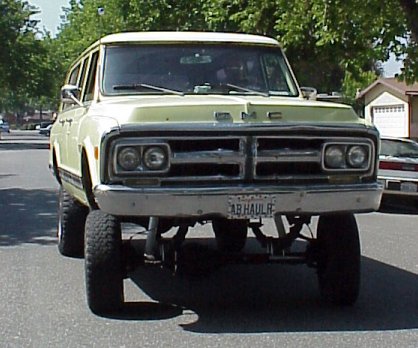
When
we first started this project we just wanted to be able to put 35's on
it. By the time we finished the front and started measuring to find out
what lift springs for the front, we couldn't believe that we needed 8"
to level it out. I couldn't be anymore happier with results. We thought
we could get away with 38's but we got a killer deal on the 39.5's and
I wouldn't go smaller for anything. Now the next project is to install
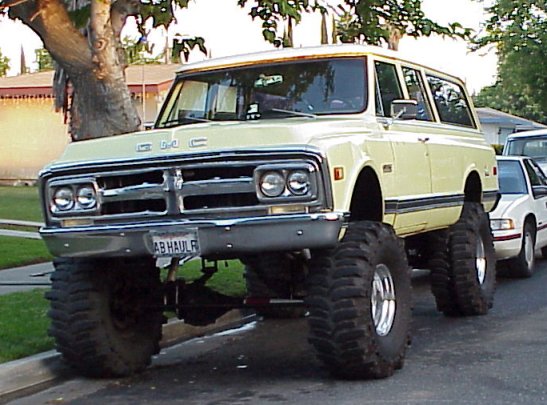
a 3" body lift to complete the lift. As you can see in the pic, this is
between the completion of the lift and the tire install. The only thing
left to do is change the front bearing carriers from 1/2 ton 6 lug to 3/4
ton 8 lug.
|
  |
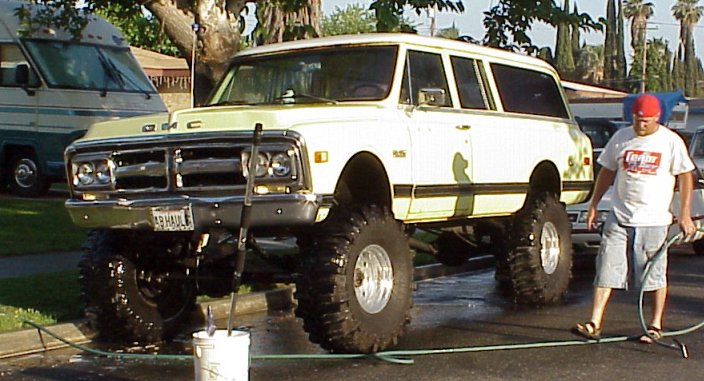 
As
you can see the project is far from over but, getting used along the way. |