the .stp file
I will show you a little trick to make your retextured maps (or maps you add stuff like water too) a little more realistic. It is called the .stp file.
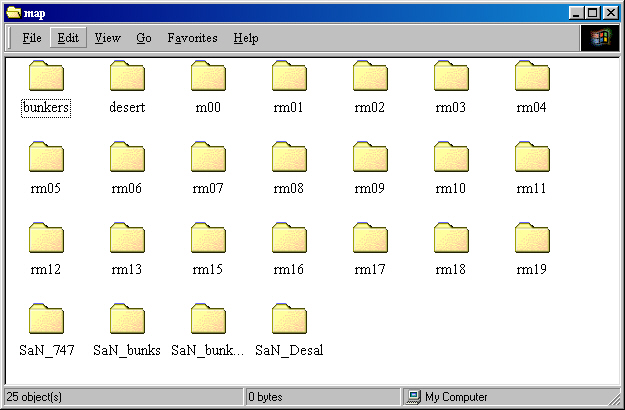
If you look inside of your map folder (located in the RS/data/ folder) you will see all of your RS maps. For this example, we will use my retextured bunkers map. (SaN_bunks). I made a mission for this map called flooded bunkers, where the middle of the bunkers playing area is full of water. To get the effect of water instead of sand, we need to edit the .stp file.
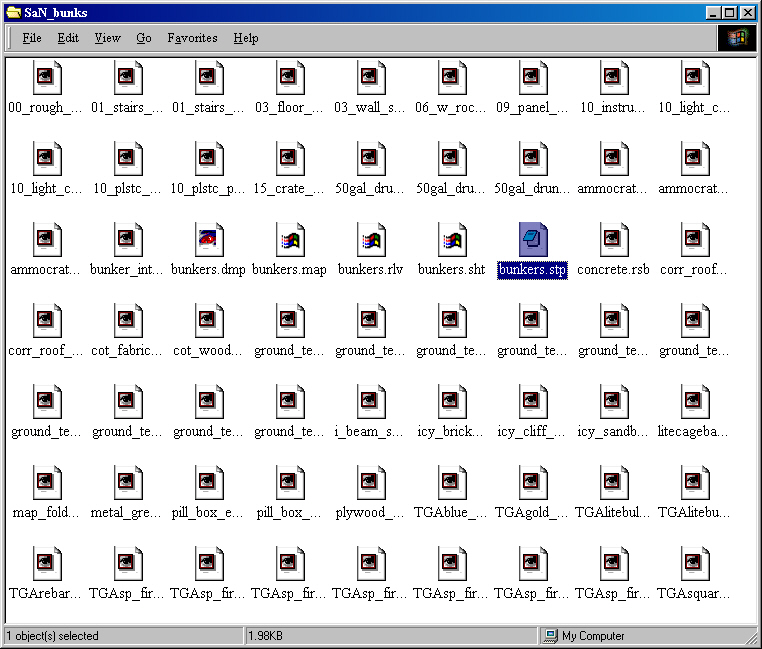
If you open the SaN_bunks folder this is what you will see inside. The file we will edit is highlighted blue. It is a good idea to make a backup of this file before you edit it.
Once you open the .stp file in notepad, or whatever text editor you use, scroll down to the ground_temp_07.bmp line. All of the files on the left, are the texture files for that map. All the 3 letter codes on the right are the codes the game uses to associate how those textures will "act". As you can see i changed the codes on the right to reflect sand instead of snow. When you walk on the sand it will act like sand. For the purpose of the flooded bunkers mission, we will change those 4 texture codes, to water, since I added water over those 4 textures.
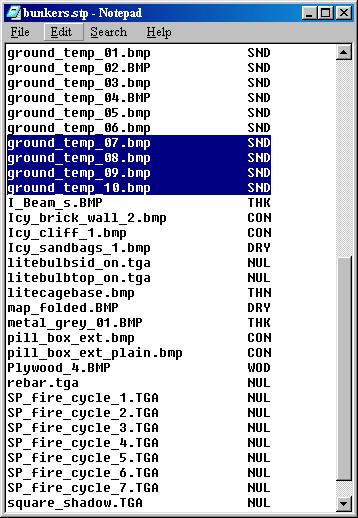
As you can now see, instead of SND, it says WAT. This tells the game to treat those textures like water. Now all you have to do is save it, and your done. When your not playing the flooded bunkers mission, you can replace this file with the original stp you made a backup of, or just change those 4 lines to read SND.

Click here for the full retexture tutorial