|
|
|
|
|
This tutorial was written in PSP 7. It assumes you have working knowledge of layers, and use of selections. Please do not link to or remove images and or tutorial in any way and claim it as your own. Feel free to use a text link to this tutorial for learning purposes only!
This tutorial is ©Country City 2002. March 17, 2002
|
|
You will need:
Shape for the shelf `s backside - shelf_figure.zip (save in folder Paint Shop Pro/Shapes)
Wood texture (save in folder Paint Shop Pro/Patterns as .*bmp: right click and choose Save as):
|
|
1. Open new file 300 х 200 ((Transparent, 16 million colors).
2. Create new layer "back".
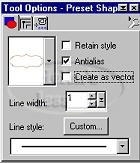
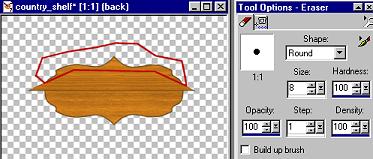
3. Choose tool Preset Shapes: Foregound Color - brown (69481D) Fill Pattern - wood texture.
5. Find shelf_figure shape in Tool Options - Preset Shapes.
Options (see left picture):
|
|
|
|
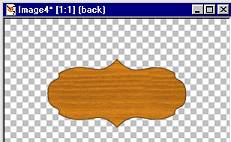
6. Draw shape of any size in the center of image (see right picture).
7. Create new layer "shelf".
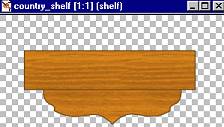
10.Choose Preset Shapes: Rectangular Line Width = 1 Antialias - checked
11. Draw rectangular (see image below).
|
|
|
|
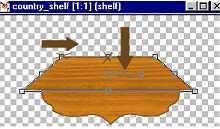
12. Choose Deformation tool.
13. Press CTRL, grab the upper left point and move it to the left: the lenght should be approximately decreased by 1/2.
14. Grab the upper middle point and drop the side by 1/2 height.
|
|
|
|
15. On layer "back" choose Eraser tool and "erase" surplus parts of backside.
|
|
|
|
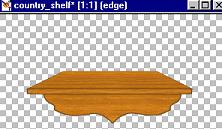
16. On layer "shelf" create new layer "edge".
17. Choose Preset Shapes tool (same options) draw a long narrow rectangular along the shelf edge. Minimize the image.
|
|
|
|
|
|
|
|
|
Optimized for resolution 800 х 600, IE5 Graphics and Design are: Country City © Copyright 2002
|