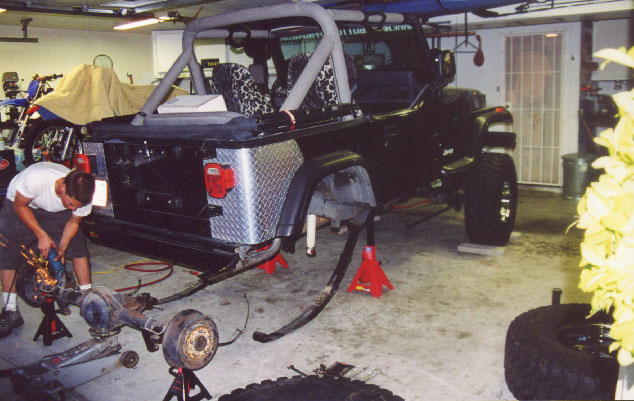
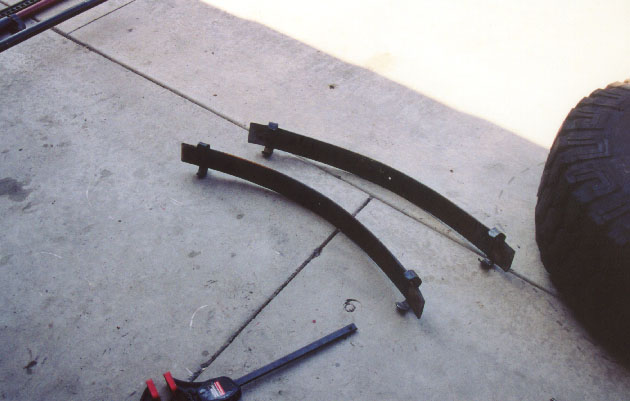
Now you will have to place the new purches on and slide the axle back under the Jeep. bolt it to the springs but again keep it loose so you can move it.
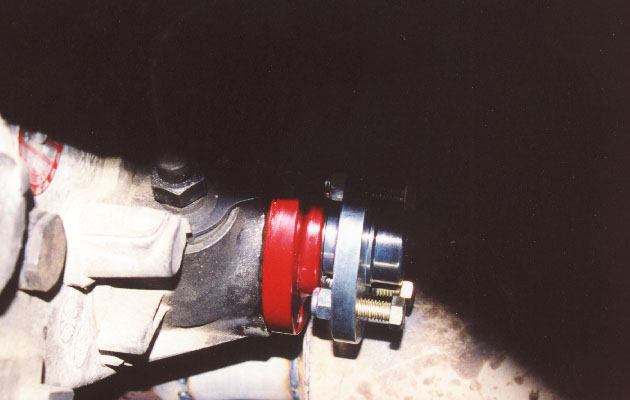
For the pinion angle you will want to measure the angle comming out to the transfercase. Then position the pinion 2degrees less of that. This is because when you accelerate your pinion will rotate up and create a better angle to keep driveline vibes to a minimum.
Now measure side to side and check the pinion angle again . Then when your good and ready tack weld the purches to the axle. Pull it all apart and take it out again to comlete the welds. Once thats done tag the axle with paint and re-install the axle and brakelines. Now you can put it on tires, and start to address the little things.
LITTLE THINGS.
The little thing are not actually little put important thing to do when the spring over is complete. First BLEED the brakes. If you have no brakes you may have more probles then you can handle. Next you will need to address your E-brake. With our 4" springs giving us close to 9" of lift , out E-brake would not fit. So we fabed up a drop bracket so it would fit. Now, If you have a vacuum disconect on the front axle, you will need to lenghten them to fit. Ok last but certainly not least, the Drivelines. I highly recomend a SYE with a CV shaft for this conversion, and I you do 4" springs you have no choice. We installed the Rubicon Express SYE and then measured for the drivelines.
|