I didn’t have much to do during December 2001 while I waited for my nearly
complete tail to arrive from Georgia and my wing kit to arrive from Van’s
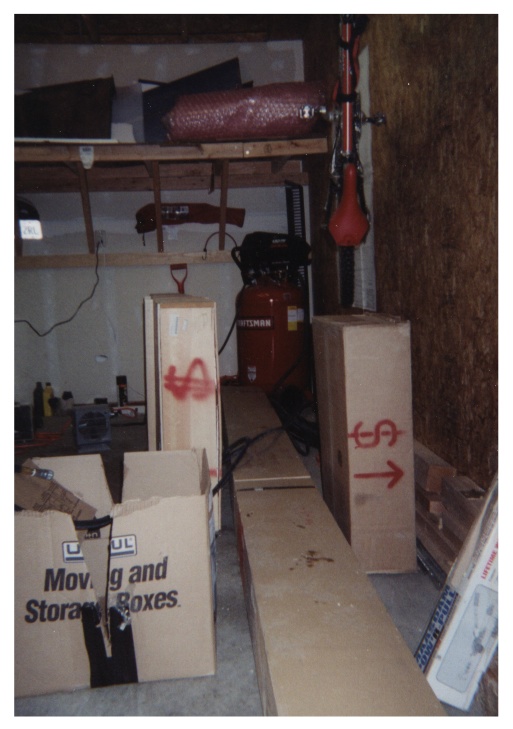
in Oregon. The wing kit finally arrived the last week of December.
It comes in the three boxes shown above. It doesn’t seem like you can
get a 25 foot wingspan out of those three boxes.
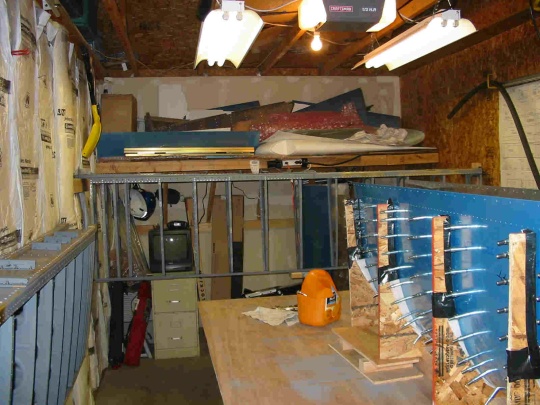
The left wing is show above hanging across the garage. Wing construction
begins with the main spar (the main beam of the wing). The main spar
is the upper most horizontal piece. The spar is nearly complete when
it comes from Van’s but it still needs several dozen nutplates added to it
to receive the fuel tank mounting screws. Next, the 14 ribs are riveted
to the rear spar (the lower horizontal piece). The part on the table
on the right of the frame is the left fuel tank.
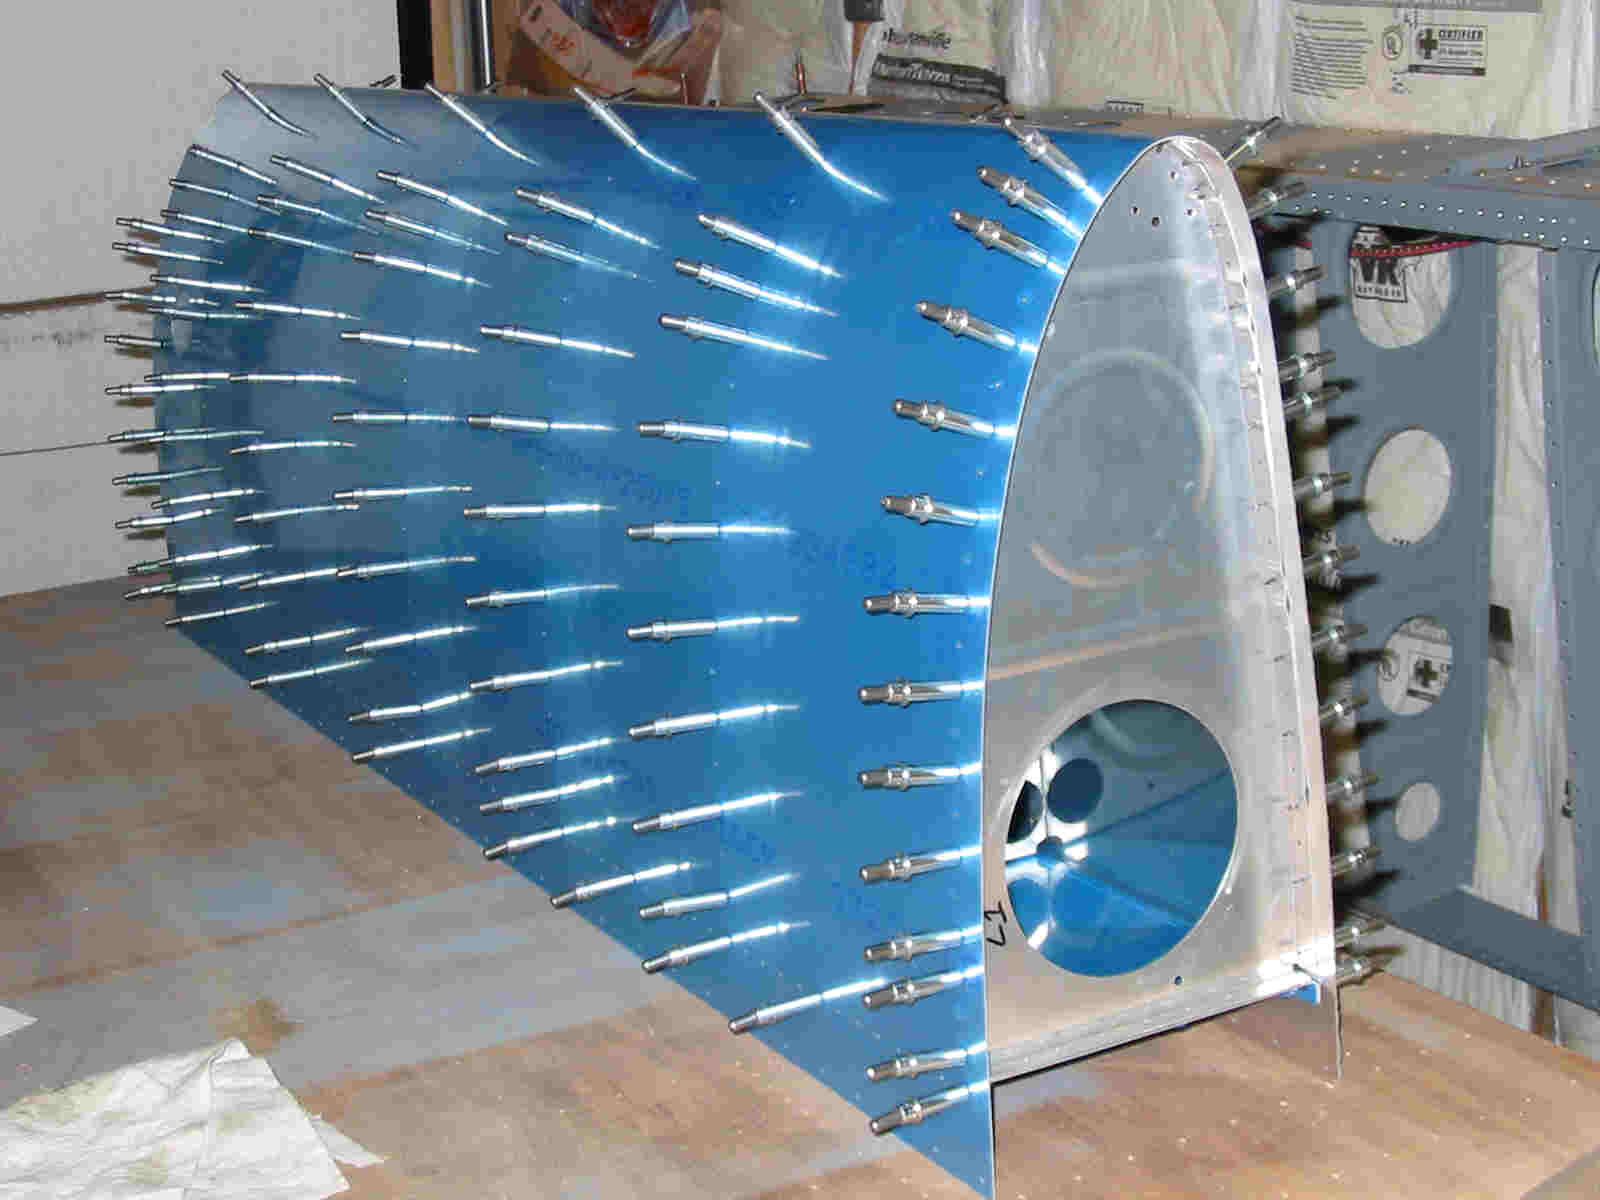
Here’s a close up of the fuel tank. The silver things sticking out
are temporary fasteners called Clecos. Everything on the airplane is
assembled twice (at least). First, the parts are clecoed together and
the pre-drilled pilot holes are drilled to full-size. Next, the parts
are disassembled. The holes are deburred to remove any sharp edges
from the holes. Then, the holes are dimpled to create a recess for
the rivet head. The RV airplanes use flush rivet heads to give a smooth
finish which reduces drag. Finally, the parts are clecoed together
again for riveting. In the case of the fuel tanks, sealant will also
be smeared between the parts to keep the fuel from seeping out. It
seems that most of the work on the airplane is hole preparation. In
the photo above, there is a cleco in every other hole so there are twice as
many holes as clecos shown.
To Page 3