 |
| Restoring A33 TJN |
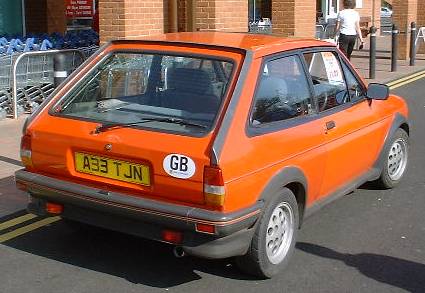
| When I bought A33 TJN on August 23 2001 I was under no illusions that because the car was MOT'd (annual Ministry Of Transport test) until March 2002 it would not need any work.In fact the car would need a moderate restoration if its long term survival was to be assured.So in October 2001 I started,no time scale has been set as it has to be fitted in around work & family life.(& website building!) |
| As seen for the first time in April 2001 by me in the local supermarket car park |
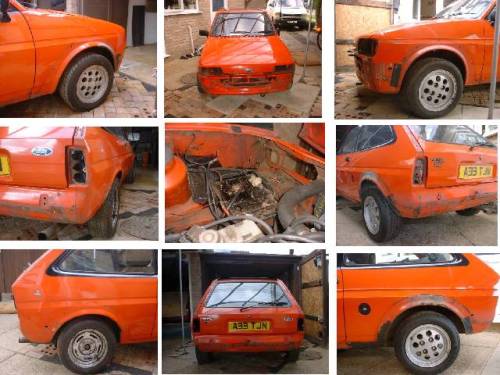 |
| The first job was to remove the interior carpet,seats & trim to inspect the floorpan. The offside inner sill was badly corroded at the seatbelt mount & other more minor areas of corrosion were discovered in the main floor & the handbrake mounting point.The bodykit was then removed.These are excellent at hiding rust & plenty was found in the rear wheelarches.The offside rear quarter panel was also full of body filler after a bodged repair which also creased the inner wheel arch.These would need replacing to do a decent job as the existing filler was so thick it had cracked. |
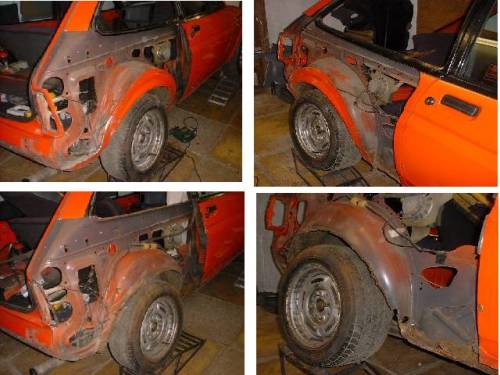 |
| The offside quarter panel was tackled first as I've never replaced one before & I believe in getting the "hard" work done first.I cut it off,leaving an edge to weld to along the "B" & "C" posts.This would save disturbing good metal & make fitting the new panel much easier.Once removed the damage to the outer wheelarch was obvious.Rust had set in meaning the arch would need rebuilding once the new quarter panel was on.The back edge of the sill was also now exposed & very rusty,needing repairs before anything else could be fitted. |
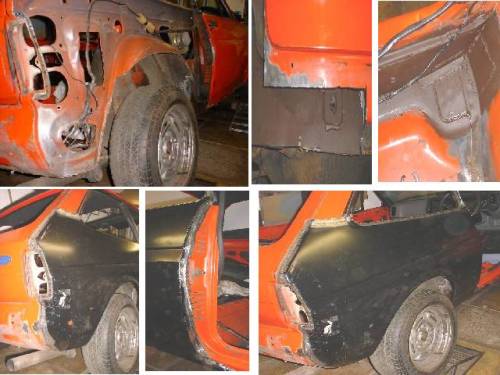 |
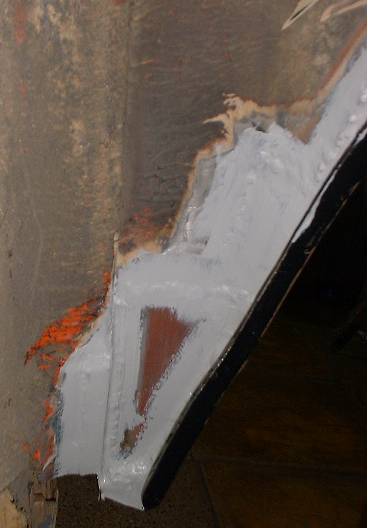
| The offside sill had rotted at the back & around the seatbelt anchor point.This was rebuilt before the new quarter panel was fitted.Welding the new quarter into place took about an hour & a half as you have to weld small lengths at a time otherwise the panel will be distorted by a massive heat build up.The preperation took much longer,mainly because I was on a steep learning curve here.It all went on without drama in the end though. |
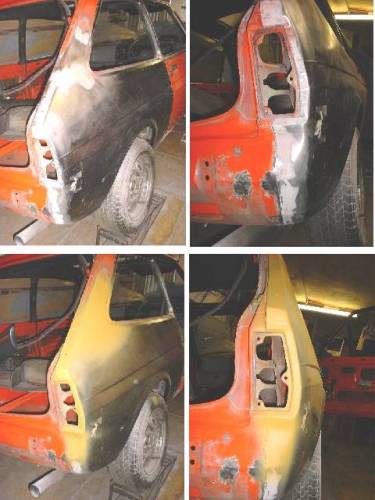 |
| Once welded on the welds had to be ground flat with an angle grinder & then covered with a skim of plastic body filler to create a smooth finish.The hardest part was getting the curved contours correct around the corners of the glass apeture. Once the filler was smooth enough & contoured correctly a layer of "spray putty" (yellow) was applied to fill any tiny pin holes in the plastic filler & assist in the final smoothing off before the panel is resprayed. |
 |
 |
 |
 |
| Once the new rear quarter panel was in place the inner wheelarch was repaired.Small sections were used as the shape of the repair made it impossible to use one complete piece of metal.It was then seam sealed., |