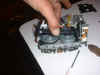
Separating the unit:
Place the unit face down.
You will see 6 brass Phillips head screws through the plastic housing.
You will need to remove 5 of these.
The screw on the top left side, one down from the corner, does not need
to be removed. Just remove the 5
screws on the corners.
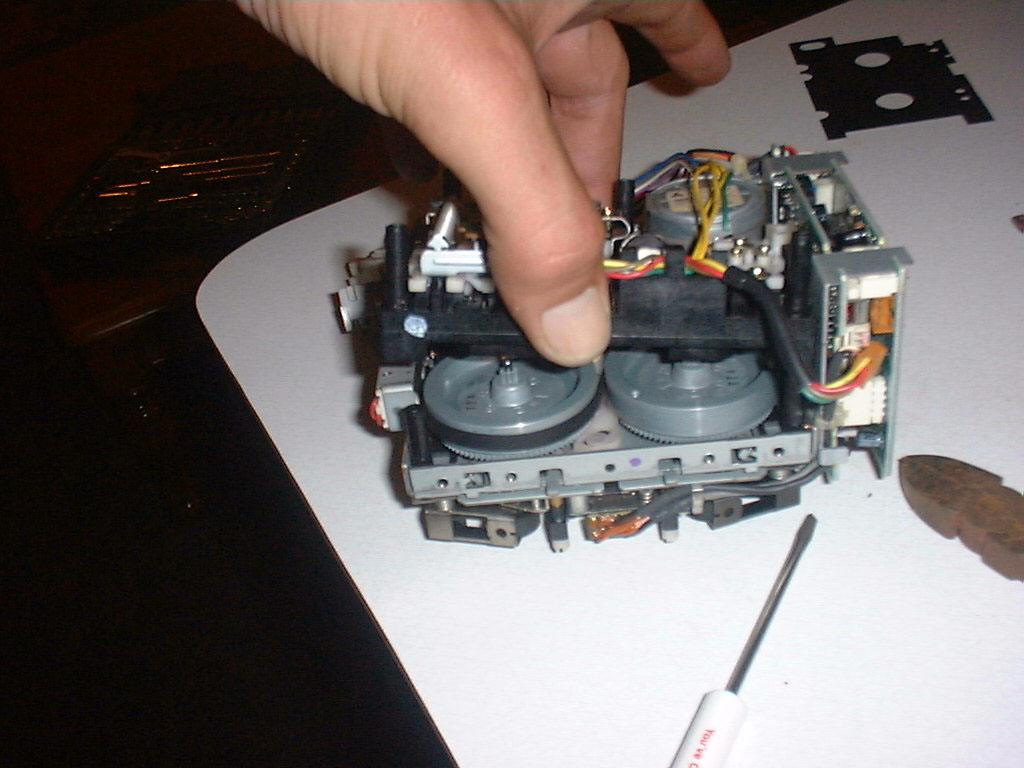
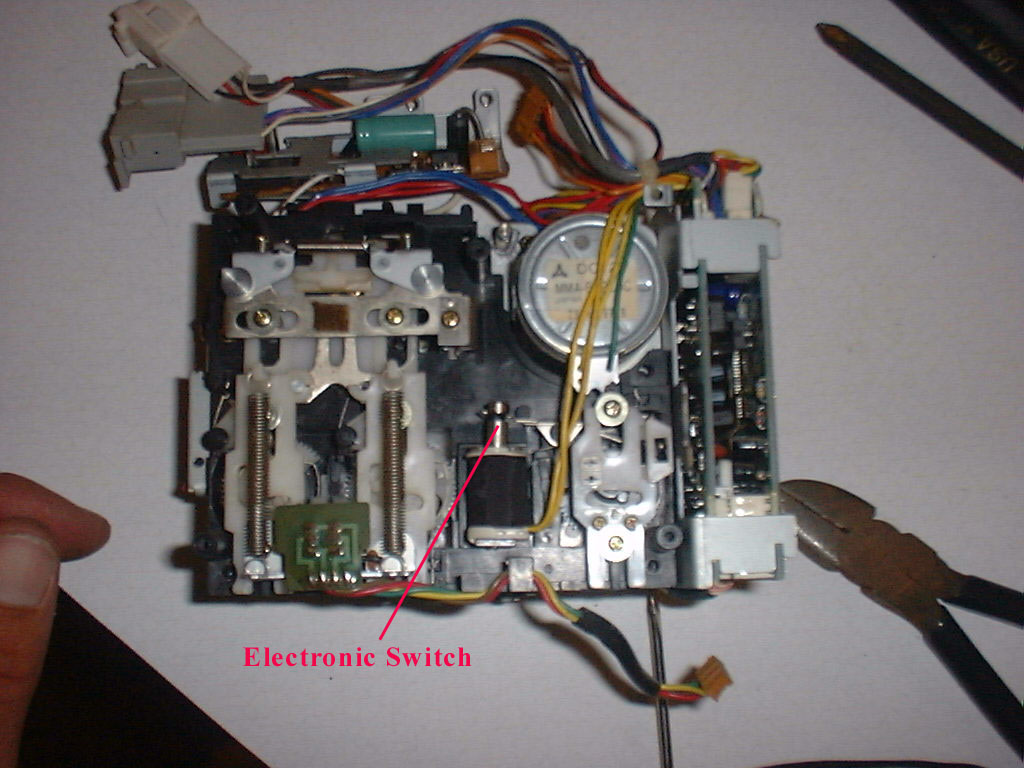
 Below the motor, beside the plastic assembly where you just
removed the metal flat bar, you will find two yellow wires leading to an
electronic switch. Depressing this
switch allows you to slide the white plastic assembly beside it downward.
This may be necessary for the plastic assembly to clear the motor housing
as you separate the unit.
Below the motor, beside the plastic assembly where you just
removed the metal flat bar, you will find two yellow wires leading to an
electronic switch. Depressing this
switch allows you to slide the white plastic assembly beside it downward.
This may be necessary for the plastic assembly to clear the motor housing
as you separate the unit.
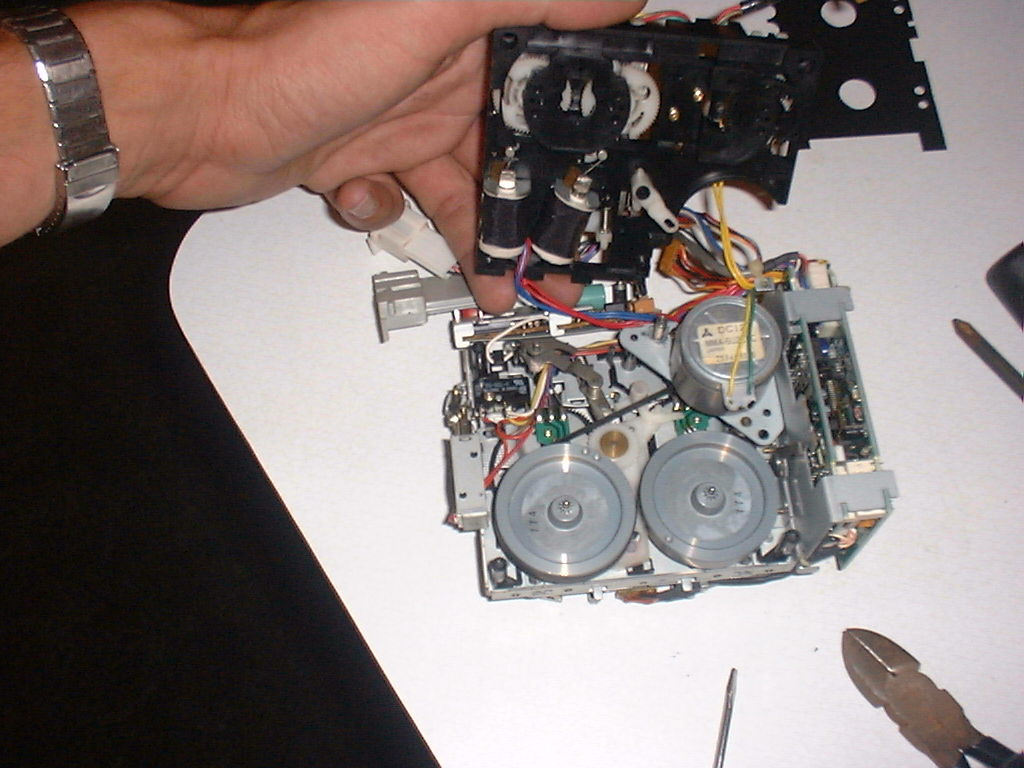
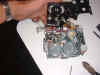
You can
now very gently lift the plastic housing upwards and then towards the bottom to
get around the motor.
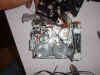
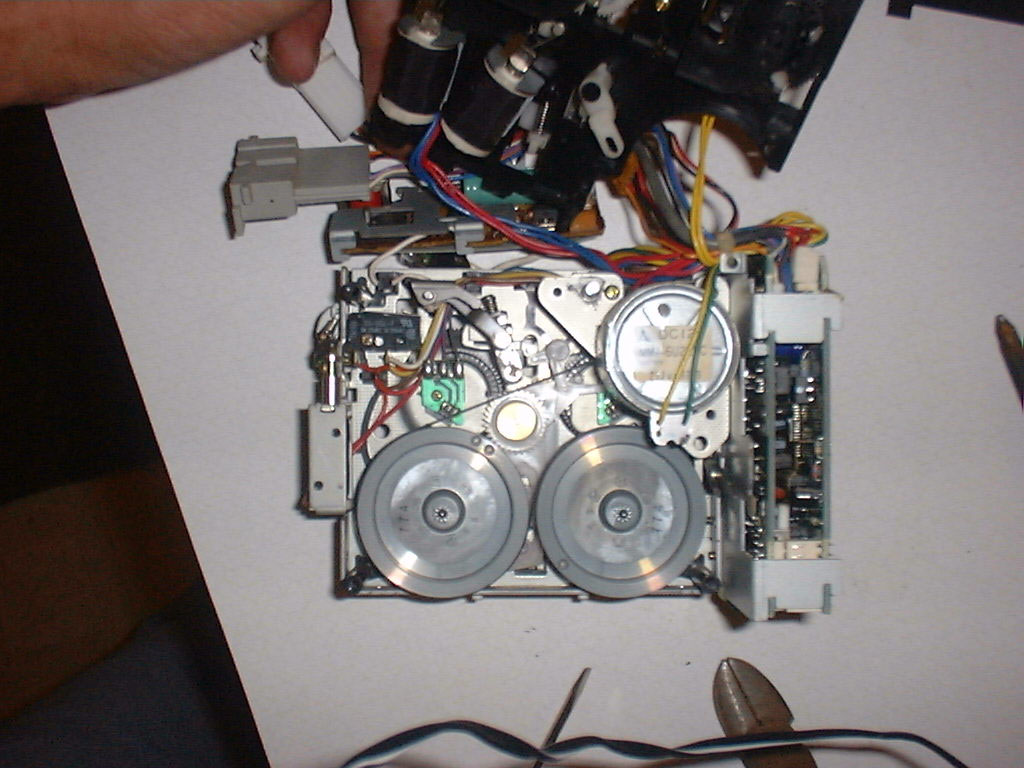
Now you have successfully separated the unit, you can see
the main drive belt. Take note on
how this belt is routed. Look under
the motor mount and you will see a white plastic spindle and a stainless steel
spindle. The belt goes around the
right side of both spindles, over the big wheel on the right, and under the big
wheel on the left. (see diagram)


 Below the motor, beside the plastic assembly where you just
removed the metal flat bar, you will find two yellow wires leading to an
electronic switch. Depressing this
switch allows you to slide the white plastic assembly beside it downward.
This may be necessary for the plastic assembly to clear the motor housing
as you separate the unit.
Below the motor, beside the plastic assembly where you just
removed the metal flat bar, you will find two yellow wires leading to an
electronic switch. Depressing this
switch allows you to slide the white plastic assembly beside it downward.
This may be necessary for the plastic assembly to clear the motor housing
as you separate the unit.