A crystal radio is the distilled essence of a radio. It has very few parts, it needs no batteries or other power source, and it can be built in a short time out of things you can find around the house.
The reason a crystal radio does not need any batteries is the amazing capabilities of the human ear. The ear is extremely sensitive to very faint sounds. The crystal radio uses only the energy of the radio waves sent by radio transmitters. These radio transmitters send out enormous amounts of energy (tens of thousands of watts). However, because they are usually far away, and we have at most a few hundred feet of wire for an antenna, the amount of energy we receive with the crystal radio is measured in billionths of a watt. The human ear can detect sounds that are less than a millionth of even that.
We are going to launch right into this chapter by building a working radio using parts that we buy at stores like Radio Shack or through mail order. We will try to use common household objects when we can, but our emphasis will be to quickly put together a radio that works.
Later we will learn more about radios by looking at even simpler versions that might not work as well as our first radio, but can show the important radio concepts more easily, because they have fewer parts.
Then we will improve our radio, making it louder, making it receive more stations, and making it look real nice.
Lastly, we will build each part of the radio from scratch, using things we find around the house. This will take a lot longer than our first radio, but it can be done by replacing store-bought parts one at a time, so we always have a working radio.
Our first radio
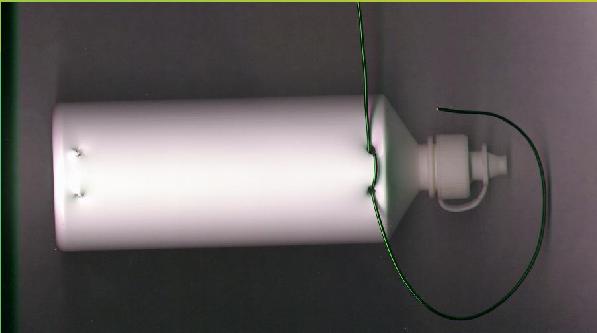
For our first radio, we will need these parts: A sturdy plastic bottle. I have used the plastic bottle that hydrogen peroxide comes in, or the bottles that used to contain contact lens cleaner. They are about three inches in diameter, and 5 to 7 inches long. Shampoo bottles also work, but you will want to get the ones with thick walls, rather than the thin flimsy ones. This will make it easier to wind wire around them. About 50 feet of enamel coated magnet wire. Most common gauges (wire diameters) will work, but thicker wire is easier to work with, something like 22 gauge to 18 gauge. This can be bought at Radio Shack (part number 278-1345), or you can take apart an old transformer or electric motor that is no longer needed. You can also use vinyl coated wire such as Radio Shack part number 278-1217, which in some ways is easier to use than enamel coated wire (it is easier to remove the insulation). A Germanium diode. Most stores that sell electronic parts have these. They are called 1N34A diodes (Radio Shack part number 276-1123). These are better for our radio than the more common silicon diodes, which can be used but will not produce the volume that Germanium diodes will. A telephone handset. You listen to this radio just like you listen to the phone. If you have an old telephone sitting around, or can find one at a garage sale, you are set. Or you can buy the handset cord (Radio Shack part number 279-316) and borrow the handset from your home phone (using it for the radio will not harm it). A set of alligator jumpers. Radio Shack part number 278-1156, or you can find them anywhere electronics parts are sold. About 50 to 100 feet of stranded insulated wire for an antenna. This is actually optional, since you can use a TV antenna or FM radio antenna by connecting our radio to one of the lead-in wires. But it's fun to throw your own wire up over a tree or on top of a house, and it makes the radio a little more portable.
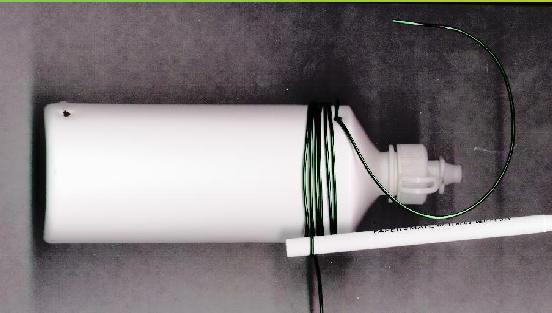
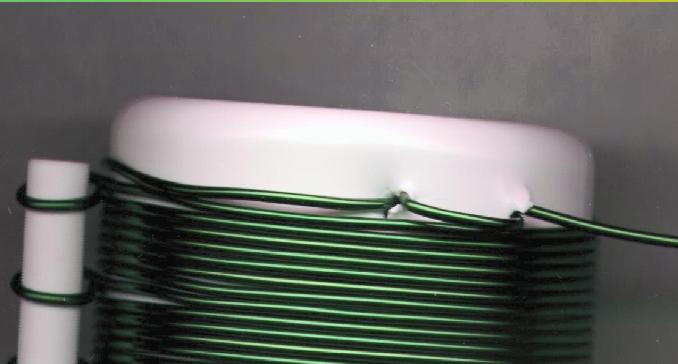
Use a sharp object like a nail or an icepick to poke four holes in the side of the bottle. Two holes will be about a half an inch apart near the top of the bottle, and will be matched at the bottom of the bottle with two more just like them. These holes will hold the wire in place.
Thread the wire through the two holes at the top of the bottle, and pull about 8 inches of wire through the holes. If the holes are large and the wire is loose, it is OK to loop the wire through the holes again, making a little loop of wire that holds snuggly.
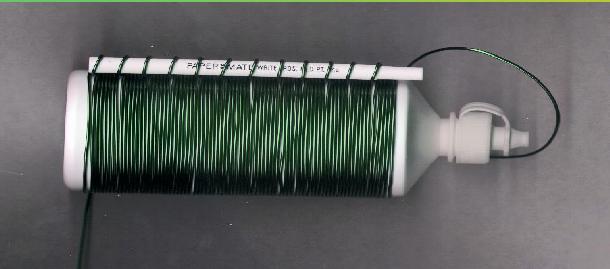
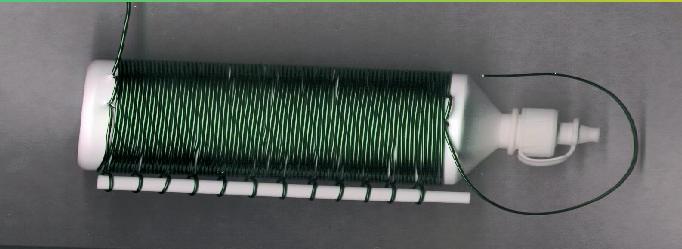
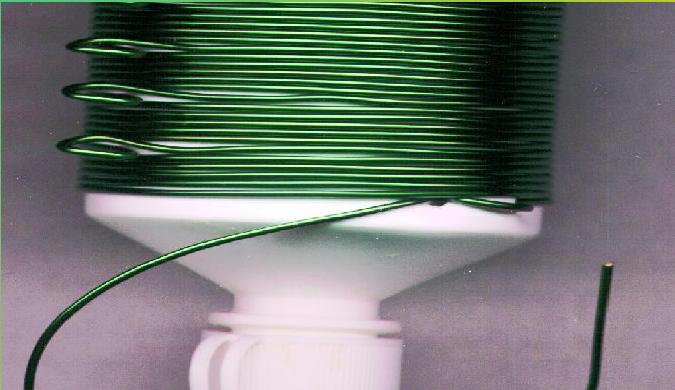
Now take the long end of the wire and start winding it neatly around the bottle. When you have wound five windings on the bottle, stop and make a little loop of wire that stands out from the bottle. Wrapping the wire around a nail or a pencil makes this easy.
Continue winding another five turns, and another little loop. Keep doing this until the bottle is completely wrapped in wire, and you have reached the second set of holes at the bottom of the bottle.