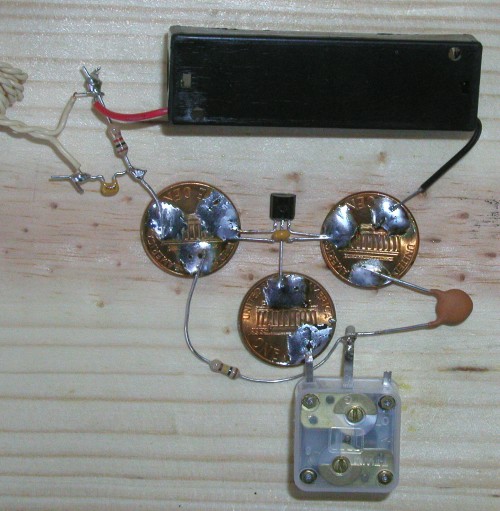
If you are going to use lemonade for the battery, just solder a longish wire to each of these spots instead of the battery holder. I like to use red wire for the positive side, and black wire for the negative side, just like they do for the battery holder. This helps me remember which wire goes where later
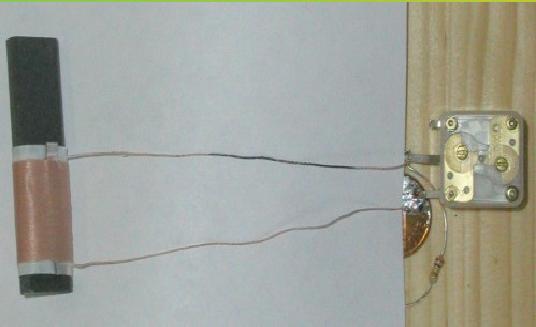
The next step is to solder the wires from the coil to the legs of the variable capacitor. In the photo above, I have placed a piece of white paper over the project, to make it easier to see the fine wires in the photo. You won't need the paper when you build the radio, it is just to make the parts in the photo easier to see.
The ferrite rod in the coil is not glued in place, and can slide easily into and out of the coil. This is important, because we will be sliding the ferrite rod in and out of the coil later, to adjust the tuning.
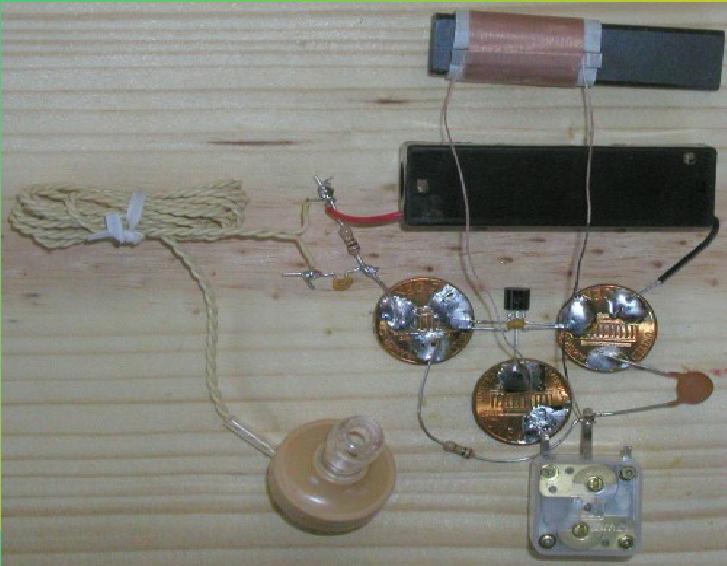
The photo above shows the project so far, without the paper in the way.
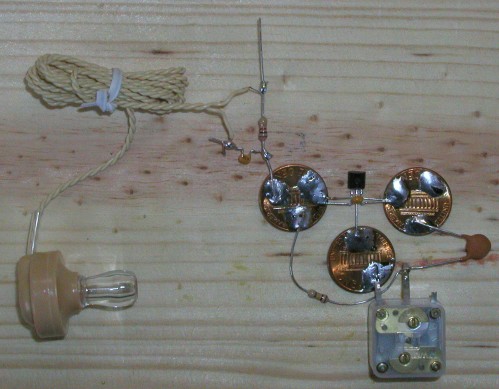
At this point the radio is actually complete. You can probably hear sounds from the earphone if you put the battery into the holder. We will discuss how to tune the radio in a moment