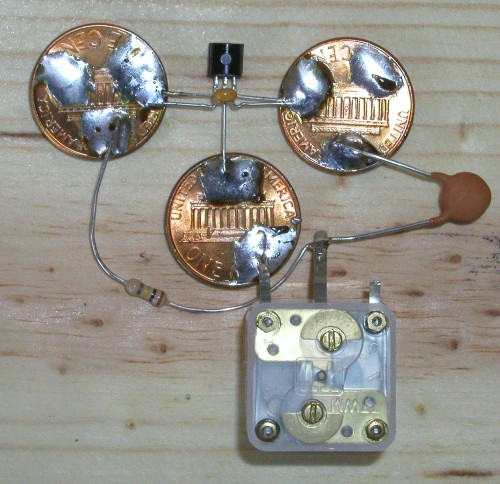
The next part we add to the circuit is the small fixed value capacitor, the one marked ".01M" or "103". Both of these markings mean the same thing -- the capacitor has the value 0.01 microfarads (we can also say 10 nanofarads, but the tendency in the industry is to use microfarads).
The small capacitor is soldered to the middle leg of the variable capacitor, and to the penny. It is probably easiest to solder it to the penny first, and then to bend it so the other leg touches the middle leg of the variable capacitor, and then solder them where they touch. Always make sure metal parts to be soldered are touching before you solder them -- this makes a stronger joint
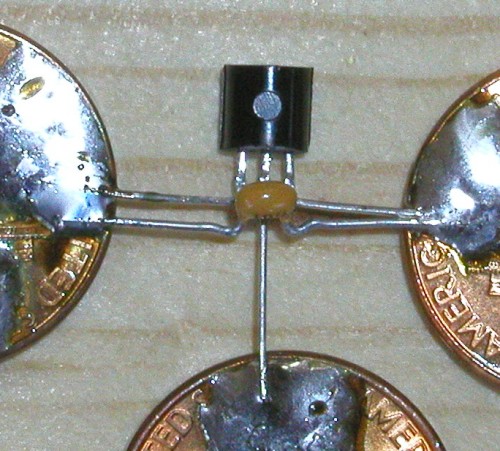
The next part is the 100,000 ohm resistor. In the photo, you can see the color coded bands on it. They are brown, black, yellow, and gold.
This resistor must be soldered to the middle leg of the variable capacitor at one end, and to the top left penny at the other end. It must not touch any other metal part along the way.
In the photo above, we have turned the project over for a moment to show that the resistor is not touching anything except where it is soldered.
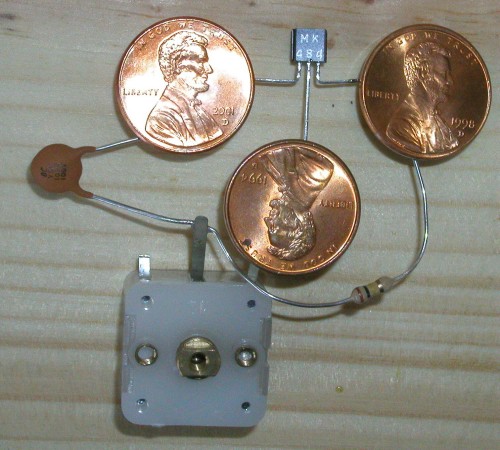
Now we solder the 0.1 microfarad capacitor to the two top pennies. This capacitor will be marked "104", or sometimes "0.1M". If the leads are short, the capacitor can be stretched across the integrated circuit as shown in the photos above and below.
If the leads are long, the capacitor can be placed above the integrated circuit. Make sure the wires from the capacitor do not touch the middle wire of the integrated circuit.
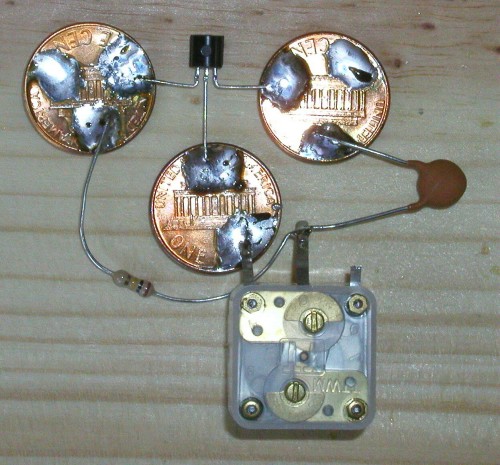
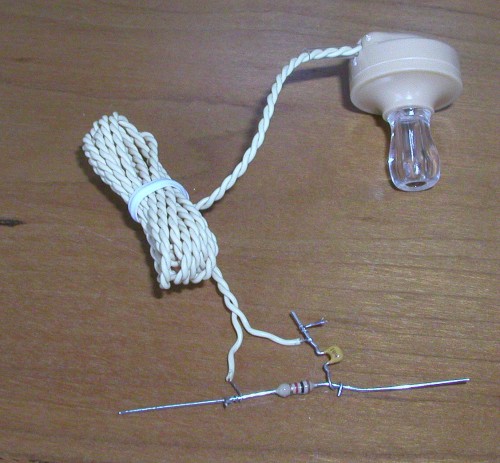
Next we will connect the wires from the piezoelectric earphone to the 1,000 ohm resistor, and to the other 0.1 microfarad capacitor.
The color codes on the 1,000 ohm resistor are brown, black, red, and gold.