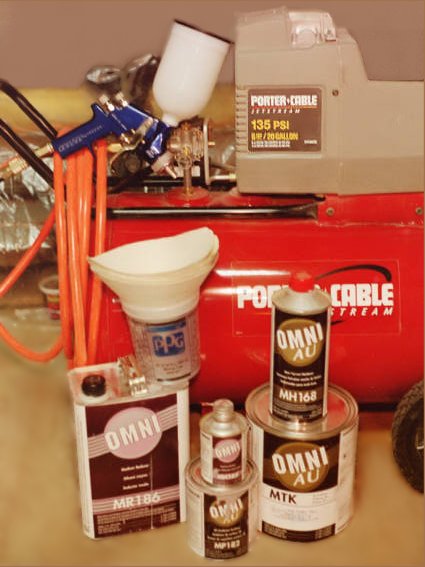
Single stage, PPG acrylic urethane
click pics to enlarge
This is a short primer on painting your car. The information presented here should translate well to many older cars that are ready for a fair amount of restoration. This particular one was over twenty years old and required a fair amount of work to bring it back to a presentable state.
Even though I had helped paint a car many years before, it required more work than I remembered. You shouldn't attempt it until you have researched it thoroughly and feel confident you can do the job. Otherwise you may be more satisfied with the results you get from a professional, and it may not cost any more if you factor in your time.
Best results can be obtained with a paint booth, but a decent size garage may work with some preparation. It should have some way to seal out contaminants and have filtered crossflow ventilation as well. A fan with an air filter on the inlet side and a screened window on the opposite side would work well. The fan may kick up dust from the floor so having it raised and not blowing directly at the vehicle would be best.
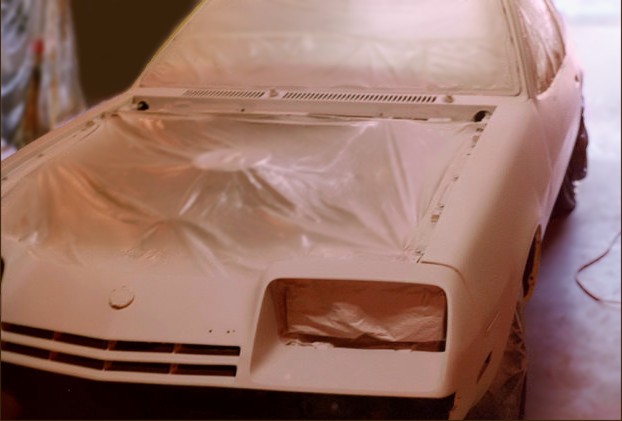
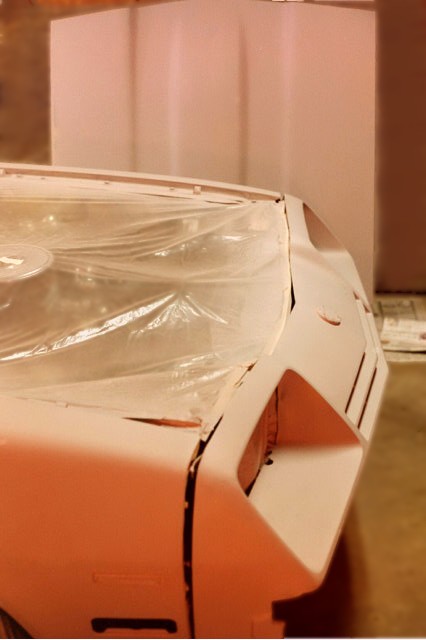
Any insulation or dust nearby (especially overhead) should be covered with plastic. Insulation will get heavy from paint sticking to it and fall on your wet paint! Any moving dust will stop on the paint; any flying insects will stop on the paint! Everything is attracted to wet paint, so don't skip these steps. Clean everything religiously before you start, clean it all again before you prime, and clean the most before you paint. This will be a lot easier than fixing the results later.
These acrylic urethanes come in single stage and basecoat/clearcoat systems. Both can be wet sanded and buffed like lacquers allowing the novice painter to fix small problems without repainting the entire car. But be warned -It is much more difficult to paint metallics. Don't attempt metallics unless you have painted before.
Determine the type of paint you will use and then get a paint gun that has the proper nozzle for it. Primers, basecoats, and topcoats have different solids amounts and may require more than one gun. I selected a system that could be sprayed with one gun, as the nozzle size range for the primer and topcoat overlapped.
|
Gravity feed HVLP spray gun
Single stage, PPG acrylic urethane |
click pics to enlarge |
6 HP, 8.9 CFM Compressor |
When selecting your paint gun, take note of the CFM requirements and make sure your compressor has a higher CFM rating at the needed pressure. If you don't have enough compressor you will have to wait on it to catch up when painting. This will cause other problems such as the previous coat being too dry to meld with the coat you are applying, and leaving a rough surface and/or orange peel.
Install a water separator near the gun since even the hose can condense water, or you will have craters and fisheyes in the paint coat. Even a new compressor will have water in the tank so drain it at the bottom before each days use.
When evaluating the vehicle keep in mind that every imperfection will show up much worse when the surface is shiny. This is an area where experience will help determine when it is ready to apply the paint. It may be helpful to have an estimate or two done beforehand, and if they want to strip the paint, start there. If they say it can be painted without further preparation, ask about written guarantees. At this point you may decide it is best to let a shop that inspires confidence do the job. Otherwise read on...
| Wherever you begin, make sure the surface is ready before painting. If an area has enough rust to bubble the paint, the rusty area must be replaced. Light surface rust can be wire bushed and then treated before priming. Bare metal should also be treated with a Zinc-Phosphate type liquid such as "Prep-N-Prime". |
 |
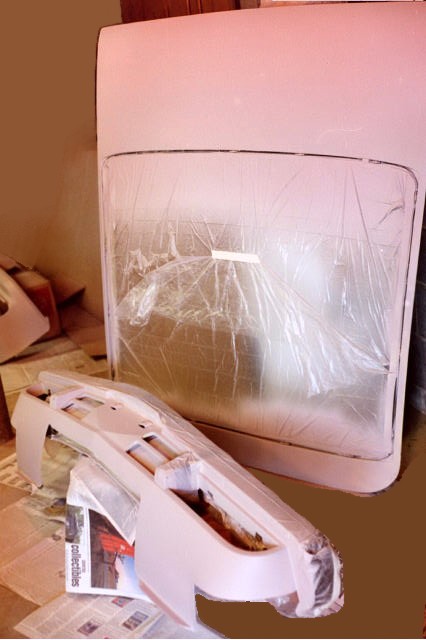 |
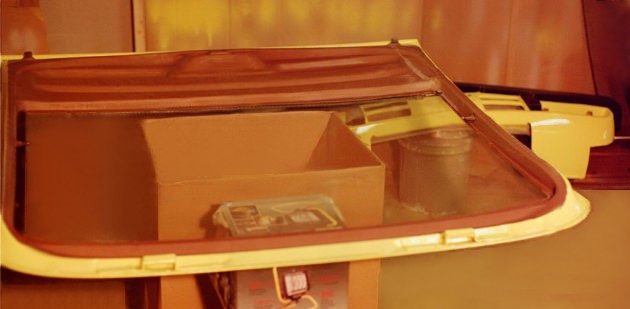
Also get masking paper or plastic since news print will bleed through both ink and paint. I prefer the plastic that has a taped edge for a one-time painter, although pros may prefer masking paper. Plastic holds up well to wet-sanding and allows using lots of water for rinsing afterward. |
| My example had urethane front and rear panels but they did not have much flex after installing. With some care on installation these were painted with the same acrylic urethane on the rest of the vehicle, without any flex agent. |
 |
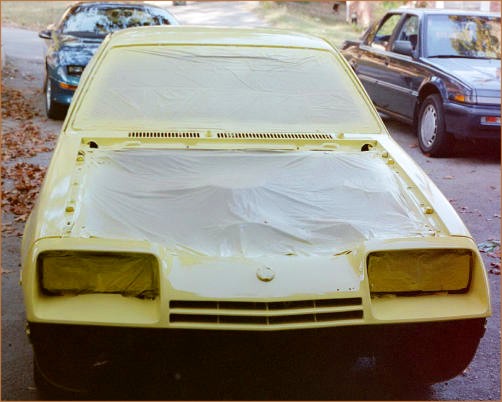
The air temperature and humidity are within manufacturers recommendations for the thinner/reducer purchased. Wipe the surface with clean lint-free cloths, then follow with tack-cloth to remove any small particles left behind. Set the paint gun pattern and flow rate with a small amount of thinner, testing it on some spare cardboard. If setting the gun is new to you, it may be better to test it out beforehand on some old car panels or other similar nonporous material.
Stir the paint thoroughly and strain it into a mixing cup, then mix any additives and thinner to specs. Make sure your air pressure is correct and double check the spray pattern before starting on the car. Don't assume all guns spray best at 10" to 12". The technical information for the Sharpe Cobalt gun I used listed the best spraying distance as 6" to 8"! This information was found on their website.
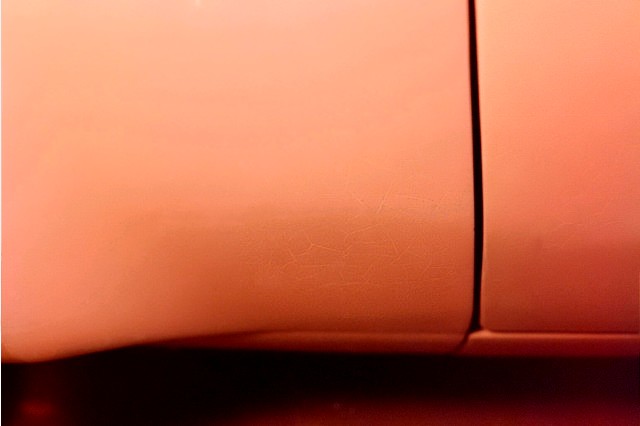 |
Problems can develop from many areas including air pressure, contaminants, poor spraying technique, and so on. Even overlooked areas of surface preparation can show up after applying paint or primer. This picture shows "checking" or "cracking". |
- Cracking or Checking
Surface contaminants such as old filler, or too heavy a coating.- Fish Eyes or Pin Holes
Surface contaminants such as silicone, or water in air lines.- Orange Peel
Improper paint reduction, air pressure, or paint technique.- Paint Runs
Improper paint reduction or paint technique.
| You've handled all the problems encountered and corrected them. Now it's time to think about applying the topcoat. I chose to wet-sand the primer to help assure a level surface. This is done with various size sanding blocks as needed for each area. Large flat areas can use a large sanding block to aid flatness, and small areas and curves are better done with a piece of a stirring stick wrapped with sandpaper. |
 |
 |
To achieve the desired wait time, it may be best to separate the painting into two groups. Perhaps paint all the coats on the removed pieces first, then paint all the coats on the main vehicle separately. This allows plenty of time to assure coverage in areas under doors, hoods, trunks, hatches, etc. |
After completing each session, clean your gun thoroughly and reassemble. This is especially important with todays paint systems that use hardening agents to keep your paint gun working perfectly. A drop of oil may be recommended for the needle on assembly. By this time the paint surface will have leveled and you may examine your work.
 |
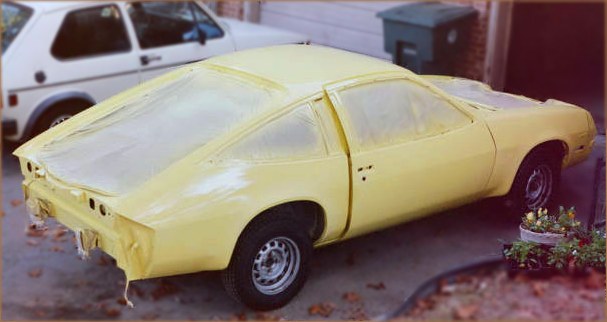
After sufficient drying time you may want to check it further in daylight. Any imperfections will now be visible if they exist. You may discover runs or uneven areas that need to be addressed. If needed, repeat the block wet-sanding and add more coats of paint. |
 |
I ordered molded carpet and custom-fit seatcovers when I began this project. By the time the paint was completed the interior items were available to install.
 |
 |
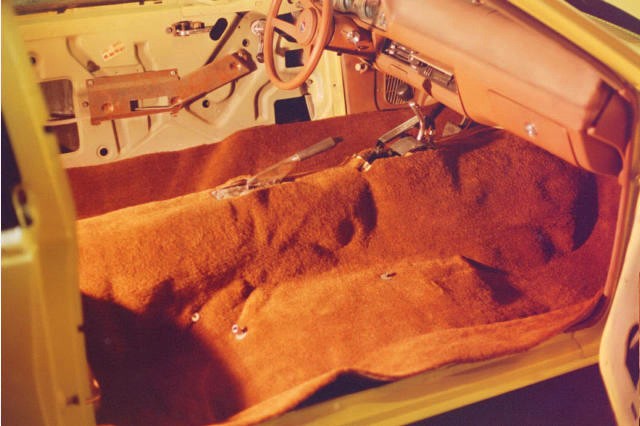 |
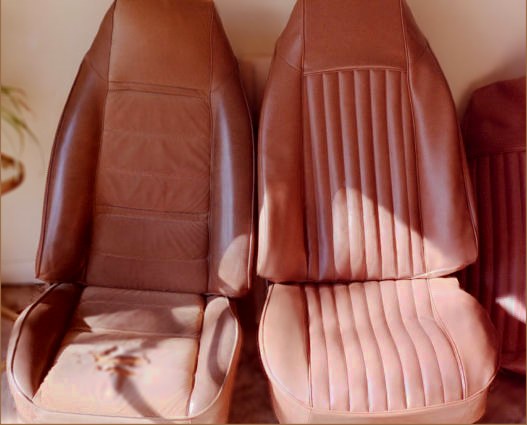
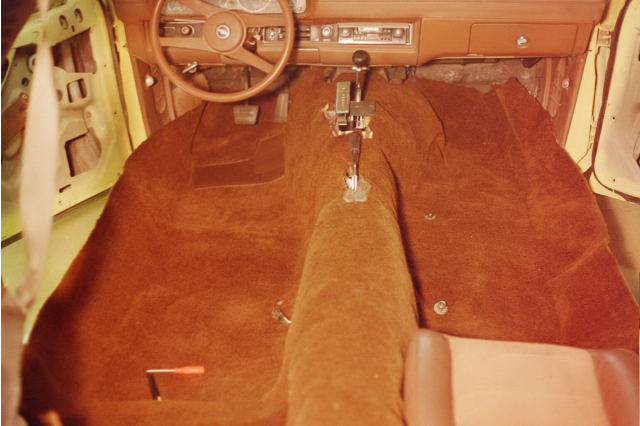
| Test fit a seat cover. The old seat is on the left. | Test fit the carpet by cutting out the shifter area first using the original carpet as a template. | After cutting and installing seat and belt fasteners, trim the sides last. |
|
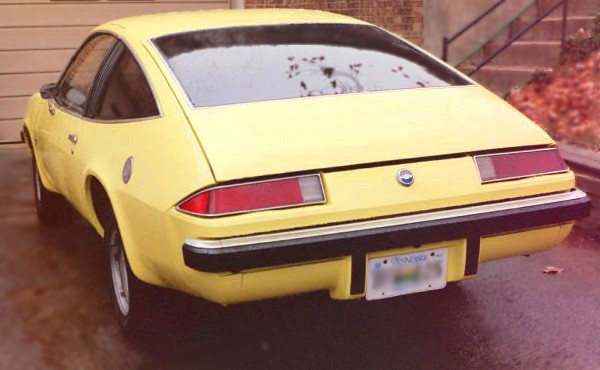
Almost done, after some buffing.
Don't forget the trimwork. |
 |
Installed some window tint. |
 |
 |
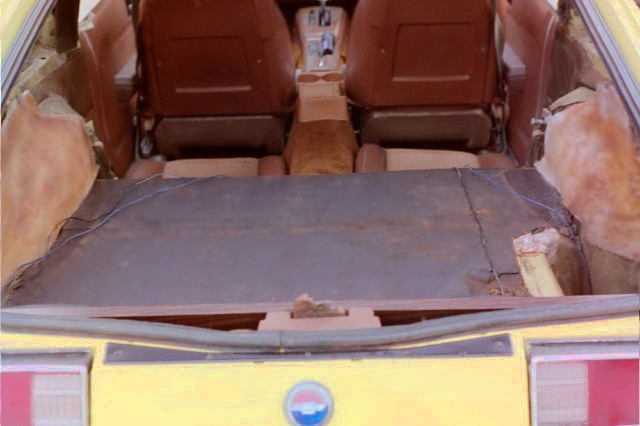
 |
| Still needs matching carpet for the rear hatch area. | Sun damage took the old carpet and speakers too; replace both. | Carpet installed, with spare tire cover and window tint for protection. |
You may have to fix some mild orange peel as well. This requires compounding followed by buffing with polish. The 3M website had a nice chart showing common problems and the recommended material and sequence. I used their "Finesse It" line of compound on some areas and Swirl-Remover polish to buff.
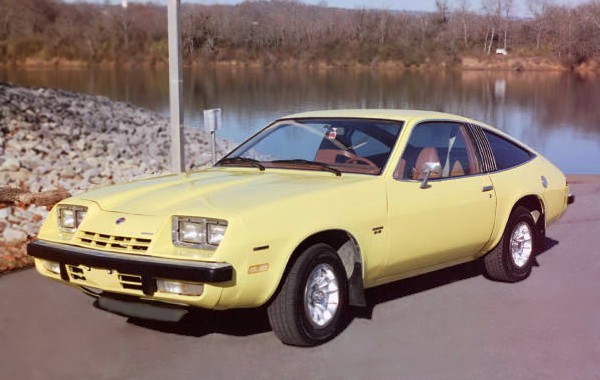 |
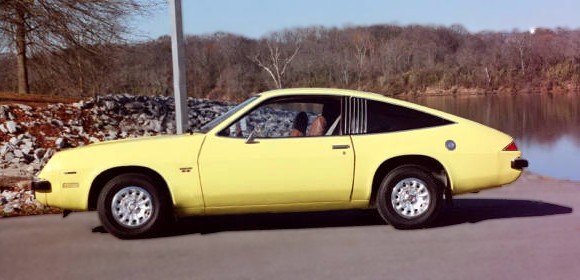 |
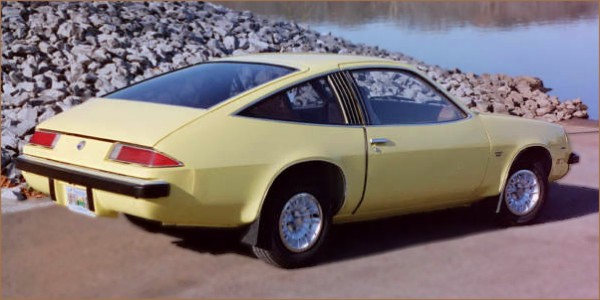 |
| Check out those wheels; they're really hubcaps. | Window and side trim took some extra time. | Window tint and door edge guards for protection. |
The last paint job was quickly dinged in parking lots due to no side molding. Since this is a daily driver it will get some that matches the factory installation. Although it was a lot of work, I enjoy the results and driving the Monza again. When old cars are restored, more people take notice and ask questions about it. Some are surprised that the car is a quarter century old!